Most of you remember our DIY kitchen ceiling beams, right?
We loved the way those turned out so we just repeated the process here—which means I won’t go into extreme detail (you can check out the post above for more info).
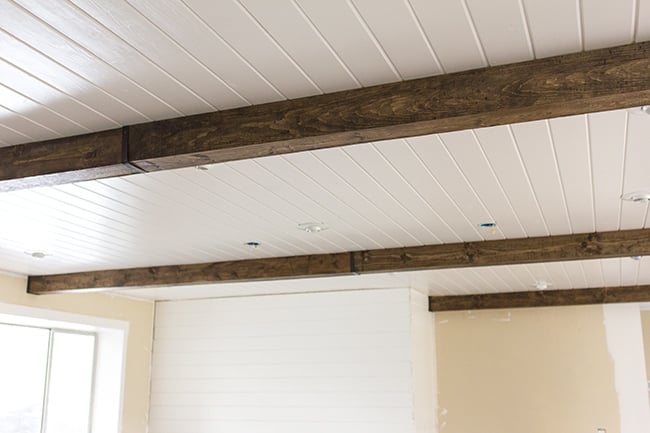
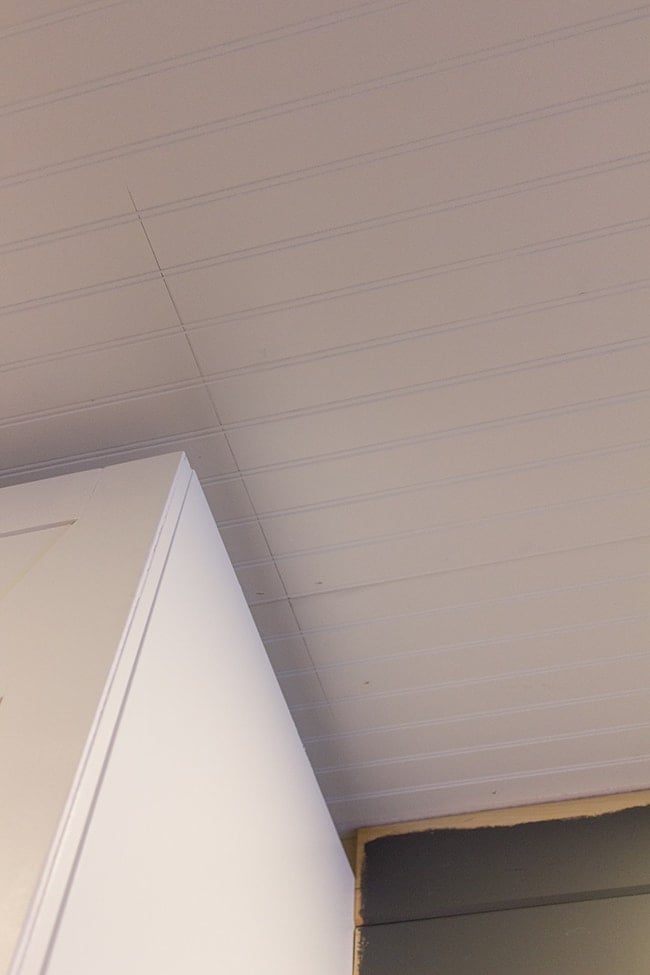
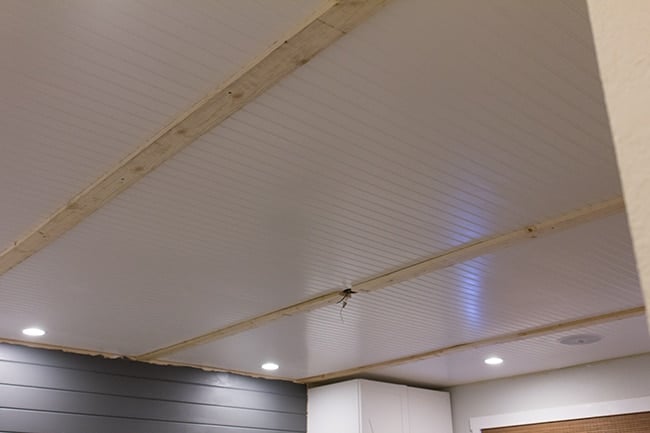
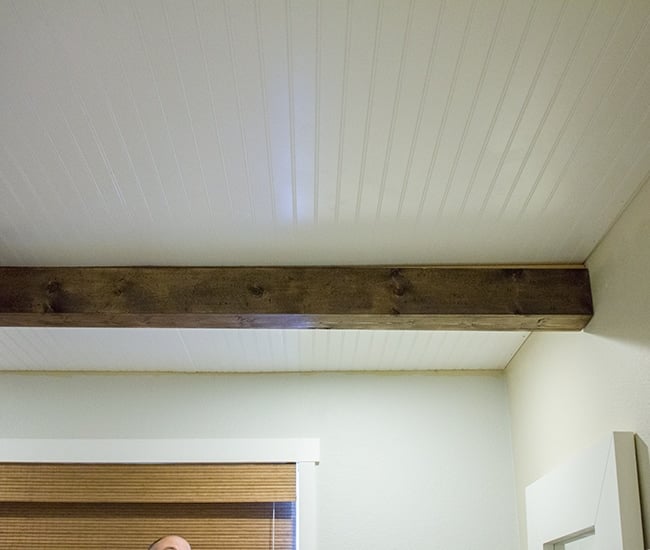
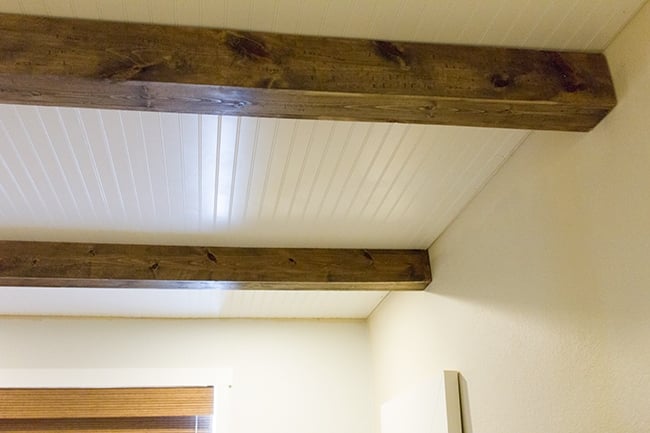
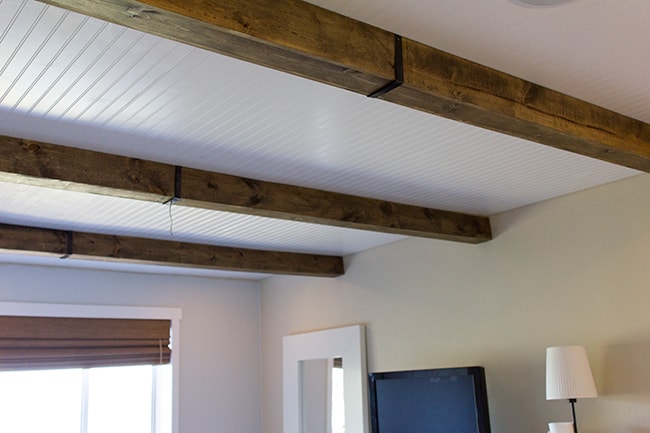
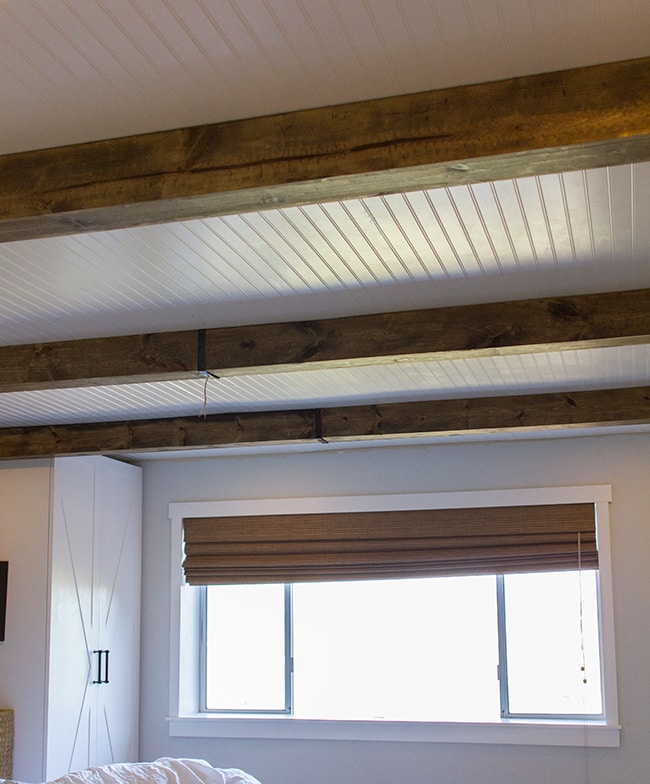
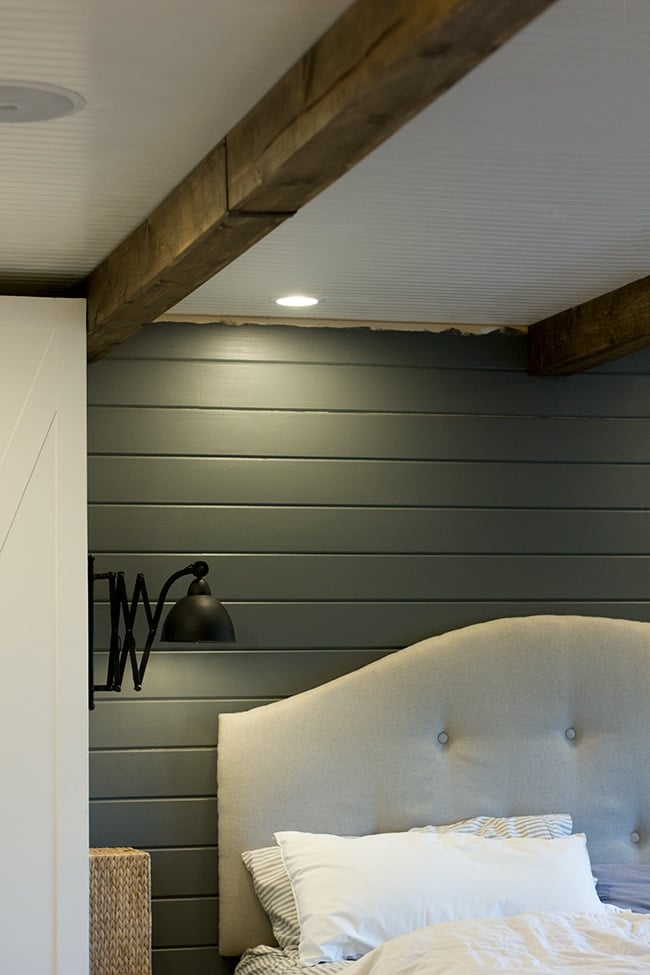
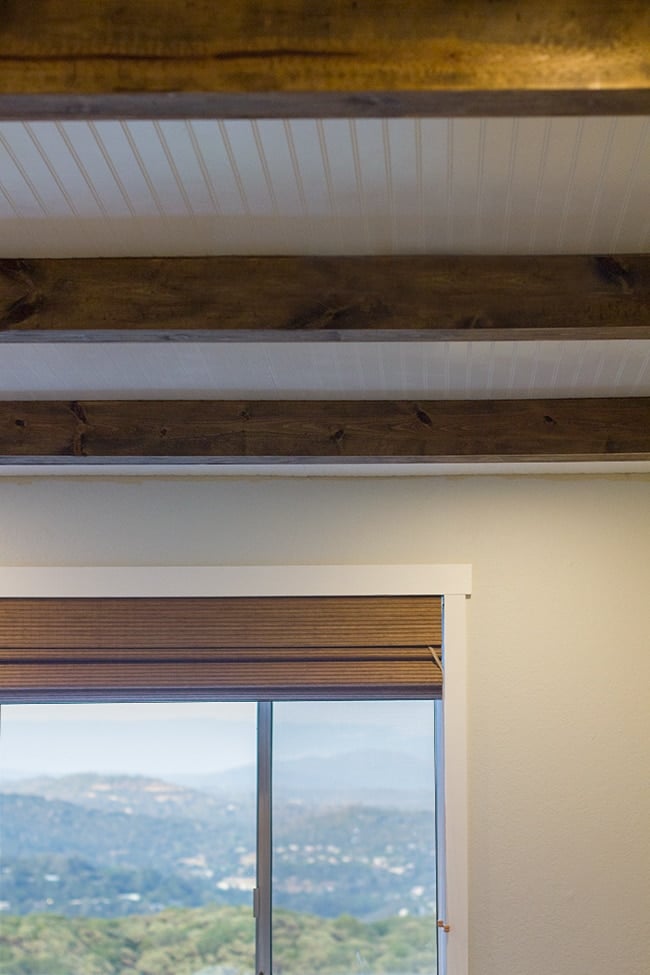
With the layout of the master bedroom the way it is, I decided three beams would make most sense. One in the center and the other two up against each wardrobe. There was no wood long enough to make it across the whole room (~15 feet) so each beam had to have two parts, just like in the kitchen.
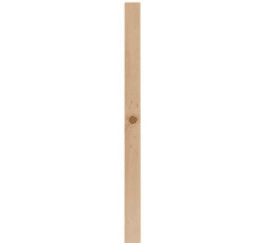
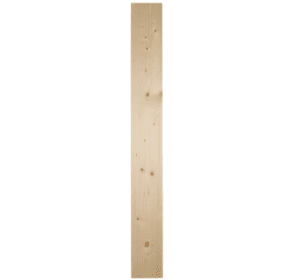
I ended up buying 24 pieces of wood—12 1x6x8’s and 12 1x4x8’s (enough for six beam sections, each one with 4 pieces of wood).
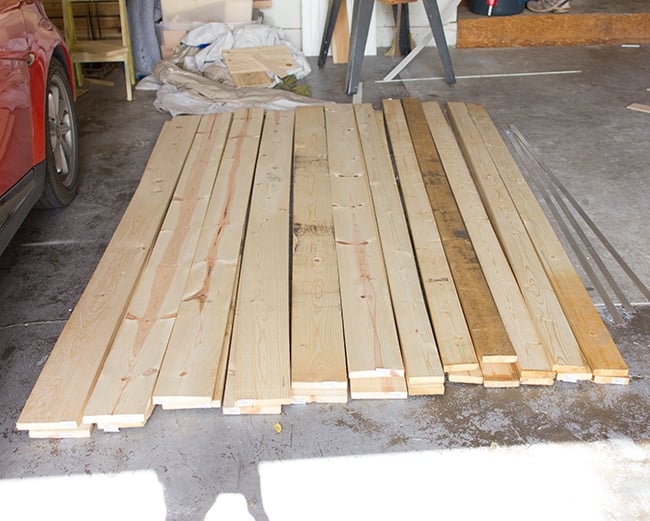
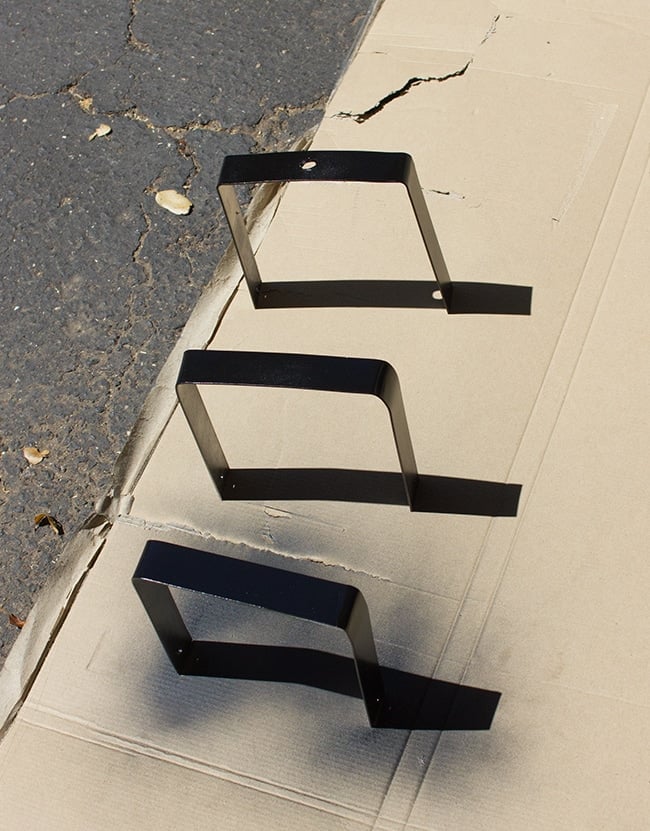
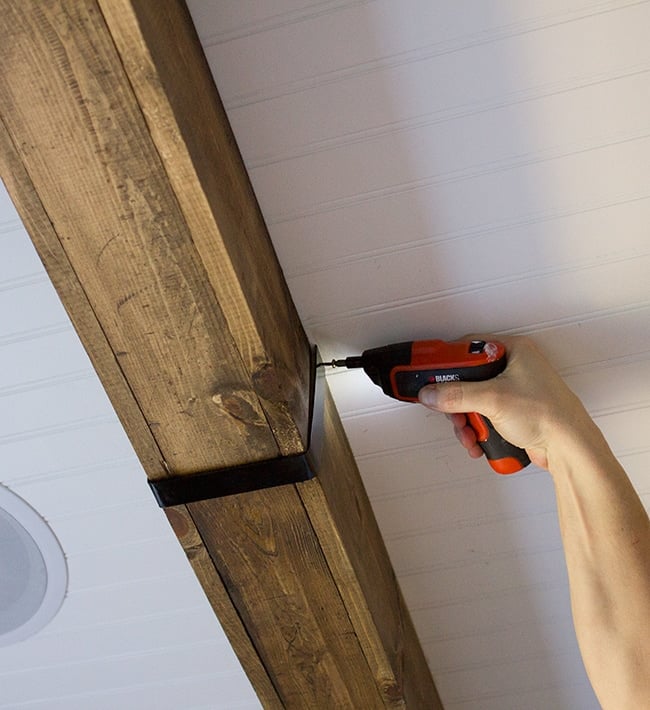
I used regular whitewood pine to save money and just picked the straightest ones I could (this part is crucial). I also grabbed a few thin strips of metal to make into straps, and the total came to around $140 (we only ended up using one metal strip so I’ll get $20 of that back once I return the extra two).
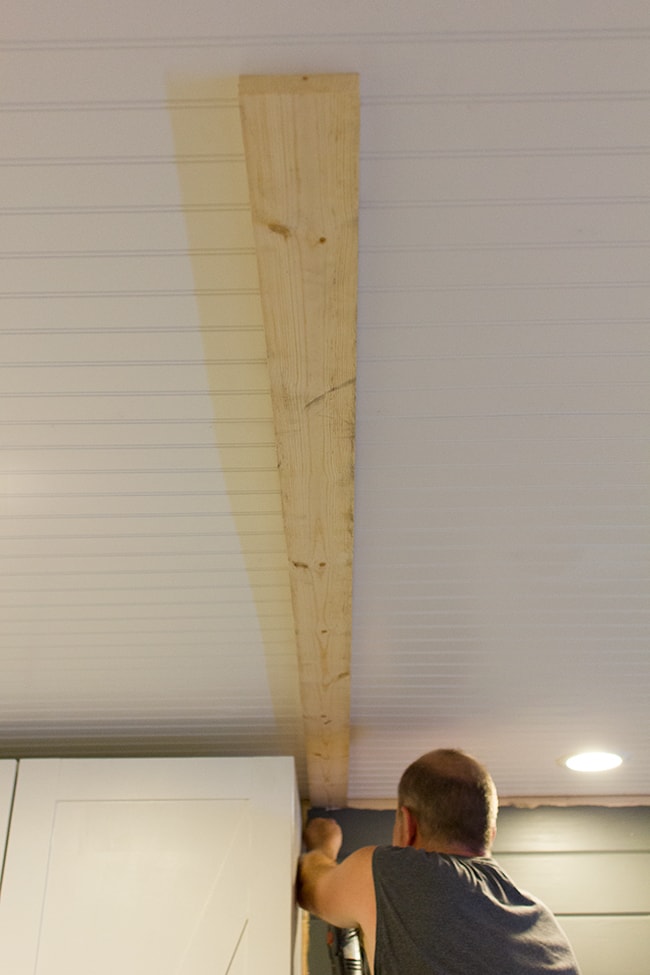
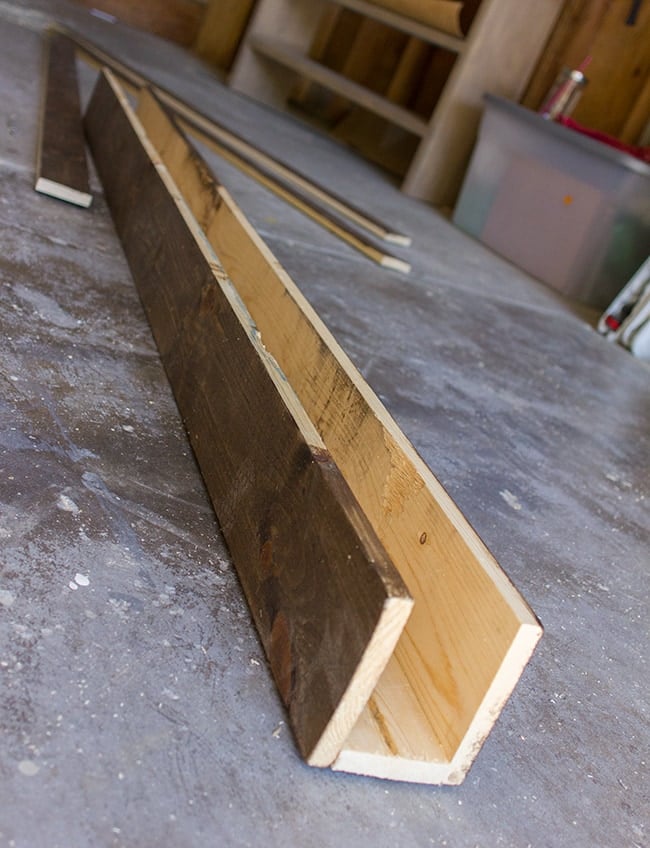
Once all the boards were here, I cut them all to half the length of the room (78″) and set aside six of the 1×4’s to use as the ceiling strips (they will be completely hidden).
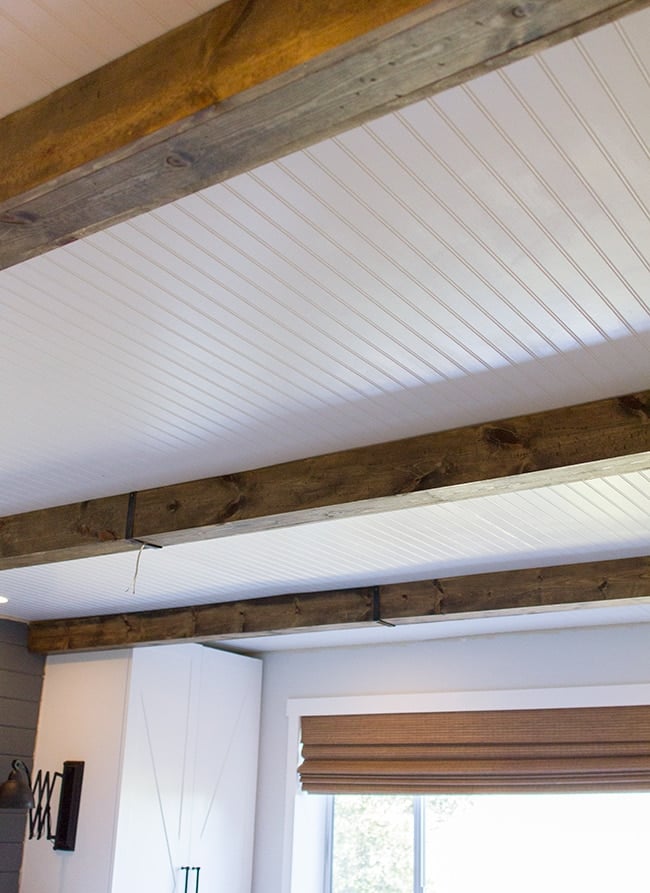
For the visible boards, I used a hammer to distress them.
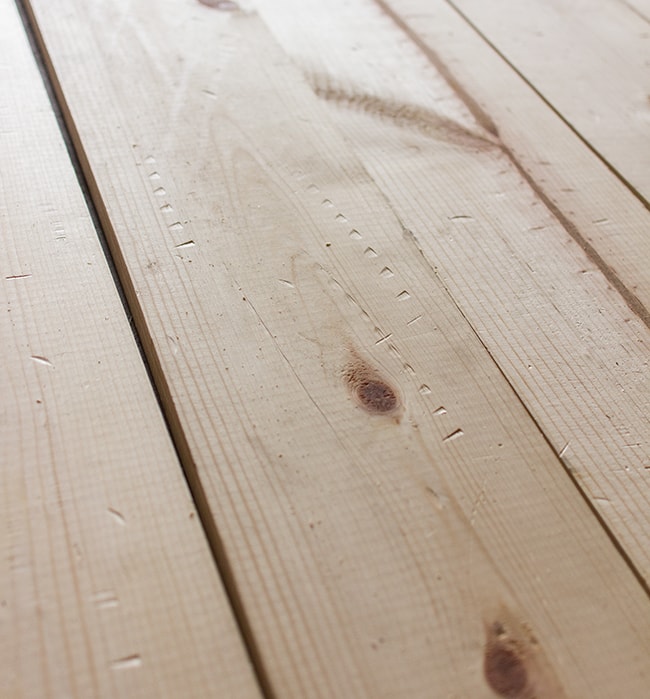
Pine is soft and distresses nice and easy.
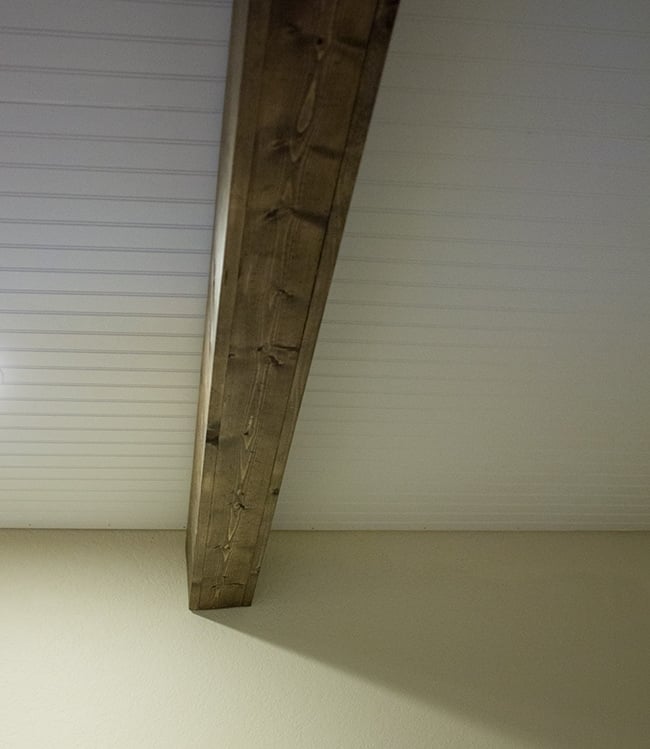
Then I stained them using a dark walnut stain.
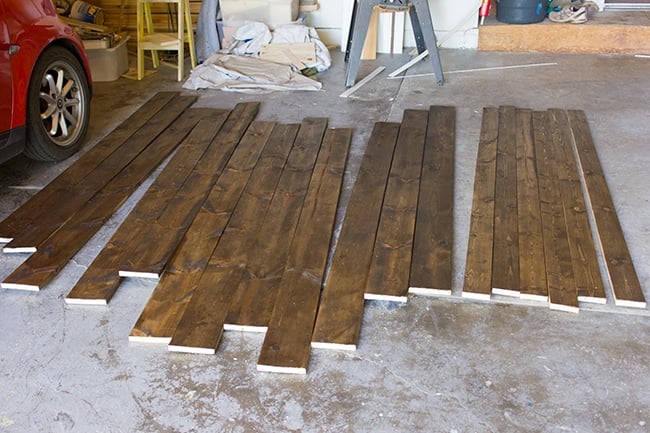
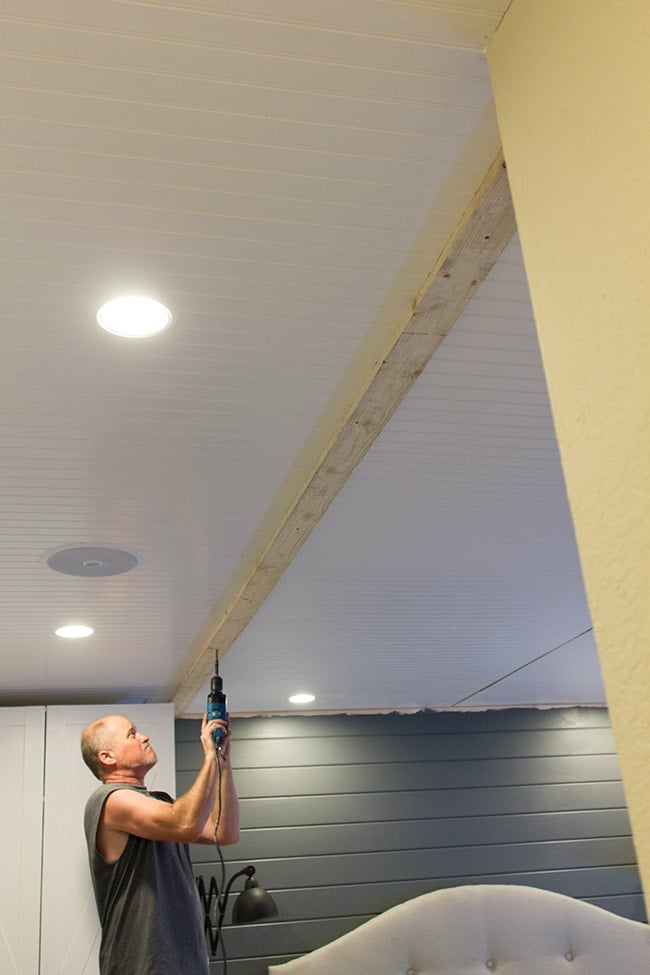
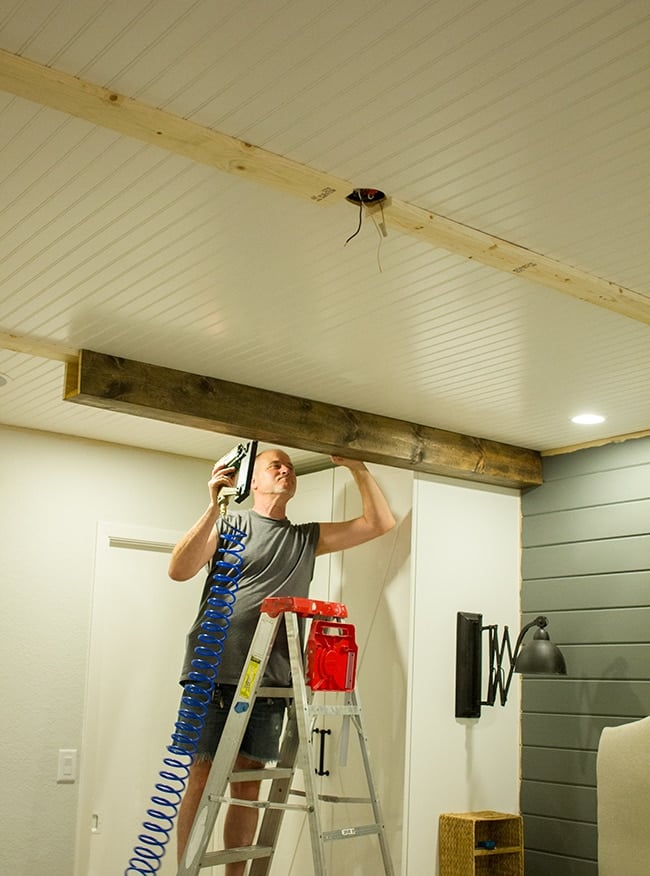
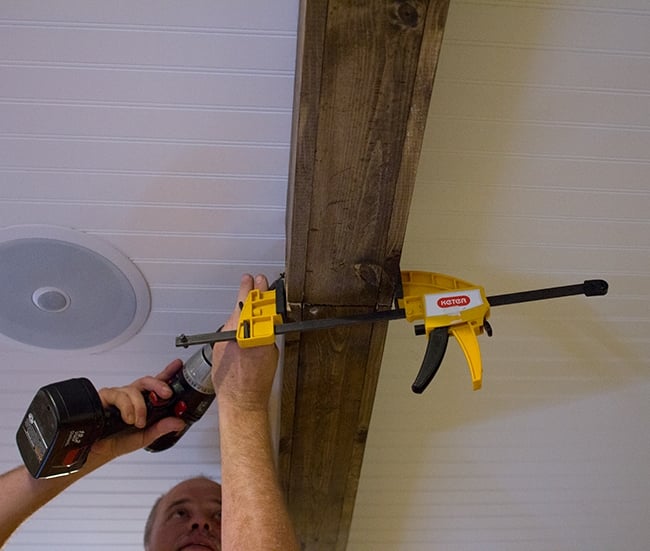
After letting them dry overnight, it was time to begin installation. I recruited my dad for this one.
First, we marked where the left beam would go against the wardrobe…


Denise Martens says
I too love your blog! The link to the kitchen beams doesn’t work 🙁 any chance it can be fixed? Finding good info on beams is hard to find… especially stain colour I like!
jennasuedesign says
Thanks for letting me know Denise, the link has been fixed! 🙂
Lindsay @ The DIY Mommy says
These Beams are beautiful!! They add so much character. Great Job!!
Bernadine Lischynski says
Thank you for the great tutorial. We are in the planning stages of doing beams in our pool table room and found your post to be very helpful. For those that are planning a beam project I found rubber strapping to cover the seams from home depot.com.
Thanks again for the great info.
Pine Tree Home says
This is so great! The room is looking like the perfect place to relax.
Amy says
Can I just say that you can seriously do no wrong?! I've followed your blog and your design adventures for a while and I just love everything you do! Everything is stunning!
Crystal says
The beams look fantastic! Love your new blog pic btw, you look gorgeous and glowing.
Anonymous says
You're posts amaze me each day. You explain everything in such a way that makes me feel even I could do it! Lol.
Love your blog!!!
Dara says
Oh my laundry! That room is so gorgeous already; I can't wait to see the finished product!
Stephanie says
The beams look beautiful. My master bedrm has a vaulted ceiling & I've been wanting to do something to it…I think you have inspired me to try planks & beams. Can't wait to see what's next!
Chrissy @ Adventures in DIY says
Love these! I would eventually like to put wood beams on the vaulted ceilings in my living area and so far, this looks the easiest way to go. Thanks for sharing. Yours look great!
Amanda says
I LOVE the beams. They make the room feel so cozy. I can't wait to see what it looks like with the chandelier up and all the lighting.