It’s Day 2 and Room 2 of the Bedroom Reveal Week! Yesterday you witnessed the transformation of Bedroom #1, and today we’re shifting gears with something quite a bit smaller, but with a unique personality of its’ own. Click to watch the Before & After transformation below:

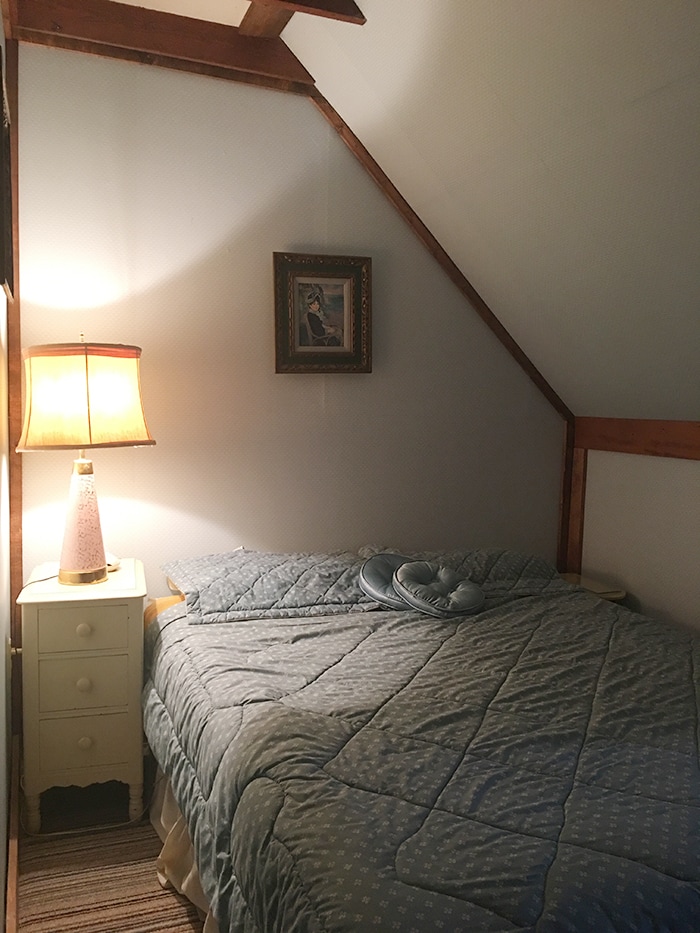
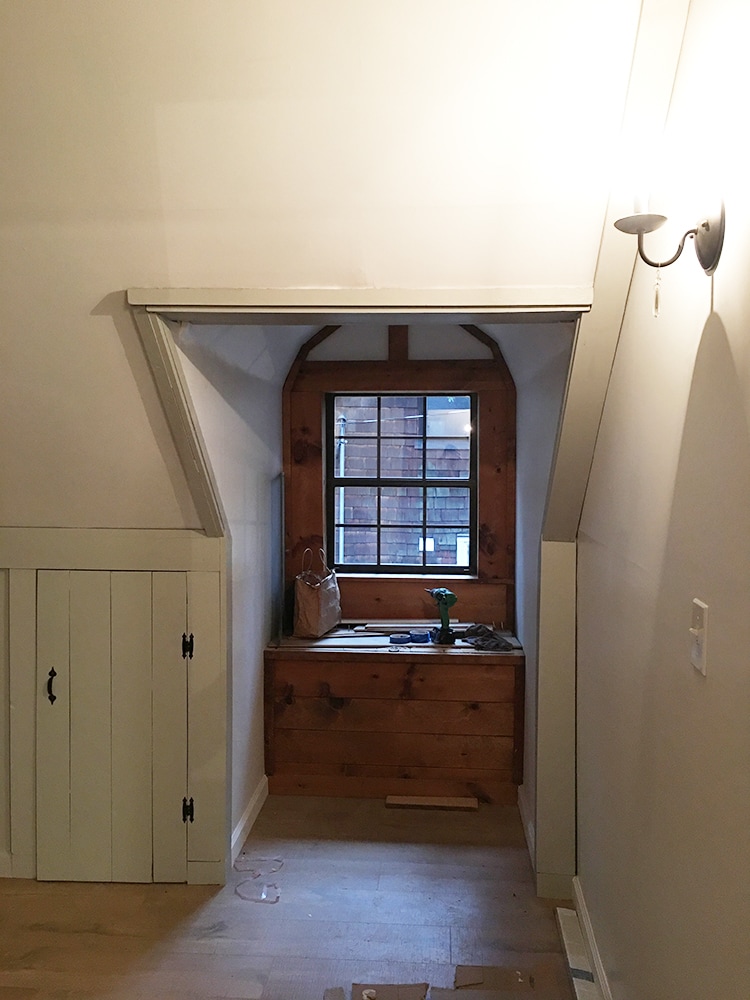
Just a few steps down the hall from the master suite was a crowded room with a quaint little nook:

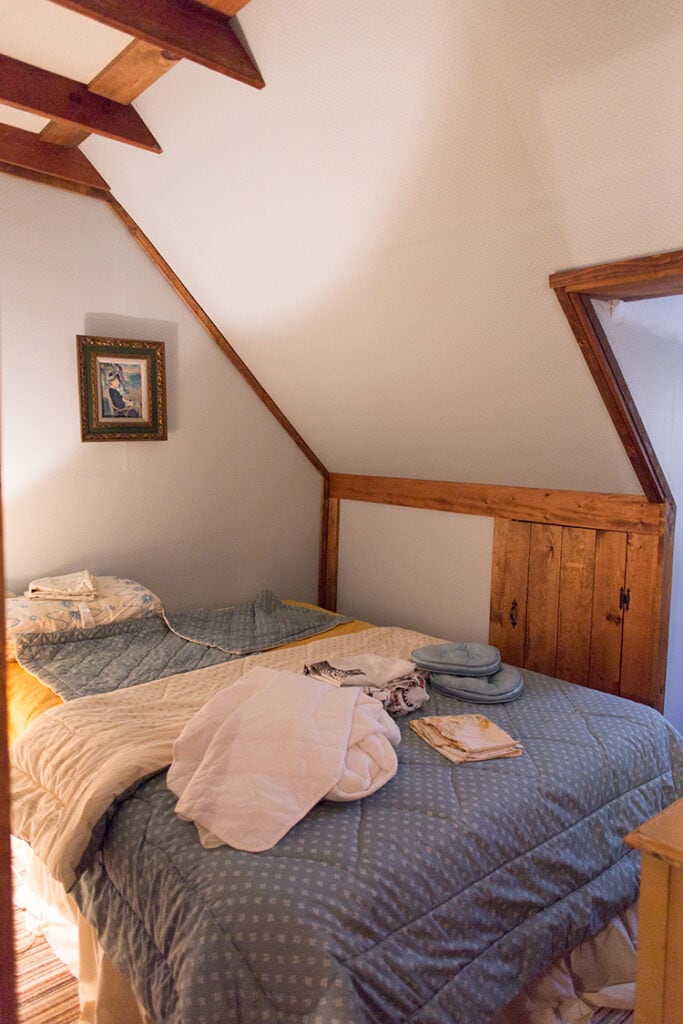
With pale blue polkda dot wallpaper and a blue comforter to match.
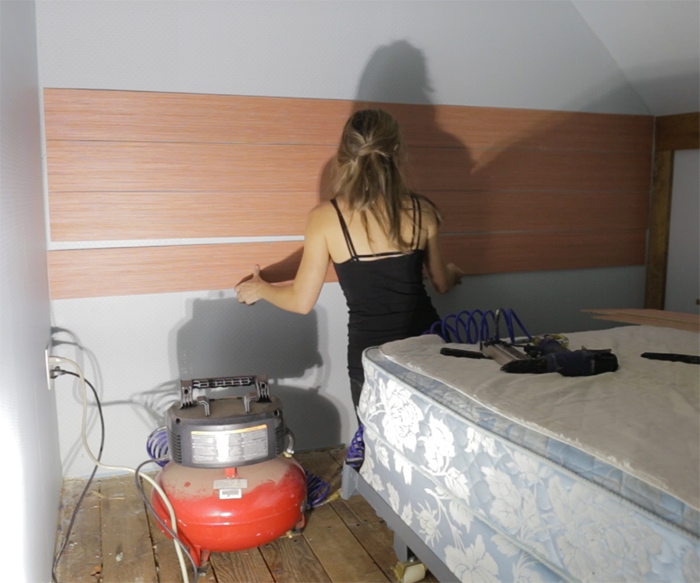
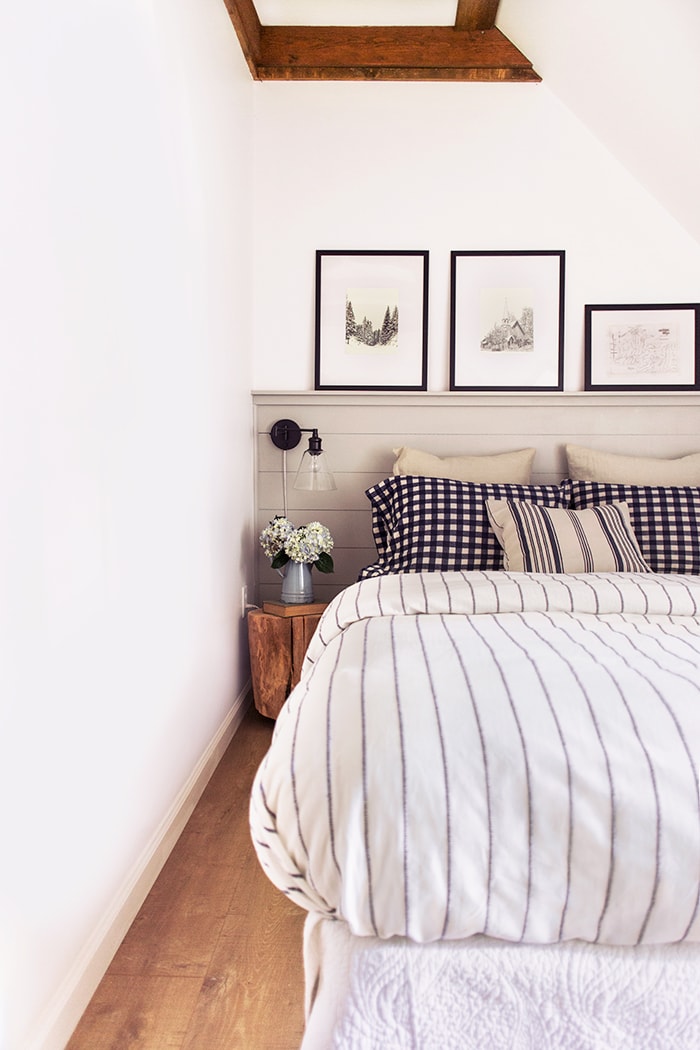
To add a little architectural interest and double as a headboard, I did a quick DIY shiplap installation with a picture ledge:
Then came paint and flooring:
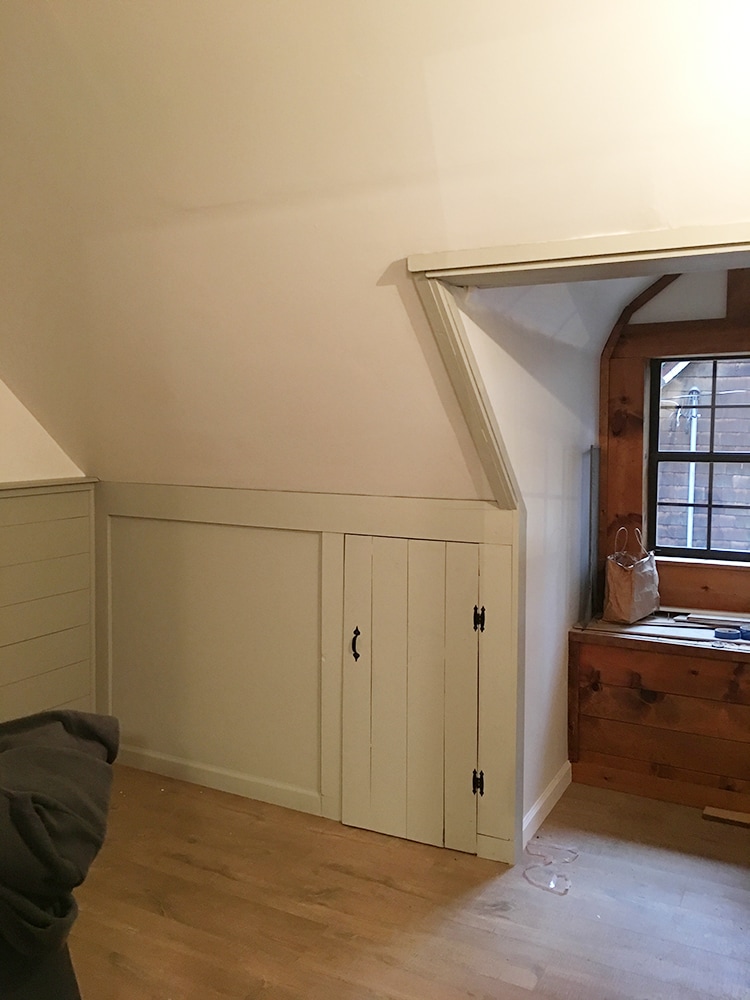
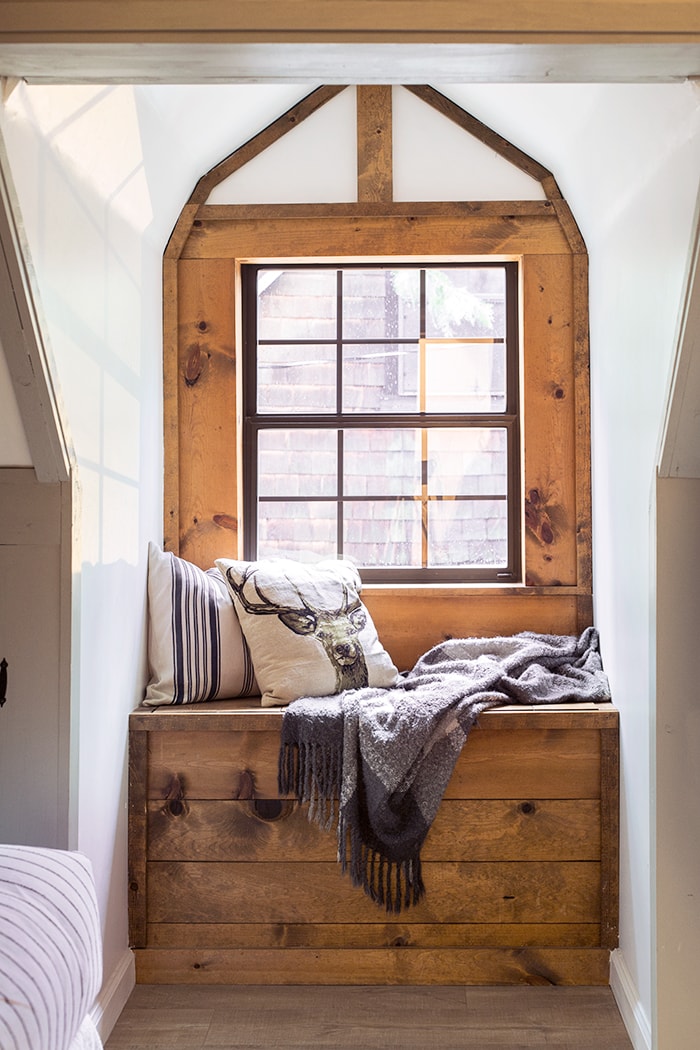
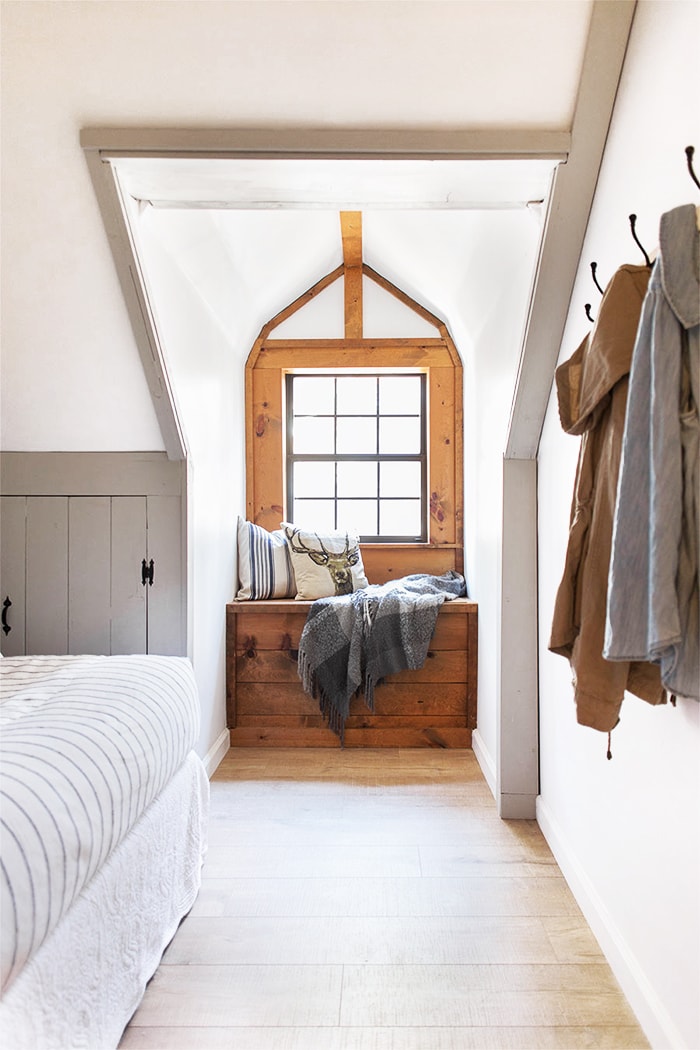
But I loved this nook so much that I left it completely original 🙂
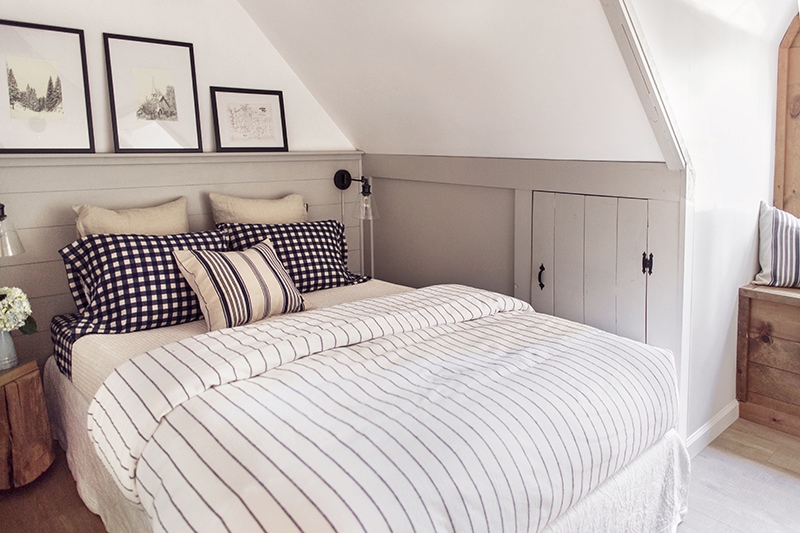
A little staging and poof! We have our new and improved Bedroom 2…
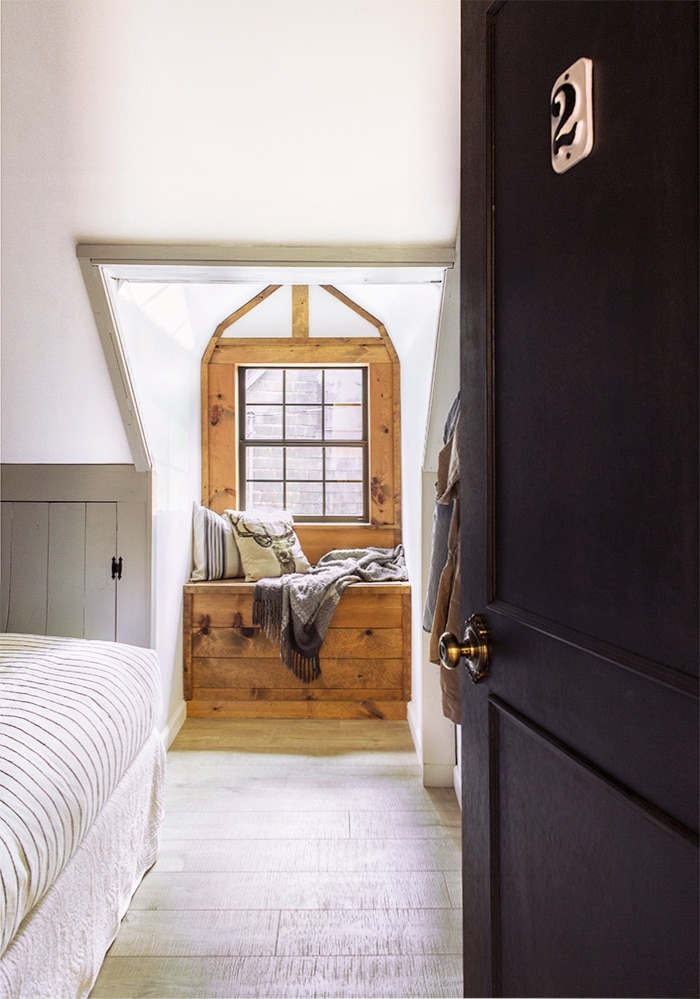
I love that the nook is the first thing you see when you walk inside.
And the shiplap isn’t bad either.
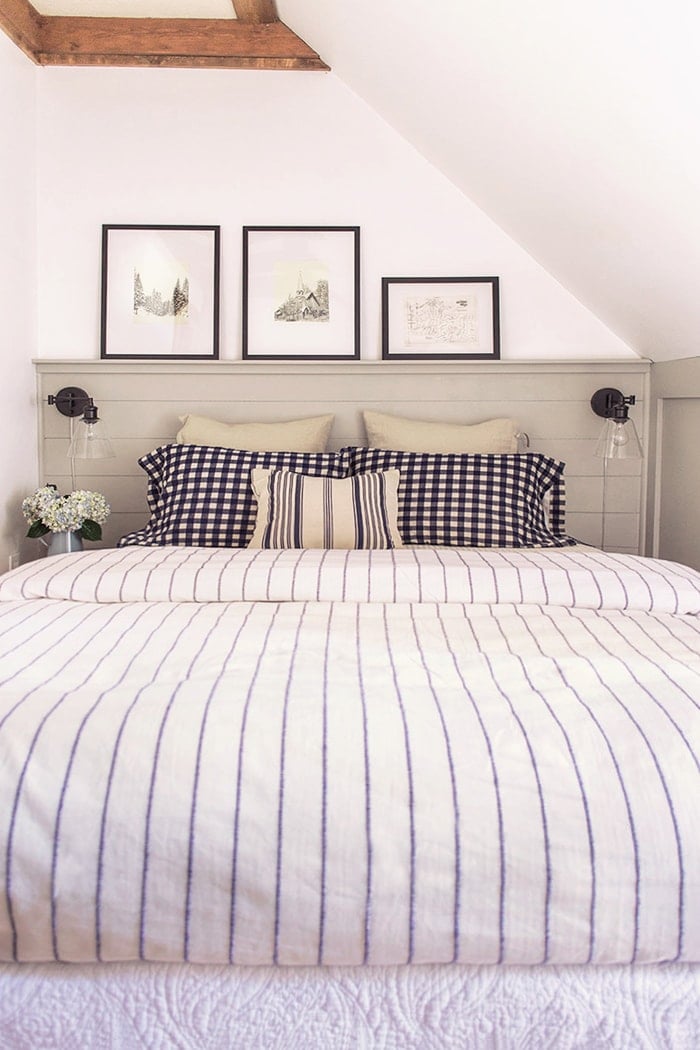
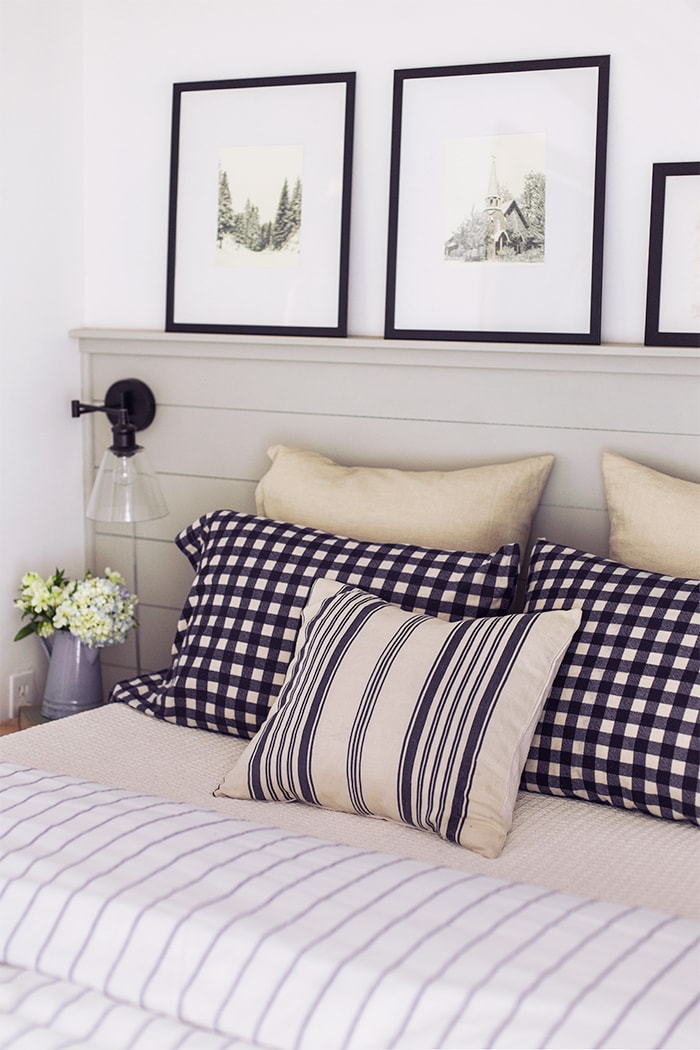
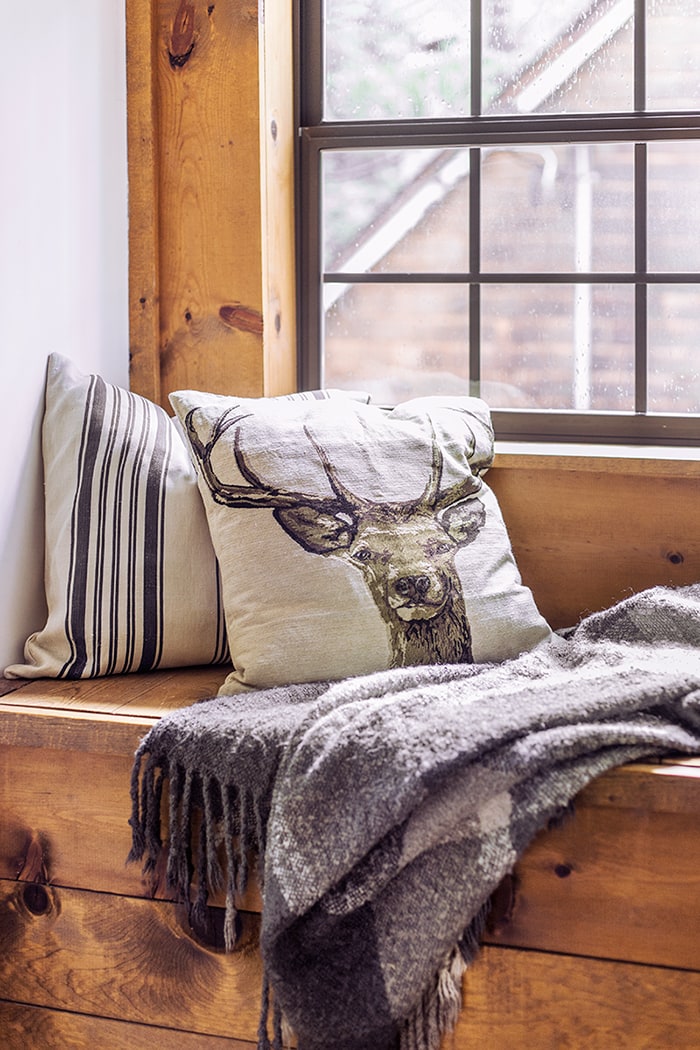
The navy buffalo check bedding was the first thing I bought for this room, and designed around that incorporating woodsy elements like a tree stump side table and deer pillow. I love the cabin feel it brings.
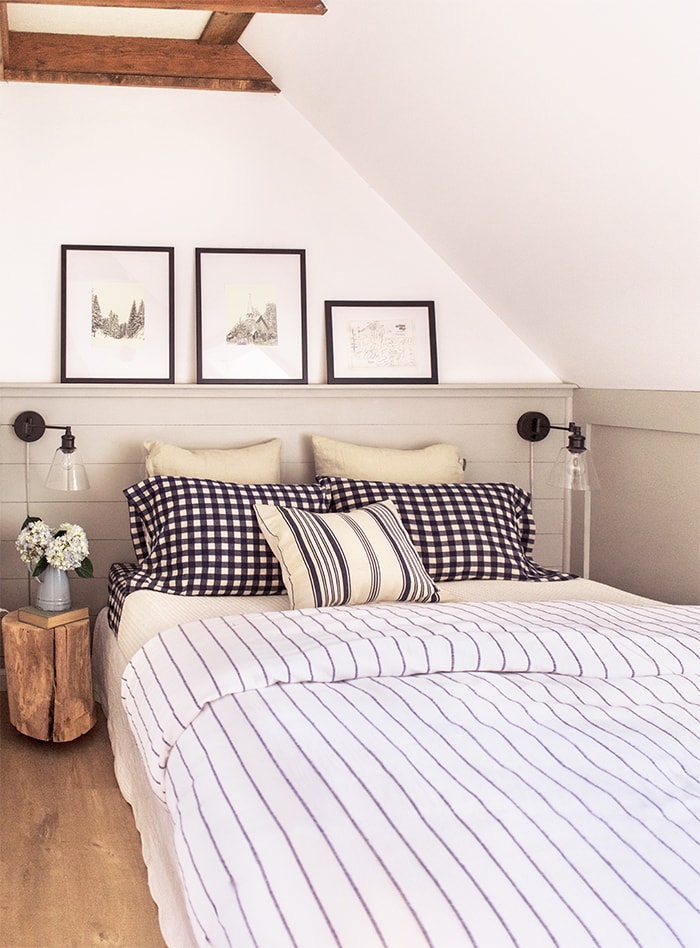
The shelf ledge was perfect for a few light pieces of art, which I made from DIY art and a map of the town found in one of the closets, placed in inexpensive Ikea frames.
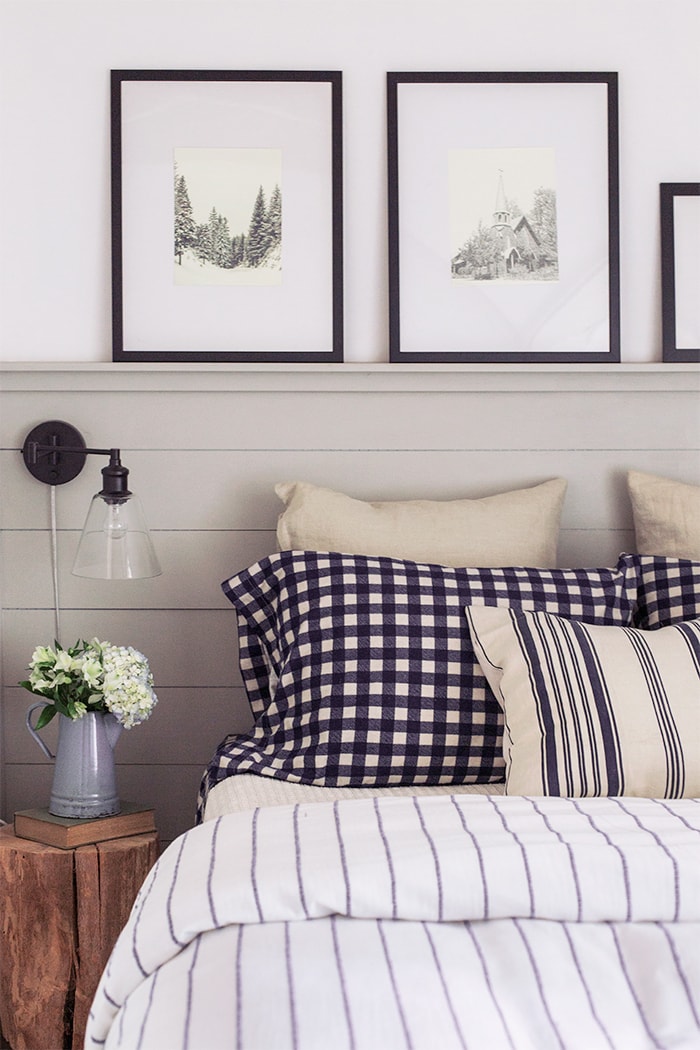
I actually had the bedding set up a bit differently, but the Country Living stylist brought in a striped pillow and switched a couple things around, so I left it that way for my shoot. Who am I to mess with the pros?
And here’s a pro tip: if you don’t have a duvet cover—use a sheet, blanket or bedspread to wrap around your comforter to fake the look. The stylist taught me this, and that’s what we did here using an Ikea bedspread 🙂
Hello, deer.

This quilted bedskirt is so lovely, I actually bought one for Bedroom #3 as well.
SOURCES
Wall color: Valspar’s Bistro White
Gray shiplap/trim color: Valspar’s Woodlawn Colonial Gray
Pergo Flooring in Scottsdale Oak – discontinued color (Similar here)
Checkered sheet set (similar here)
Striped pillows c/o Country Living
Throw blanket: already owned
Tree stump: DIY
Disclosure: Some of the products listed were provided via sponsorship—all of which I selected and fully approve of.
Tomorrow I’ll be revealing the room I spent the most time on, thanks to the wall stencil. It’s the first little girls room I’ve ever designed so I’m excited to share the results! Don’t forget to watch today’s Before & After video (and catch up on the entire series on my YouTube channel). See you tomorrow!


Eva @ Café Design says
You did an awesome job, Jenna! This is my favorite bedroom!!! Such a great idea to use shiplap to tie in with the other wall…
Heidi says
That wall and ledge are so clever! Really impressed with how it changes out the feel of the entire room and creates a headboard look – this little room is wonderful!
Laura says
How is the heated? I just wondered that when looking at the window seat. All of the windows in my house have a heat vent under the window and I was thinking of adding a window seat to one room, but it will have to have it be a ledge seat so I’m not blocking the heat. Beautiful work!
jennasuedesign says
Hi Laura, all of the heat sources are downstairs (4 wall heaters and a fireplace with a blower) — sufficient enough to warm the whole house!
Lauren says
Hey Jenna,
I love the look of the bedspread, but there isn’t an Ikea near me. Have you seen anything similar available online?
Alison says
Wow, very nice! So smart to do the boards on the bed wall to tie it into the other wall, what a difference. Any offers on the house yet?
anne anzil says
Another great bedroom! I love the duvet cover “trick”. How many coats did you use with the grey paint on the shiplap?
jennasuedesign says
Thanks Anne! Just a couple, Valspar paint rocks 🙂
Amy says
Seriously, SO charming! So bright and airy, yet cozy! I really can’t wait to see it all in the magazine spread!
jennasuedesign says
Thank you Amy!