• Skip to primary navigation
  • Skip to main content
  • Skip to primary sidebar
  • Skip to footer

    Nav Social Menu

    • Facebook
    • Instagram
    • Pinterest
    • RSS
    • YouTube
  • Houses + Sources
  • DIY Projects
  • My Shop
  • About Jenna Sue
  • About the Blog
  • Contact
Jenna Sue Design Blog

Jenna Sue Design Blog

Home Design, DIY and Travel Inspiration

  • Houses + Sources
    • Heights House
    • Riverside Retreat
    • Cottage House Flip
    • Modern Farmhouse
    • SEE ALL
  • DIYs
  • My Shop
  • About
    • About Jenna Sue
    • About the Blog
  • Contact

Kitchen Chronicles: Trimming out the Windows

December 28, 2013Modern Farmhouse, DIY Projects

Hope you all enjoyed the holidays (or still are) with your favorite people!

My little sister is in town (the one who moved into our Florida guest room this past July) so our family is cherishing every moment together before she heads back to the east coast on Sunday…

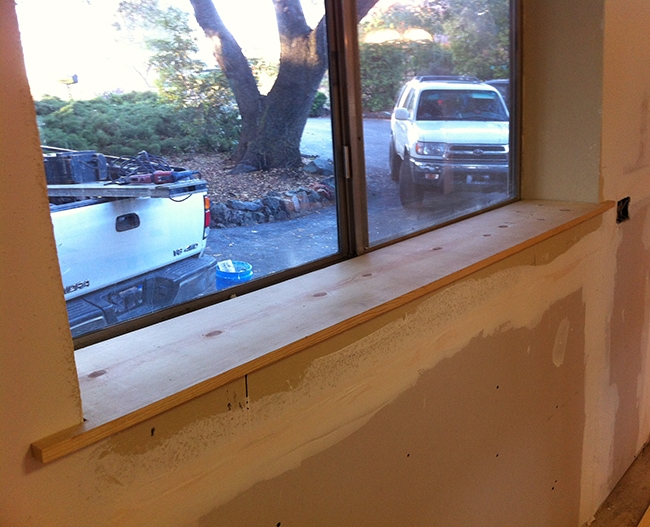
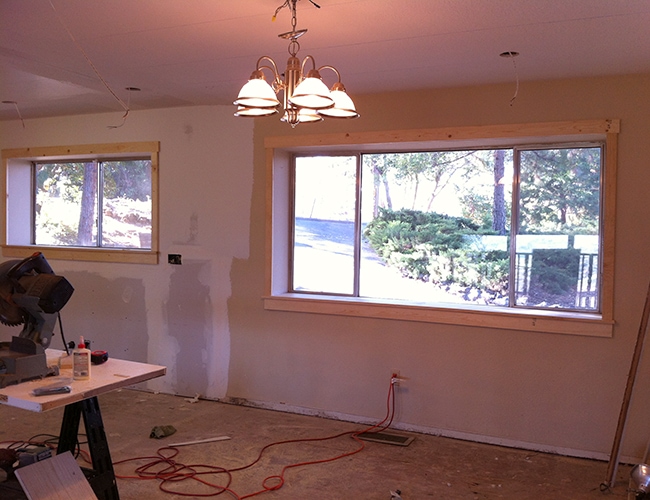
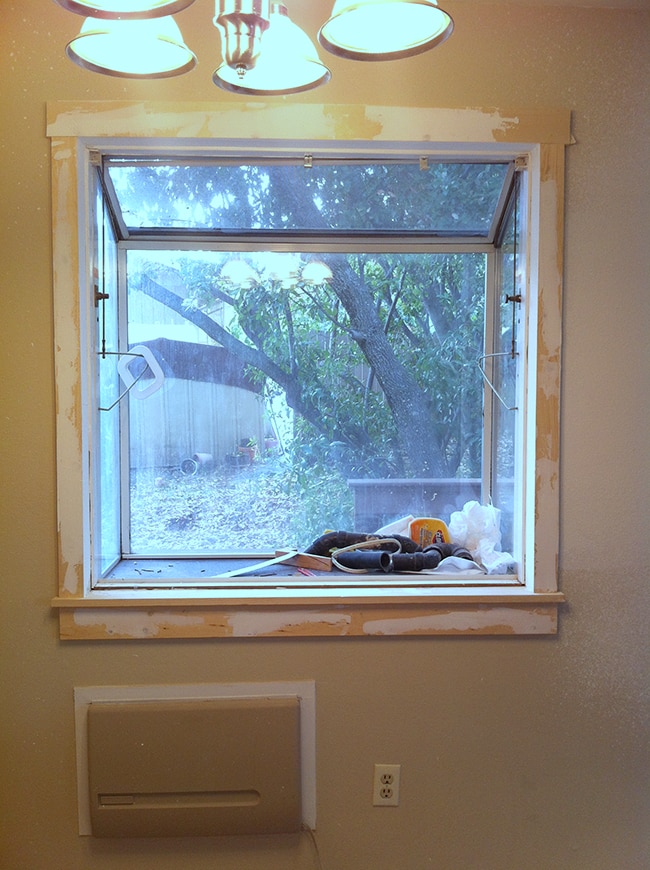
Amidst all the holiday hustle, my dad and I found some time to address an important issue—our plain jane trimless windows. I’ll get to all of them eventually, but for now I wanted to focus on the rooms on my priority list—the kitchen and my studio:

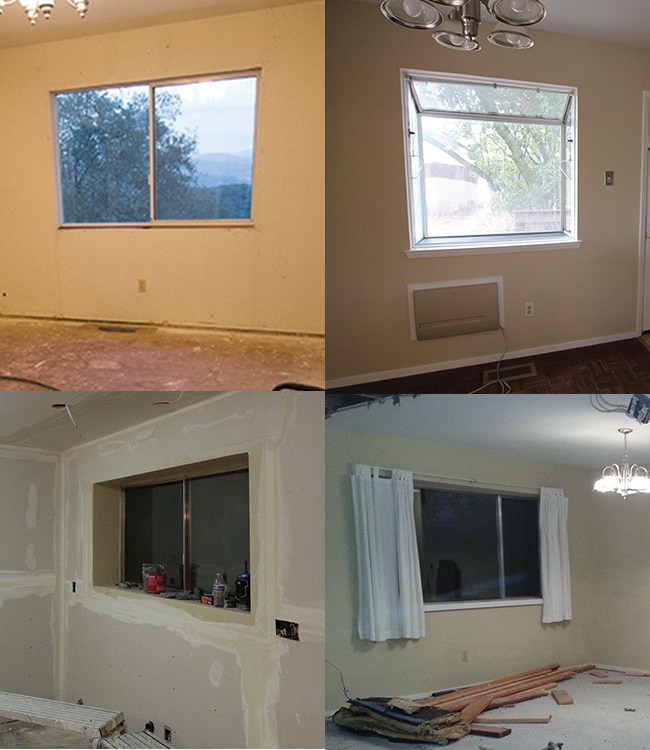
This was high on my list because it makes such a huge impact for relatively low effort and cost. And now’s the time to do it before the wood planks and backsplash go in.

If you can remember back in March, I tried this for the first time with our new master bedroom redo, and absolutely loved the results:

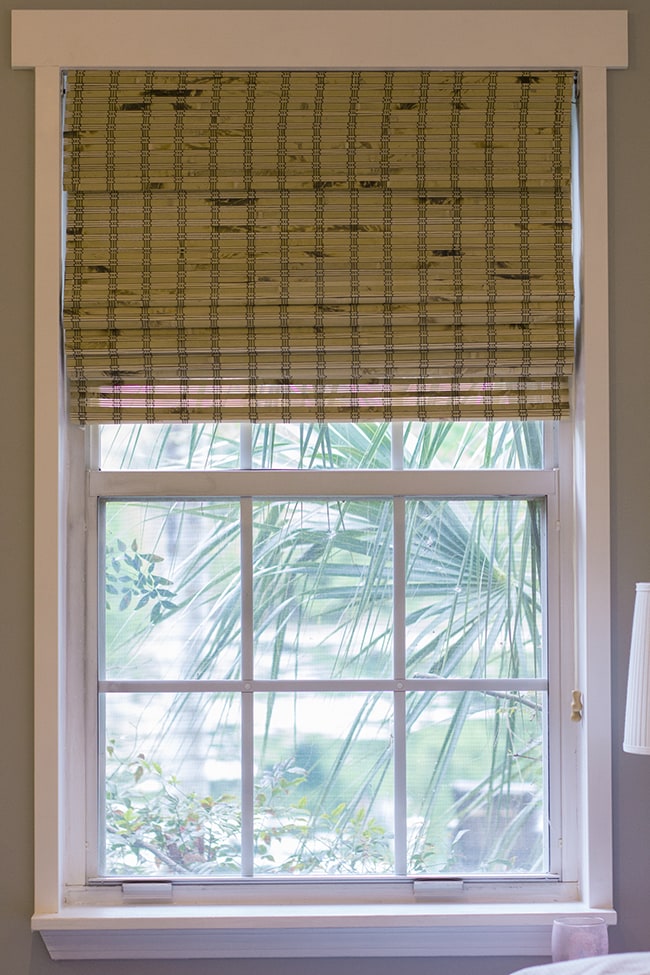
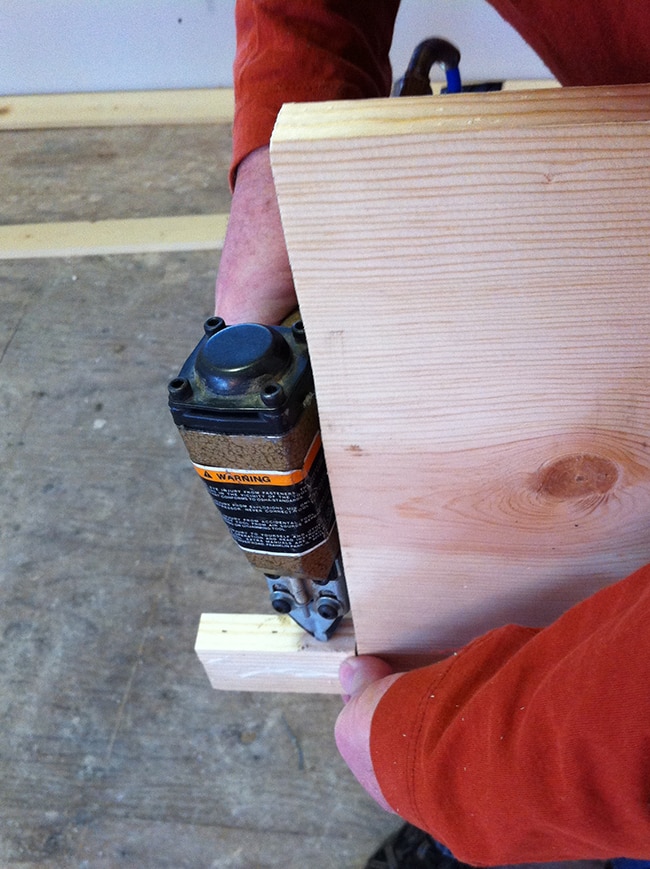
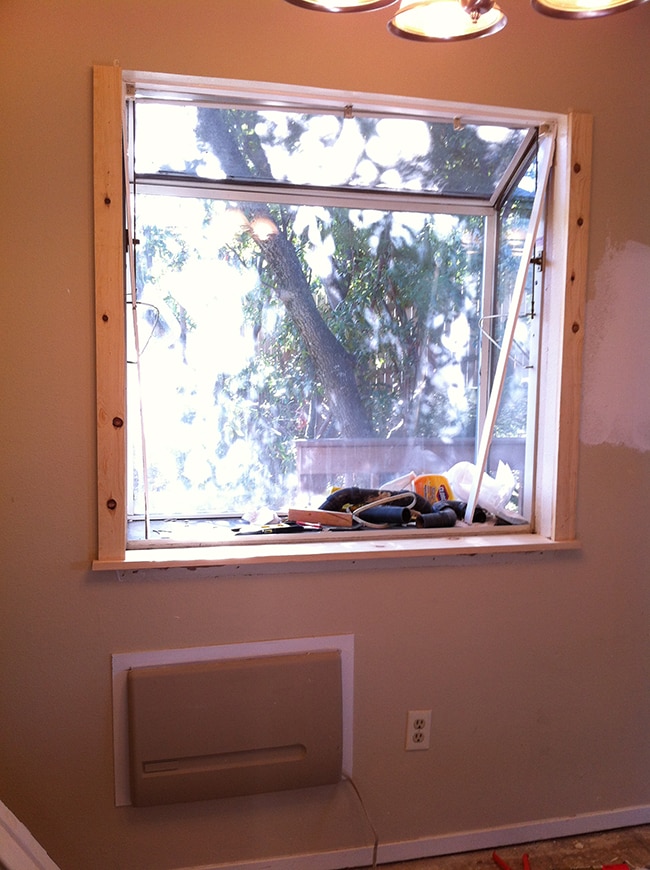
I kept the existing stool and apron (the two bottom pieces) and just added two vertical pieces and one horizontal to the top. Since it was ridiculously easy, I thought I’d step it up this time and make my own stool and apron and knock out four windows in one day.

I enlisted my dad’s help (he’s a former furniture maker) and we agreed it would be a fun daddy-daughter project (the first of many, yay for being back home!).

The hardest part about this process was planning. All four windows were different dimensions and had different needs. We spent almost two hours at Lowe’s trying to figure out exactly what to get and ensuring we wouldn’t have to make a second trip.

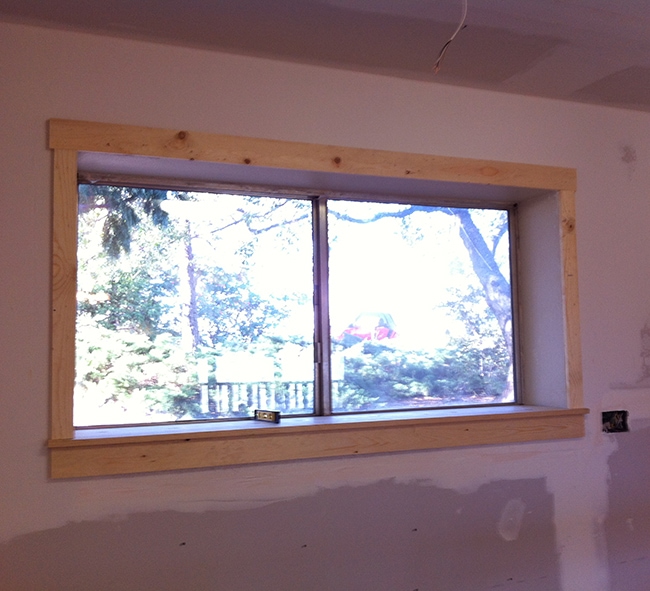
For the design, I decided to keep it clean and simple. Straight cuts, no miters, no crown or fancy bevels. All of the door and window trim on the outside of our house is the same basis Craftsman style I used in our old bedroom:

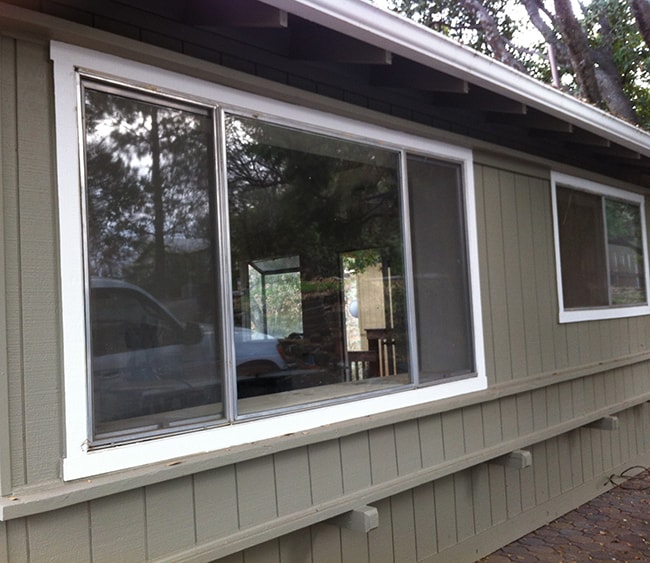
So I thought consistency would be nice to tie everything together.

I chose cost-effective whitewood boards in various lengths and widths for each window, in 3/4″ thickness. The total came to somewhere in the ballpark of $120 just for the wood—a bargain for the impact.

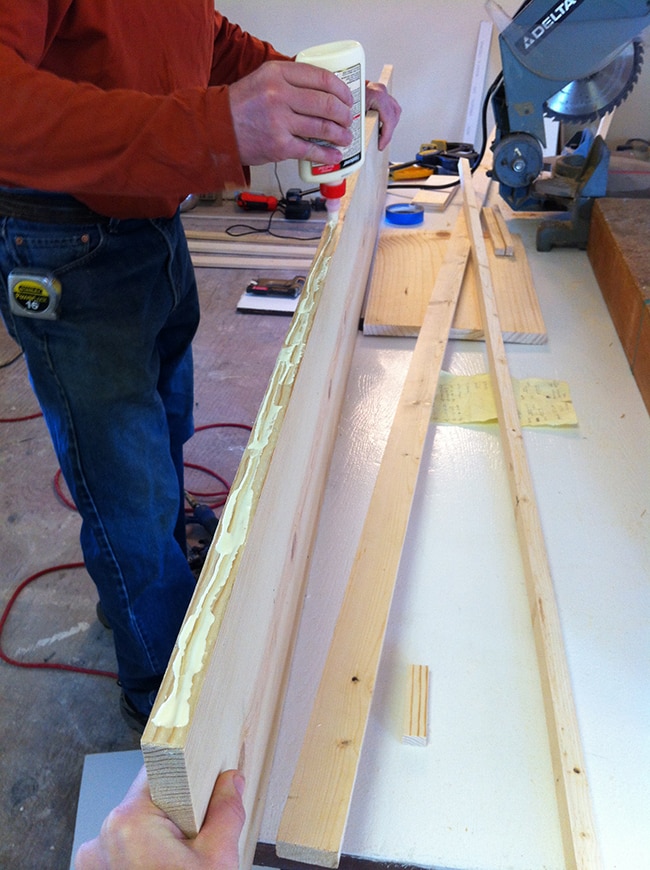
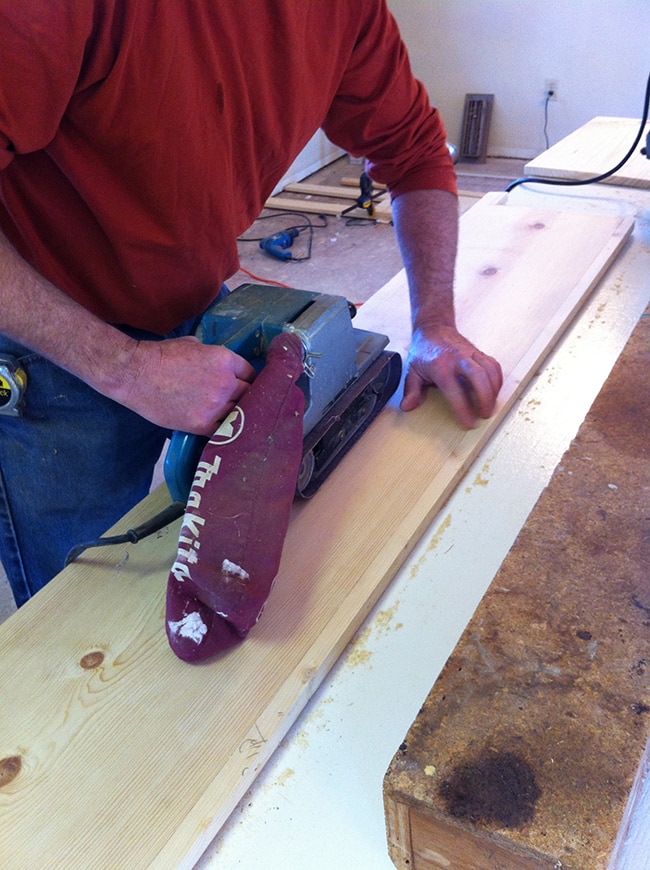
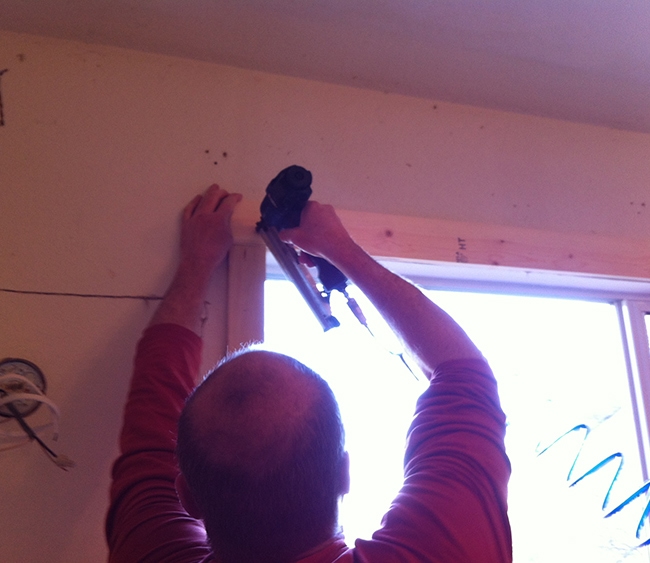
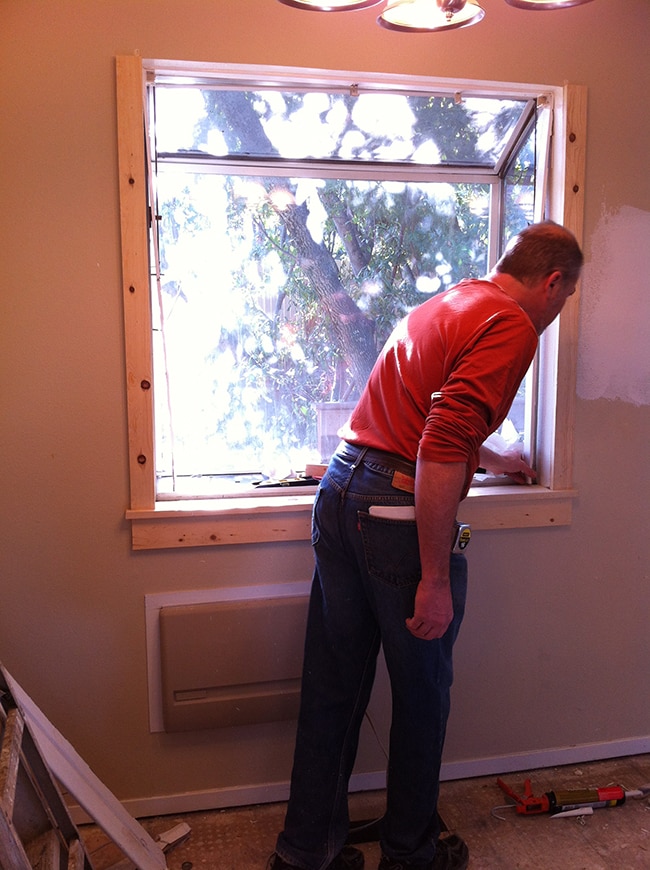
After gathering our wood, we got to work.

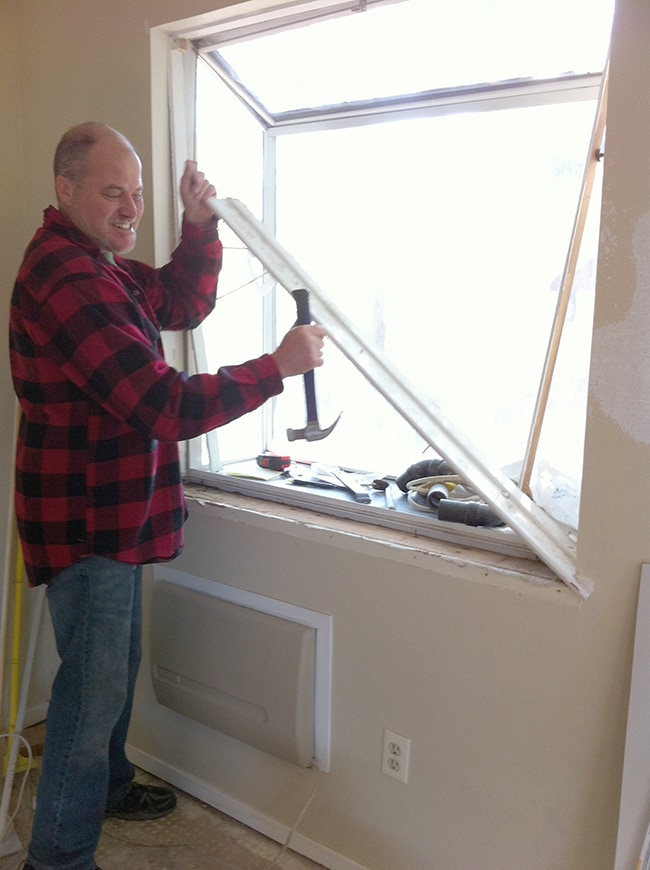
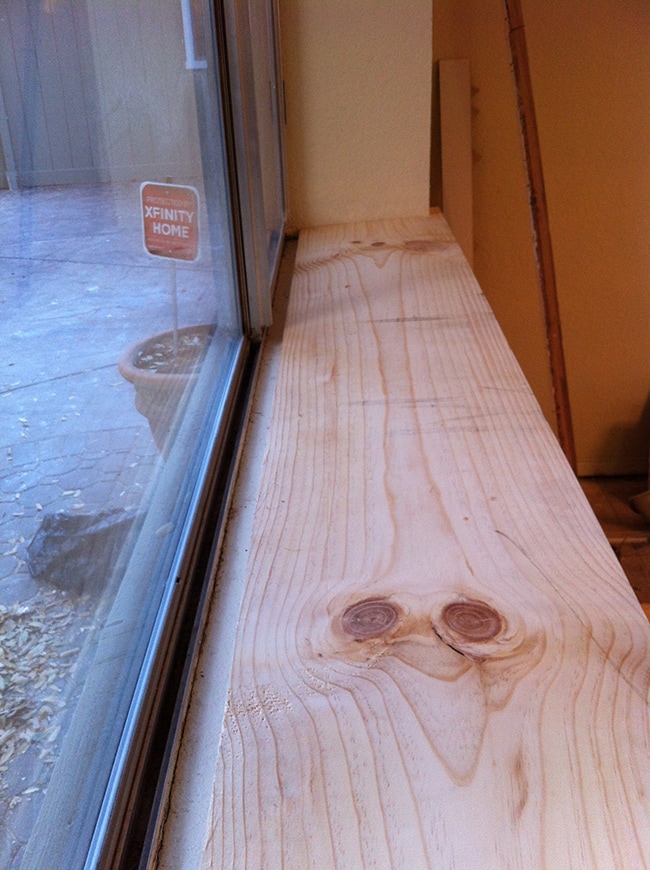
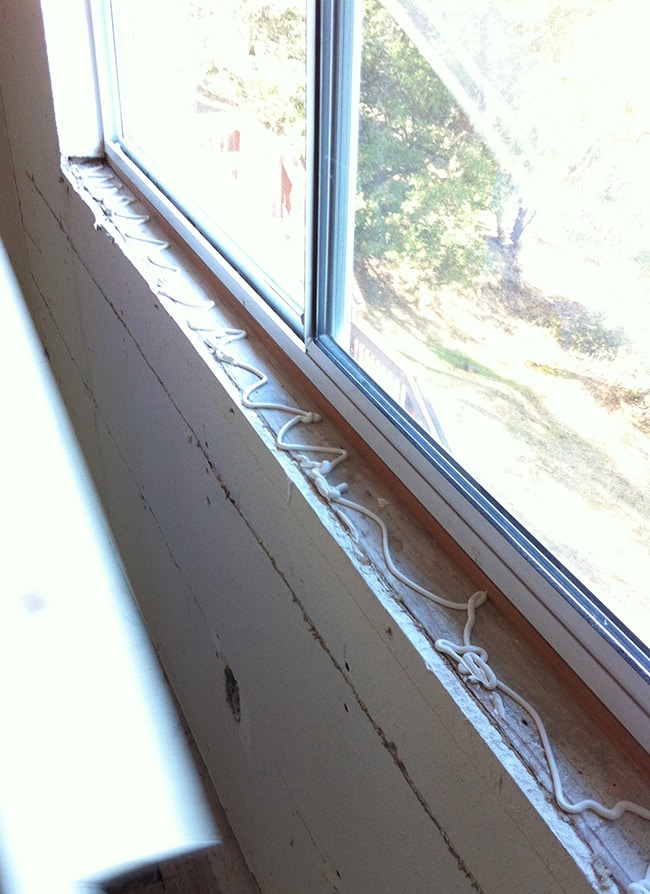
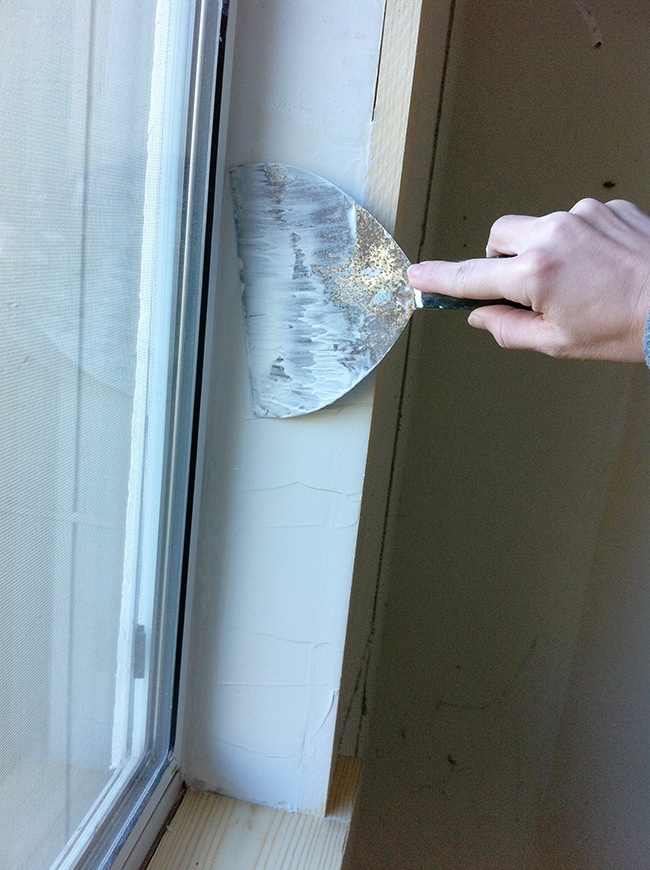
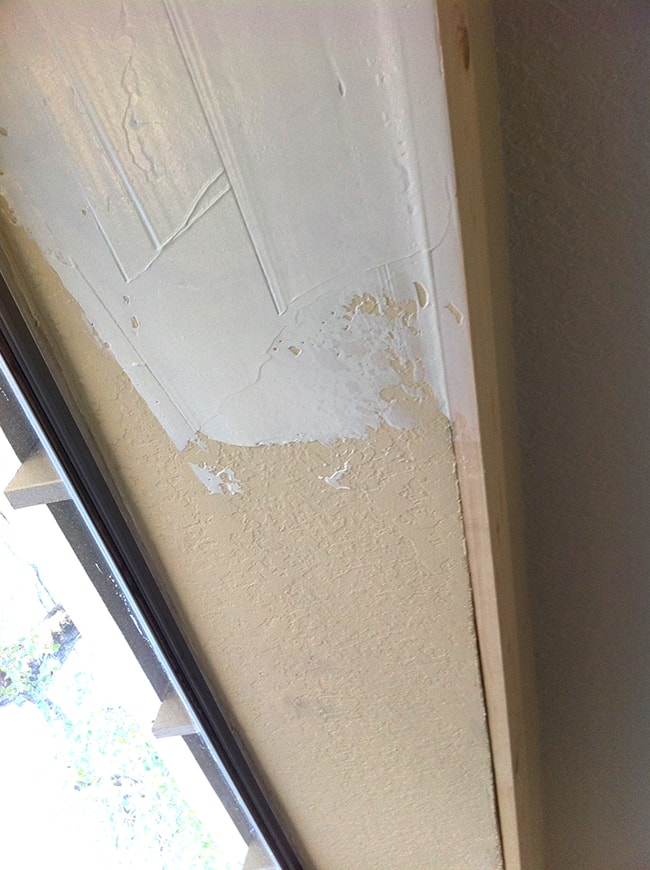
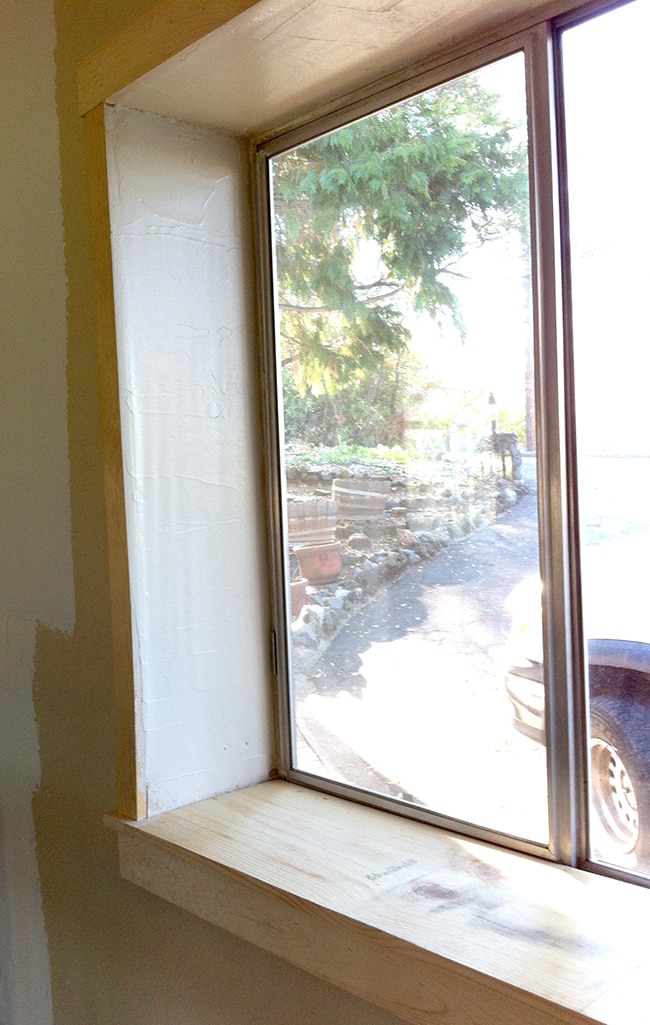
Step 1: removing the old window sills. Only two windows had them.

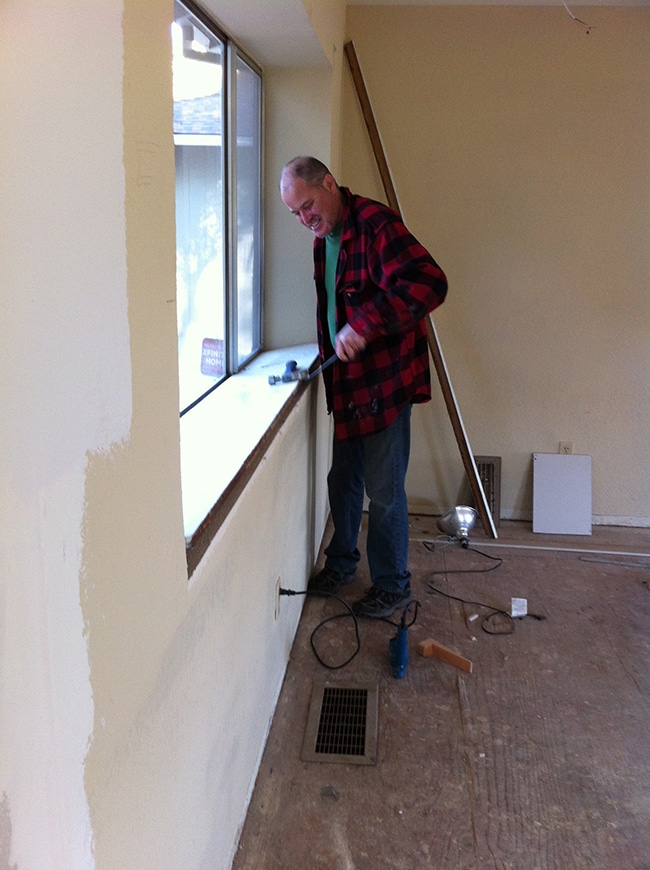
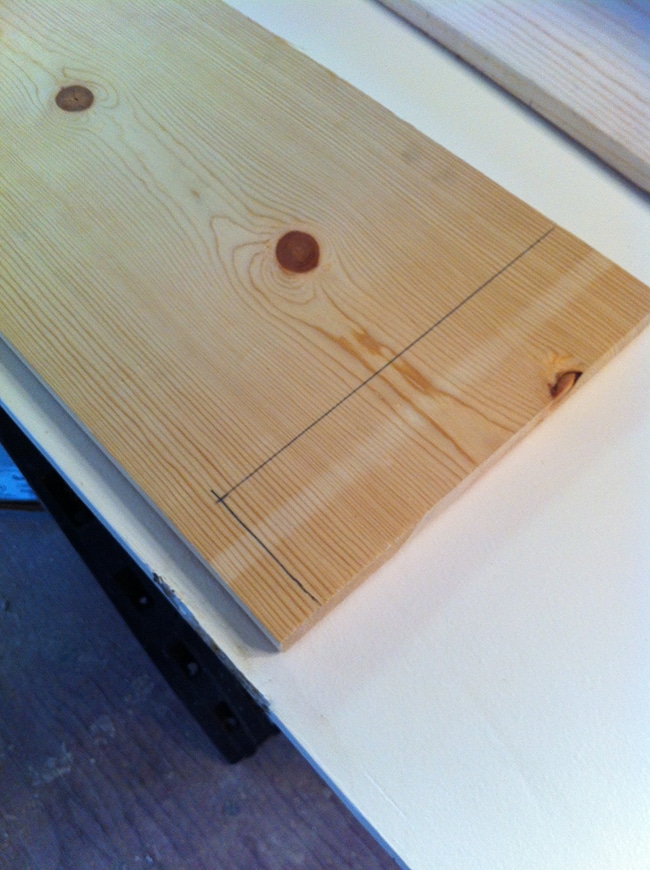
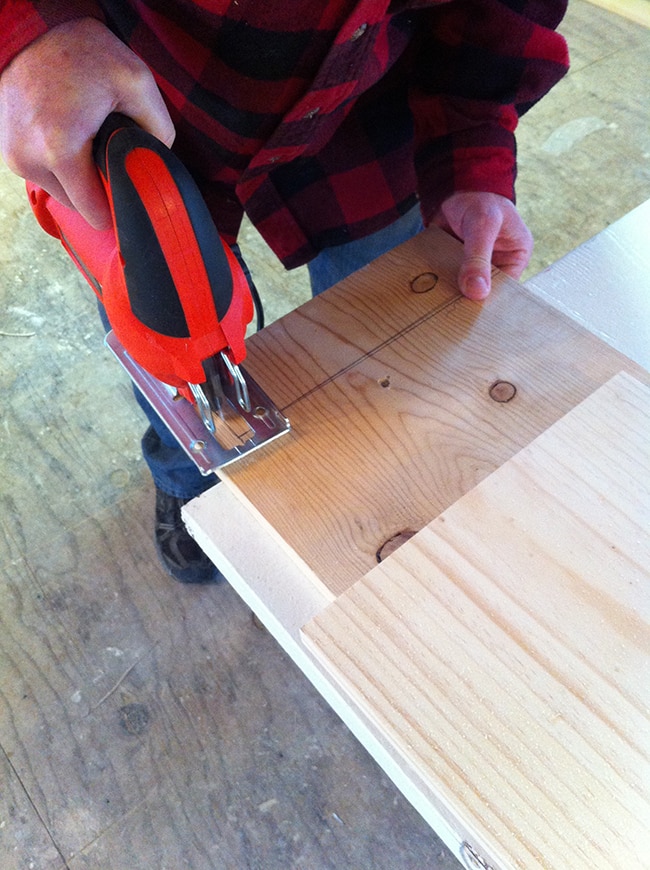
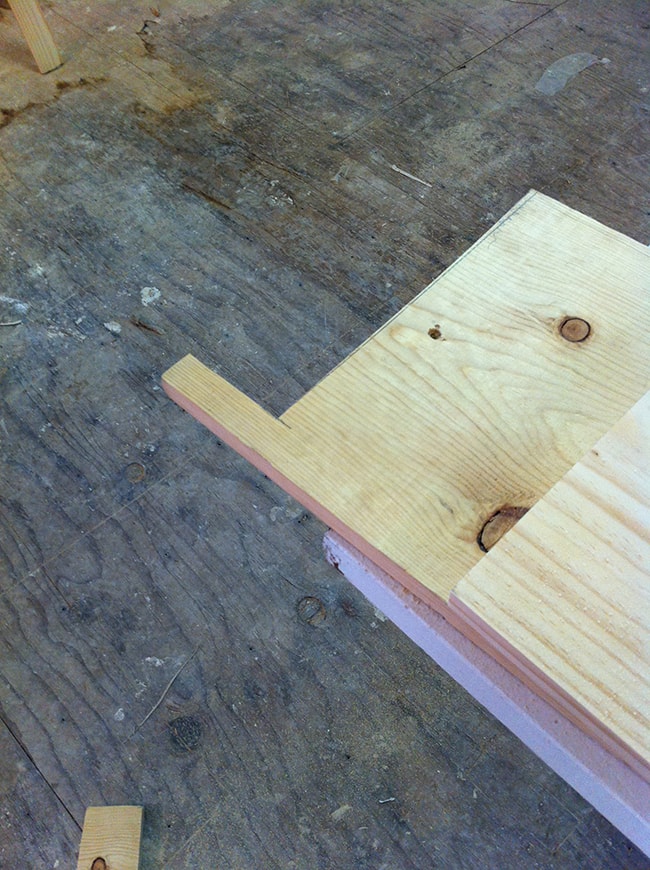
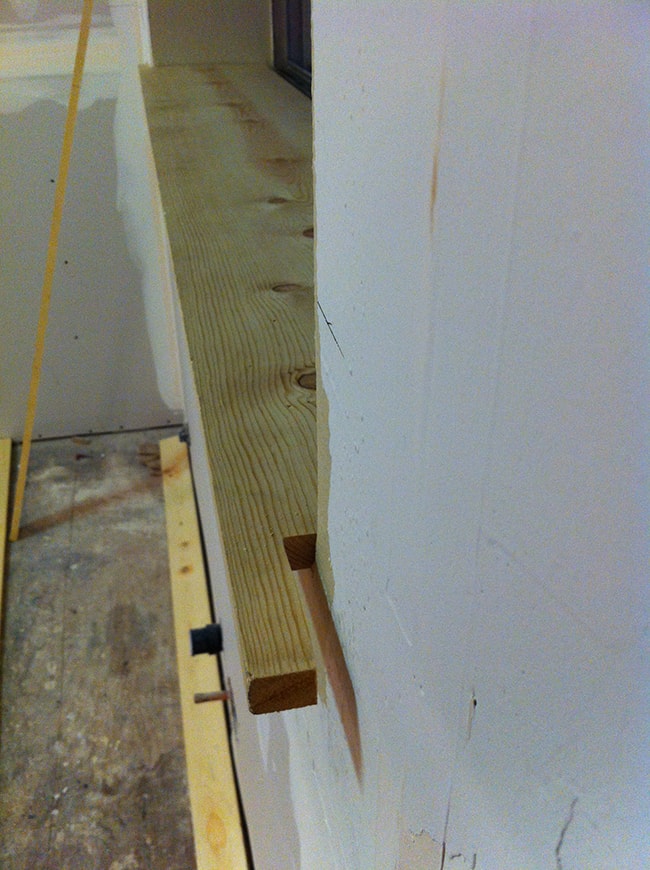
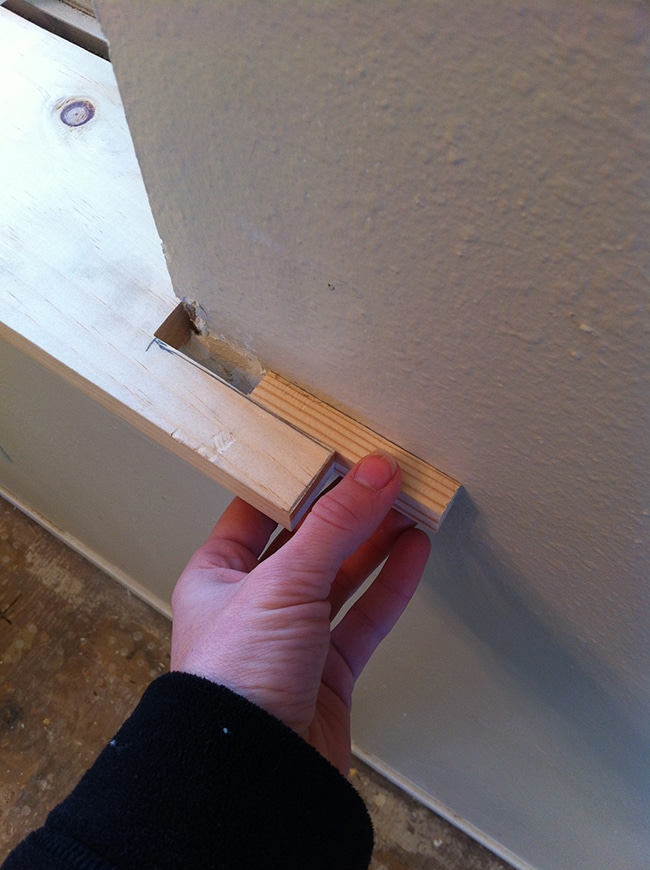
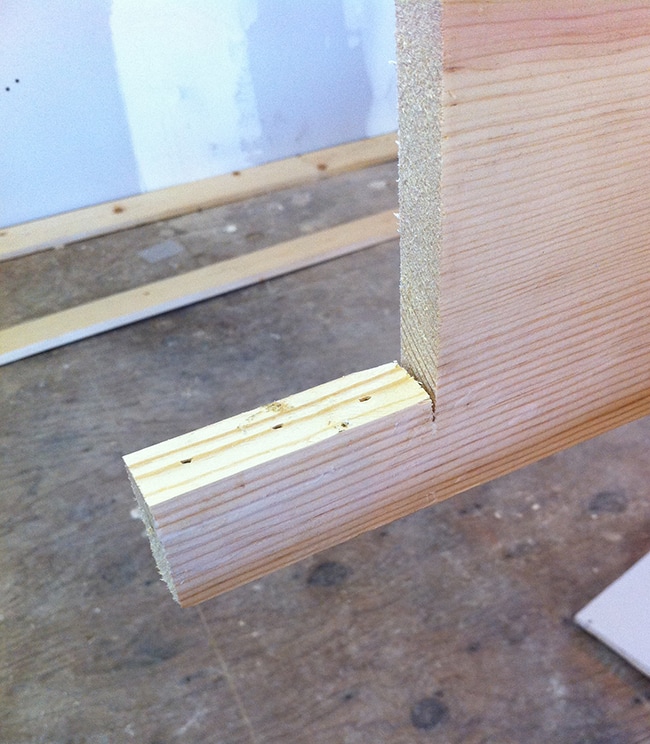
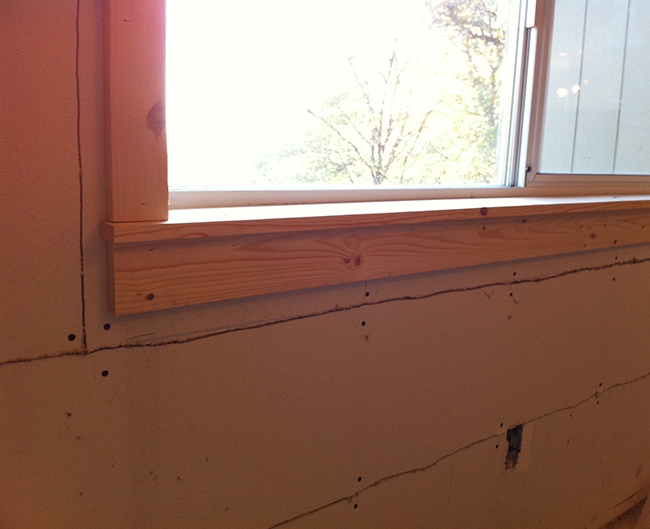
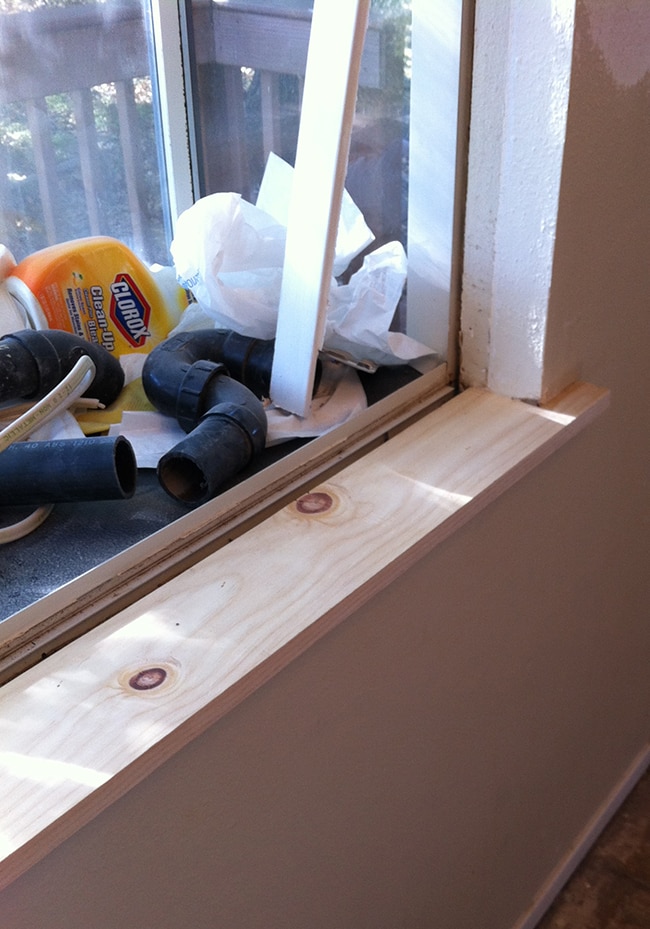
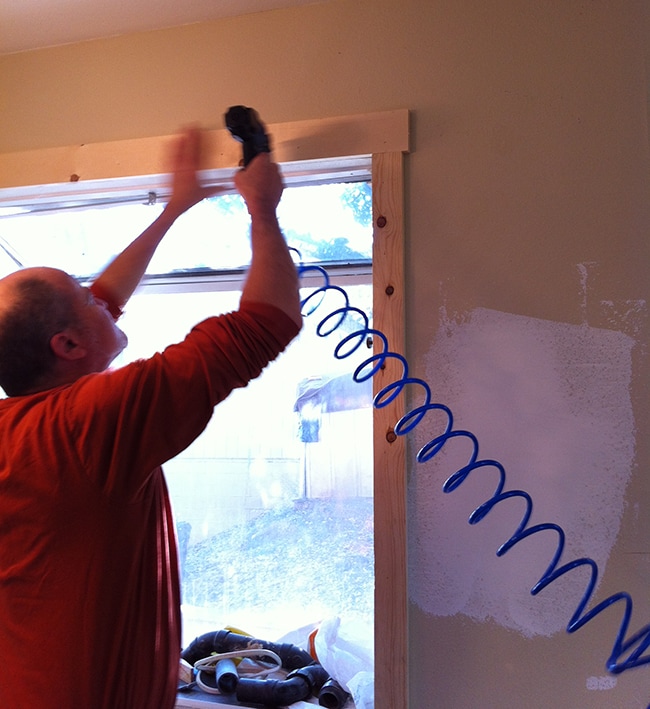
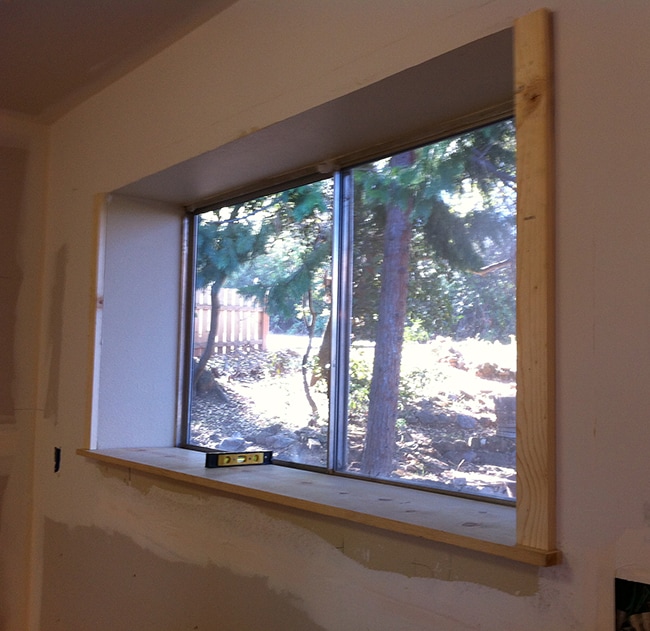
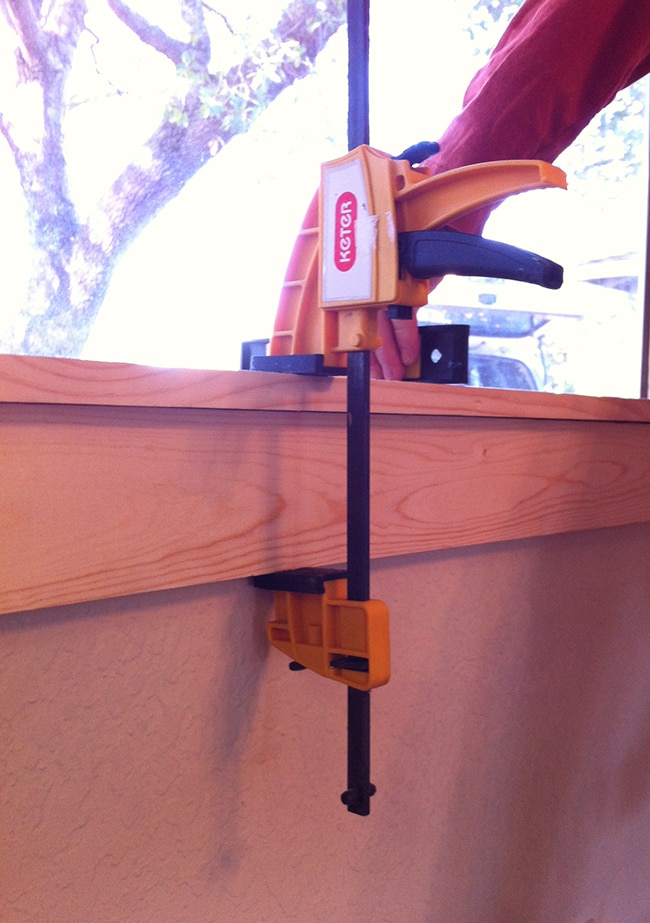
Next it was time to measure for our new sills. Each end needed to form an L shape on the ends so it would extend past the window.

Once the lines were drawn, we used a jigsaw to cut it out. It doesn’t matter if the line isn’t perfect since it will be covered with caulk and painted.
Ta-da…
After cutting, I realized that I should have doubled the thickness of the little piece that sticks out past the window…
Because I forgot about the wood going above and below it—I wanted it to stick out 1″ past the other wood, not the window. Oops.
My dad suggested sliding it forward and cutting a small piece of wood to attach to it. Luckily he had a table saw to do just that.
We dabbed on some wood glue, sho
t a few nails through, and it was all fixed.
There was another obstacle—our wood wasn’t deep enough. The largest planks they had at Lowe’s were around 11.5″ wide, but our sill was 13″.
My dad fixed that by stripping down a piece of wood to the size of the gap and attaching it to the back.
To make it extra secure, he drilled pilot holes into the strip first…
Then screwed the two pieces together.
To make sure everything was seamless, he smoothed it down with a belt sander:
Perfect!
Onto installation. We installed the sills first, using plenty of liquid nails to level everything out (none of our existing sills were very straight).
This part goes really fast. Gotta love pneumatic nail guns.
After the sill came the side pieces (the order really doesn’t matter).
 
Notice my new sconce light boxes? That’s for another post…
Then the bottom piece goes in…
And finally, the top.

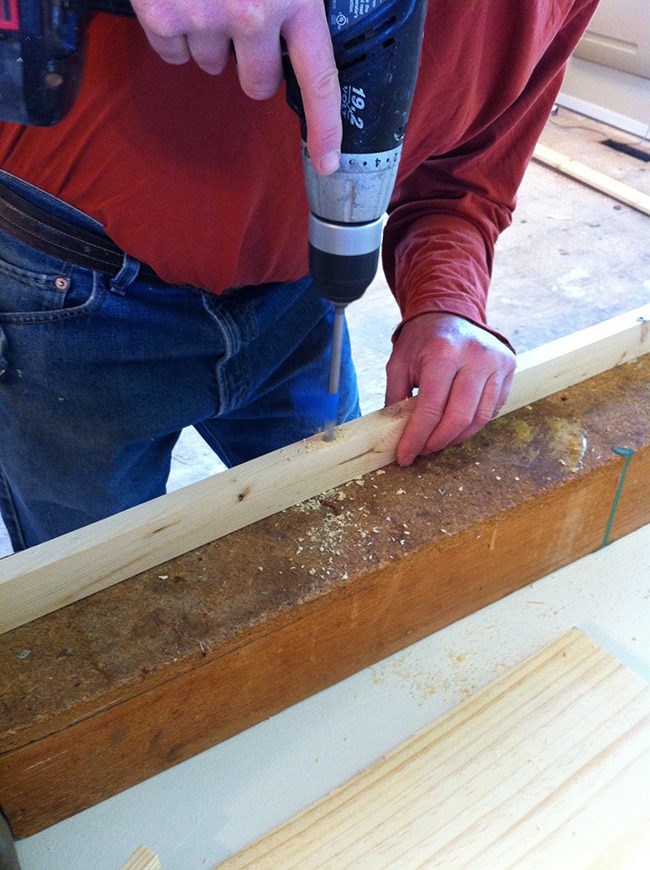
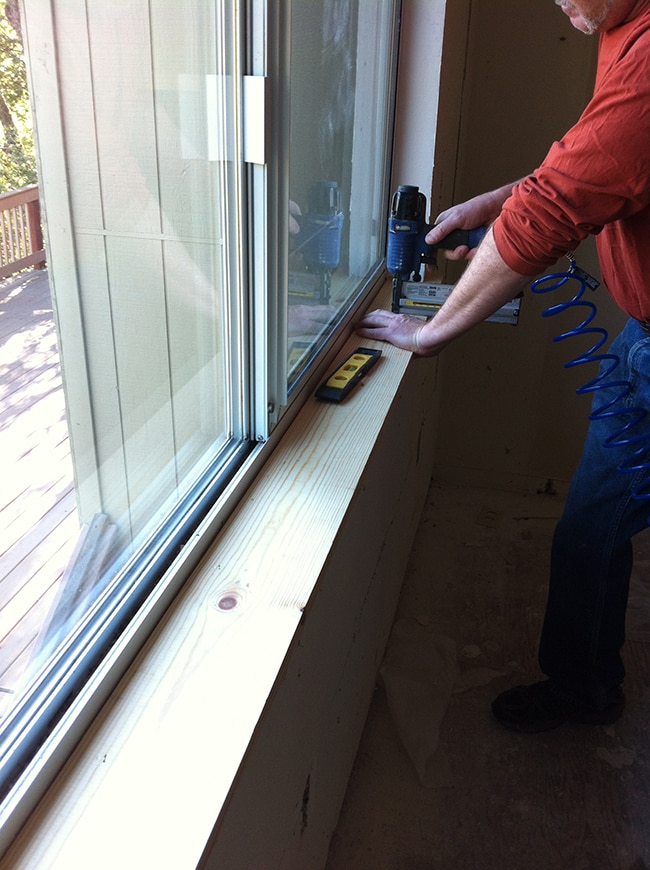
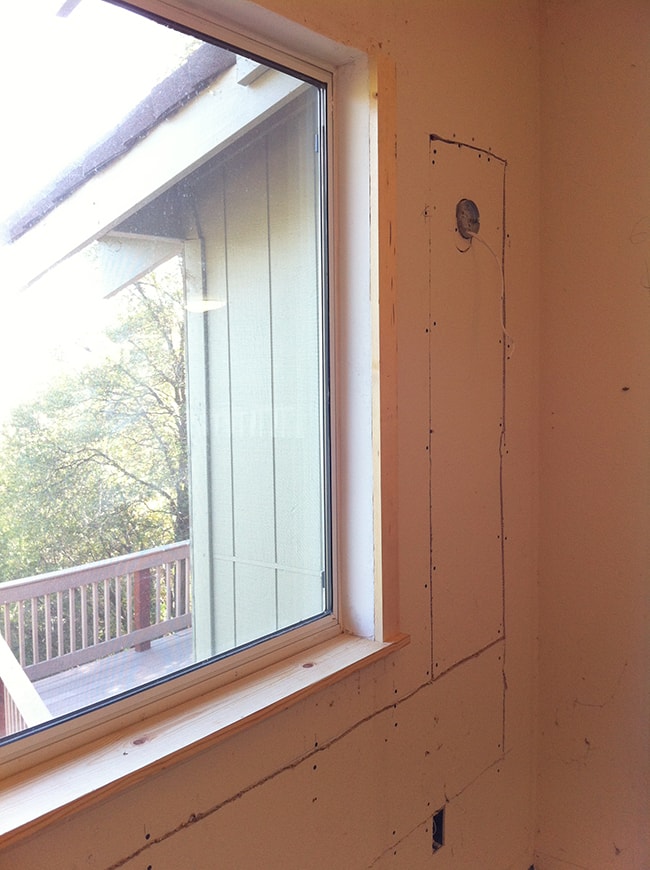
One down, three to go!

Next up is the garden window in the kitchen…
Same exact method. Sill, sides, bottom, top.
It’s really as easy as it looks.
The window over the future sink…
And finally, the dining area window. The bottom piece was a little bowed (common with this wood) so we clamped it down before nailing it to the wall.
All done!
The next day, I came back to fill all of the nail holes and deal with one more problem—the textured walls.
Some areas were worse than others, but I wanted a nice smooth look so it’s not obvious that the insides of the window are drywall and not wood.
Doug the handyman was there and let me borrow his drywall mud and go crazy. I figured I’d put a coat or two up and make the seams less obvious (most people would use caulk, but I wanted to skim coat the drywall to hide the texture so I killed two birds with one stone).
The kitchen drywall texture was the worst. The wall was also nowhere near straight, so I had to put a few coats on this one to try and even it all out.
This step is not necessary (especially if you have smoother walls) but I’m really trying to pay attention to detail with this house. I don’t want to have to go back and red
o anything later on.
I also added a few light coats over some of the more visible knots. Not sure how drywall mud will work out but I figured it couldn’t hurt.
And that’s where we’re at now! I plan to sand and caulk everything on Sunday so it’s ready for paint. I’m choosing my paint color carefully this time—after we make an Ikea trip (hopefully next weekend) and get our pantry and bench seating, I want to color match the whites so the room looks cohesive.
In other news, I’ve been keeping my eye out for home decor and seriously scored last week. Check out what I got for $24!
My treasures include two vintage glass window panes and small doors, an antique sled and paddle, pretty white dishes, antlers, two quilts, wood trays, a stool, 4 suitcases, a dremel kit, kitchen jars and canisters, and a large collection of glass insulators and more. Most of it was actually free from an abandoned garage my parents inherited from their tenants, and the rest was picked up at a local flea market. I can’t wait to start decorating!
But first we must get through the next few weeks of hard work. Brad has been at the house every day working on the home theater room and is anxious to share his progress, so that will be coming in the next post!
Share this!
Previous Post: « Kitchen Chronicles: A blank slate (+ more house updates)
Next Post: Building a Home Theater Room »

Reader Interactions

Comments

  1. Pine Tree Home says

    December 28, 2013 at 3:05 am

    I loved this post cause I so agree with you that a little trim makes a huge impact. I too have been adding the same simple trim around my crappy windows and it really does make the room look so much better. Love the detail you shared.

  2. Ann says

    December 28, 2013 at 6:48 pm

    Love the updates of your house!

  3. Andrea @ Decorating Cents says

    December 29, 2013 at 2:58 pm

    They will look so good when they're painted white. Can't wait to see.

  4. Cindy @Made2Style says

    December 30, 2013 at 3:17 am

    Coming along!

  5. Anonymous says

    October 15, 2014 at 5:47 pm

    Hello. I found your web site thru Thrifty Décor Chick and I am so glad I did. I want to do my windows like that, all framed out. Can I ask how difficult it was? I have sills already there but I would like to remove them like you did and put in wood. Do you have to remove or mess with the window at all? Thank you for your time. Tracy my email is [email protected]

  6. Jenna Sue says

    October 15, 2014 at 5:53 pm

    It's not difficult at all! The hardest part is cutting the new sill piece. You don't have to touch the window at all, just remove the old trim and put the new wood in its place. The instructions in this post should help guide you!

  • BROWSE BY CATEGORY
    • Heights House
    • Riverside Retreat
    • Cottage Flip
    • Modern Farmhouse
    • Room Reveals
    • DIY Projects
    • Favorite Finds
    • Personal
    • Seasonal
    • Travel

INSTA FEED

@Jennasuedesign

Welcome!

Hi, I’m Jenna and I’ve been designing and DIY’ing my way through homes since 2008. Join me as I learn, share my experience, and hopefully encourage/inspire you along the way!

As Seen In

Primary Sidebar

Welcome!

Hi, I’m Jenna and I’ve been designing and DIY’ing my way through homes since 2008. Join me as I learn, share my experience, and hopefully encourage/inspire you along the way!

JOIN THE FUN

  • Facebook
  • Instagram
  • Pinterest
  • RSS
  • YouTube

Shop MY HOMES

  • Heights House
  • Riverside Retreat
  • Cottage House Flip
  • Modern Farmhouse

INSTA FEED

LATEST VIDEO

Shop MY AMAZON

As an Amazon Associate I earn
from qualifying purchases

  • BROWSE BY CATEGORY
    • Heights House
    • Riverside Retreat
    • Cottage Flip
    • Modern Farmhouse
    • Room Reveals
    • DIY Projects
    • Favorite Finds
    • Personal
    • Seasonal
    • Travel

Subscribe via email

Footer

Shop My Homes

  • Heights House
  • Riverside Retreat
  • Cottage House Flip
  • Modern Farmhouse

Connect

  • Instagram
  • Facebook
  • Pinterest
  • Youtube

Information

  • Contact
  • About Jenna Sue
  • About the Blog
  • Privacy Policy

Copyright © 2021 · Jenna Sue Design Co. · All Rights Reserved · Website by Wordpress Barista

SUBSCRIBE VIA EMAIL: