• Skip to primary navigation
  • Skip to main content
  • Skip to primary sidebar
  • Skip to footer

    Nav Social Menu

    • Facebook
    • Instagram
    • Pinterest
    • RSS
    • YouTube
  • Houses + Sources
  • DIY Projects
  • My Shop
  • About Jenna Sue
  • About the Blog
  • Contact
Jenna Sue Design Blog

Jenna Sue Design Blog

Home Design, DIY and Travel Inspiration

  • Houses + Sources
    • Heights House
    • Riverside Retreat
    • Cottage House Flip
    • Modern Farmhouse
    • SEE ALL
  • DIYs
  • My Shop
  • About
    • About Jenna Sue
    • About the Blog
  • Contact

Master Makeover: Ikea Pax Door Hack

June 12, 2014Modern Farmhouse, DIY Projects

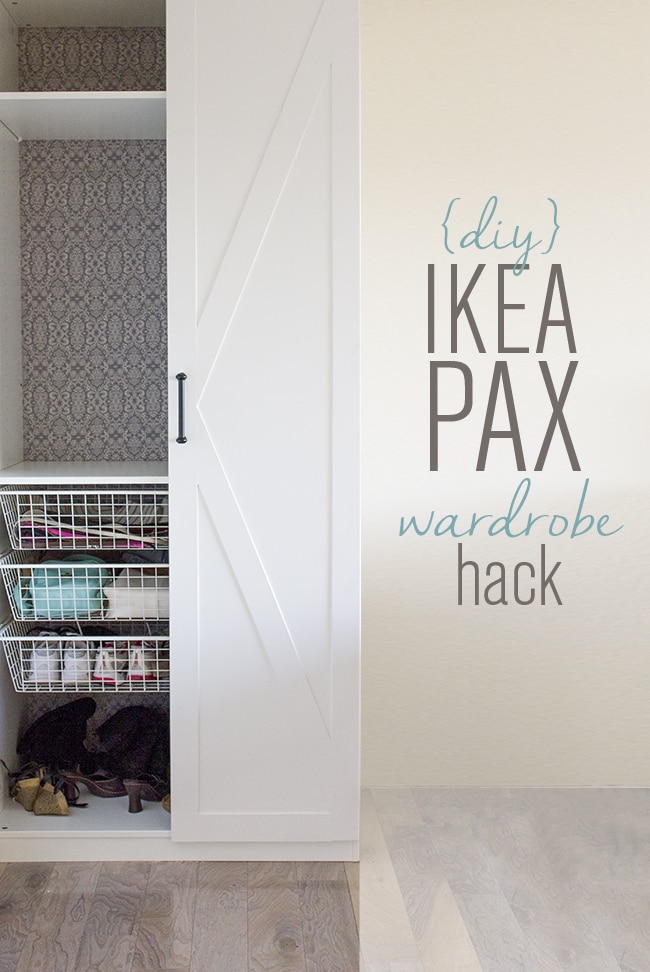
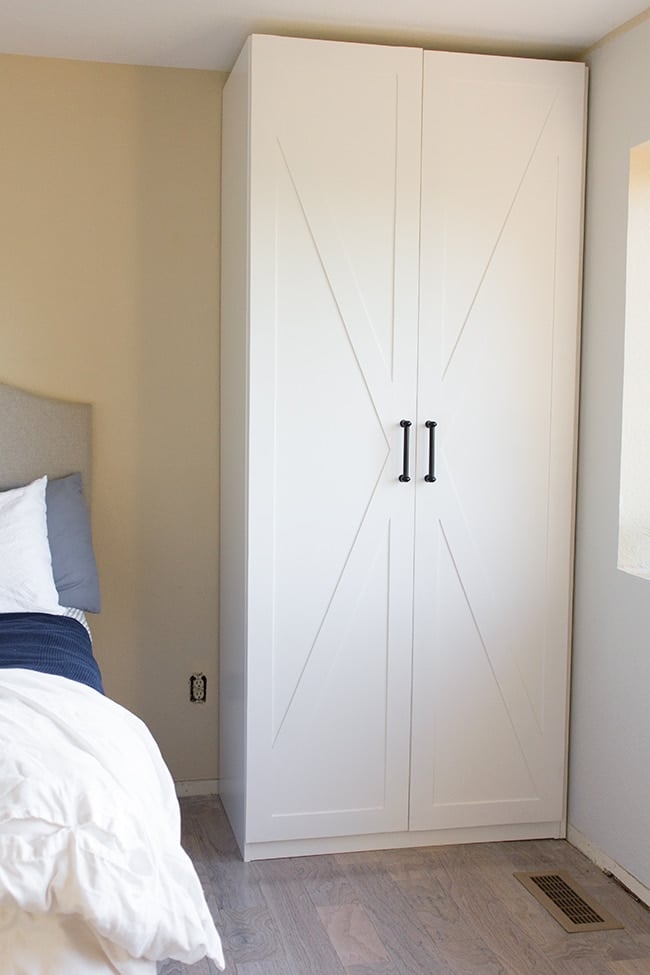
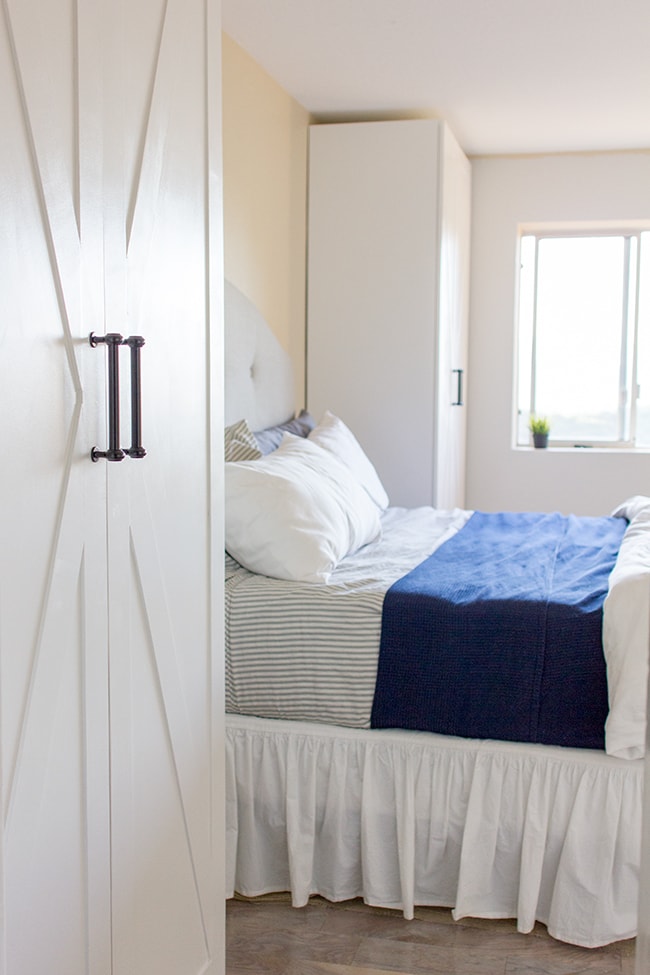
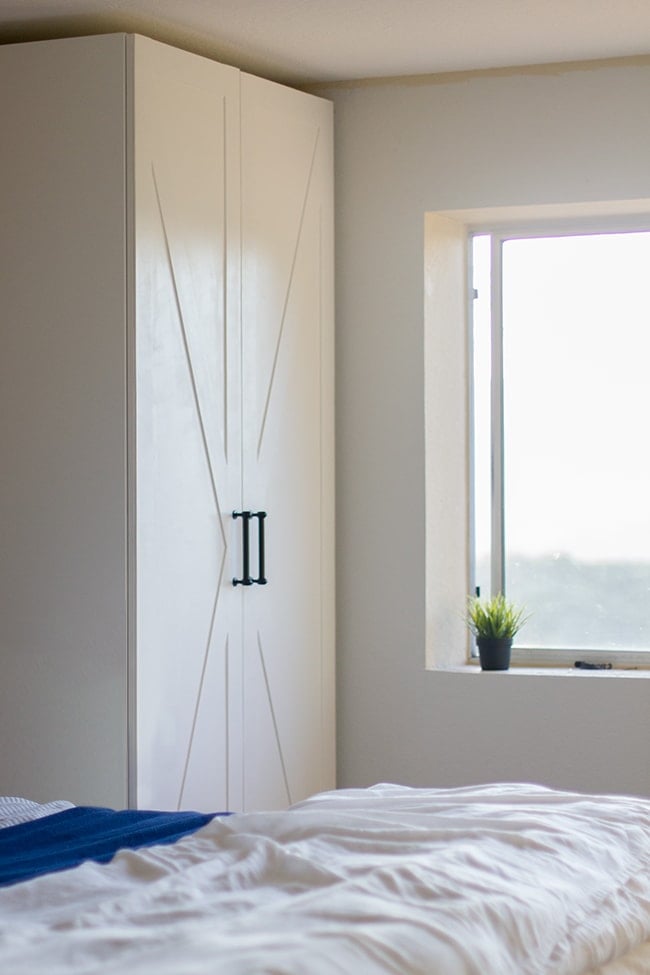
Our Pax wardrobe is rockin’ some fancy doors right now…

I cannot tell you how relieved I am that this project is complete. I’ve spent ~20 hours over the past 3 days on this after running into a couple road blocks, so I’m extra excited that I’m finally able to relax and enjoy them.

Yesterday I posted a little peek on instagram while the doors were drying…

But let’s rewind to Monday.

If you remember in my Pax wardrobe part 1 post, I mentioned that I had hoped to get the Bergsbo style paneled doors we have on our pantry, but Ikea didn’t have enough in stock so I settled for the  plain Ballstad doors instead, knowing I could transform them somehow.

Excuse the poor garage lighting…
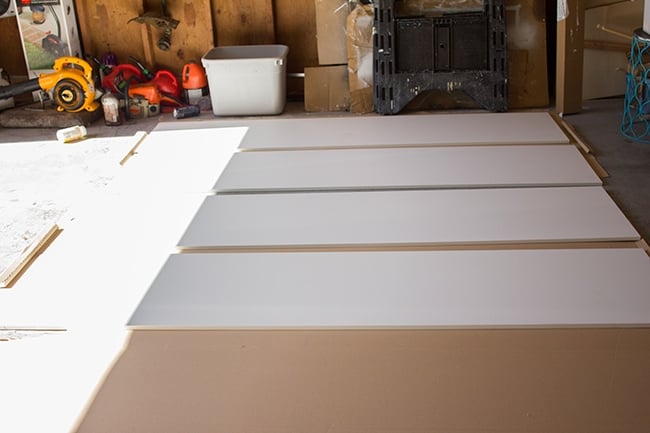
At first I was going to recreate the same paneled look (I love the way it turned out on our foyer door) but then I decided since I’m going through all this trouble, I should switch it up a bit.

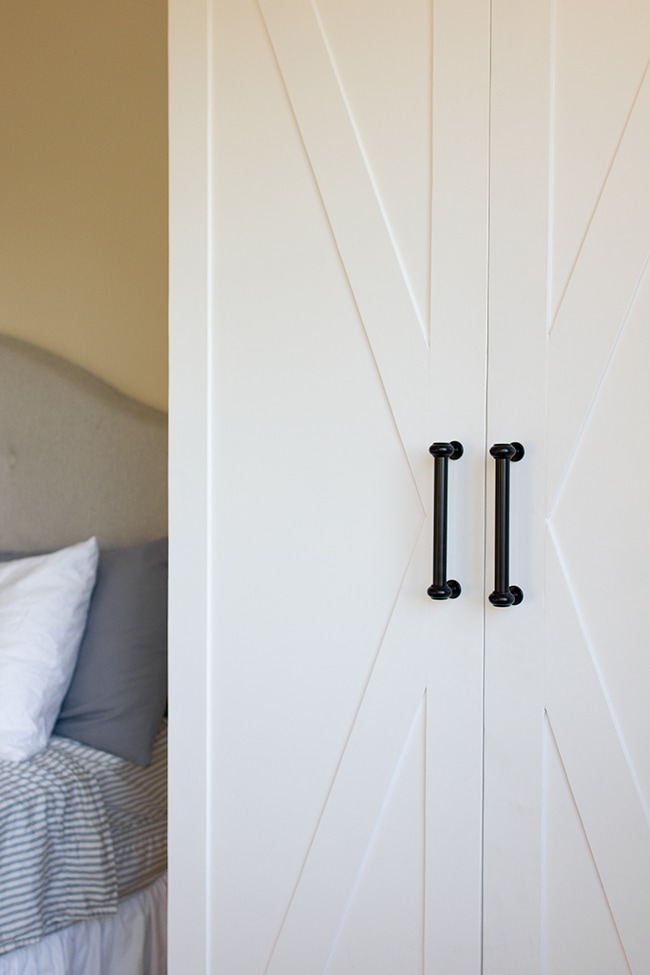
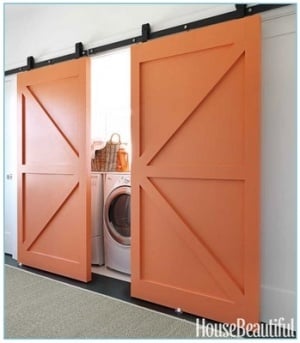
I settled on a criss cross barn door style pattern, similar to this but without the horizontal bar in the center:

Source

It has a rustic farmhouse meets German cottage style vibe—perfect. Let’s get started.

For the panels, I picked up a cheap 1/4″ 4×8′ plywood sheet at Lowe’s (the pinkish wood that’s $15) and ripped it down into 3″ strips.

Warning: this stuff is not easy to cut into skinny strips using a table saw. At all. There were two of us trying to keep it even the whole time but half of them ended up a little crooked.
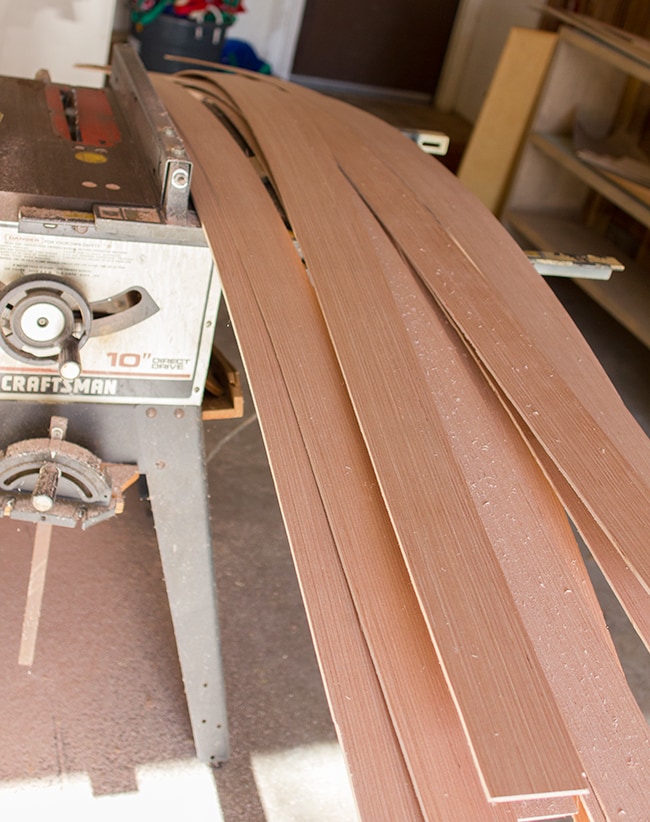
It’s because they’re so flimsy. I probably should have splurged for the $30 cabinet grade 1/4″ plywood because it’s sturdier and easier to cut.

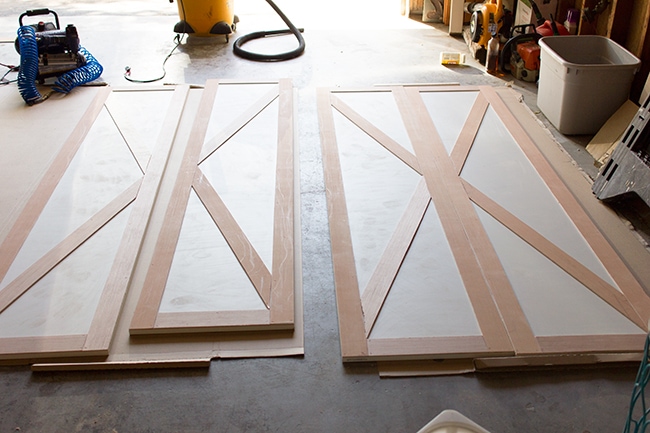
Once they were all cut, I selected the straightest strips to use for the edges and started cutting them to the correct length:
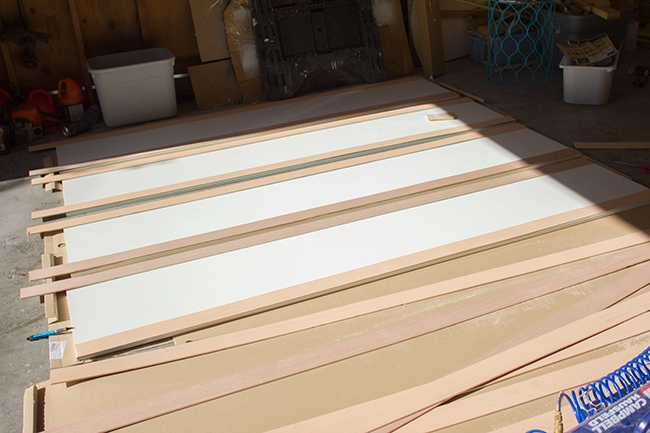
Then I chopped up some of the leftovers for the top and bottom horizontal pieces.

For the cross pieces,  I measured to find center and lined it up across the door, then used a straight edge to draw my cut line.
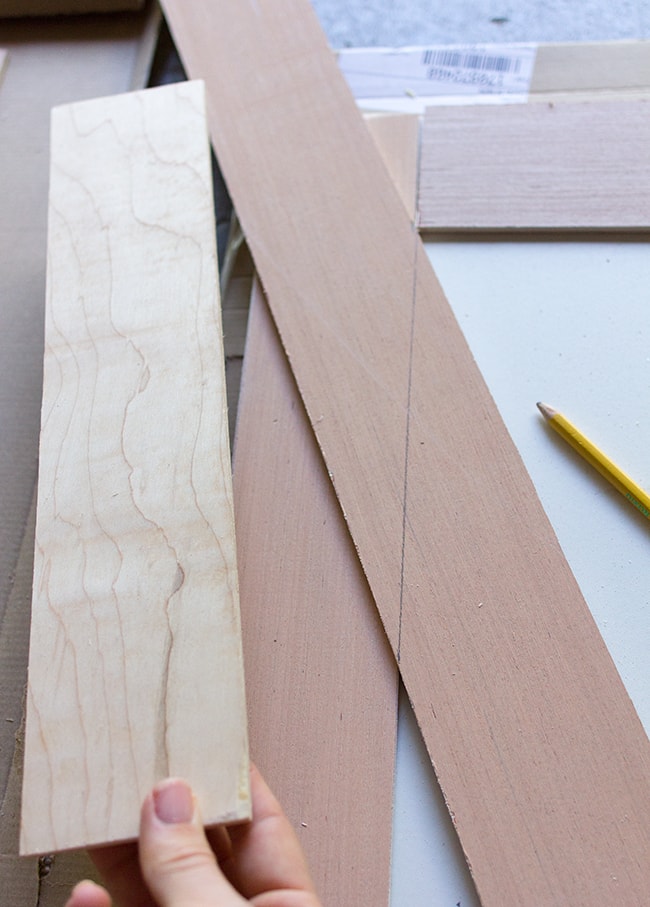
Then… I realized I didn’t have a saw that would cut that angle (it was way past 45°, more like 75°) so I searched through my arsenal of tools to find an acceptable alternative.

At first I tried my skilsaw, but that was a disaster, so my only option was a jigsaw. Yikes.

If there’s ever a project to perfect your jigsaw skills, this one is it. Things started out pretty rough, but by the end I had it down…
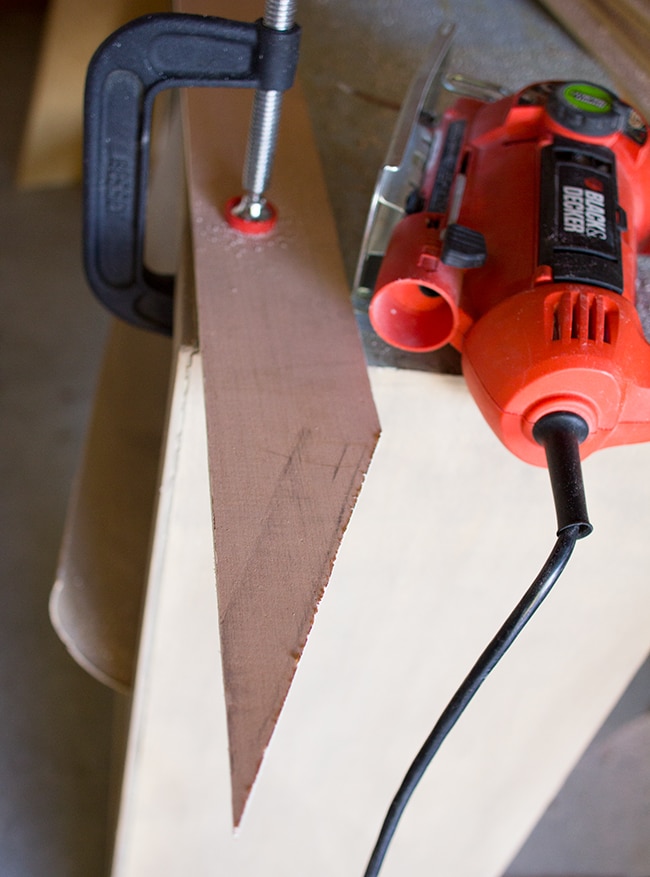
All I can say is… thank goodness for caulk. And spackle. And sandpaper.

Anyway, after spending half a day making a million cuts and using up every last board I had, my pieces were arranged and ready to attach…
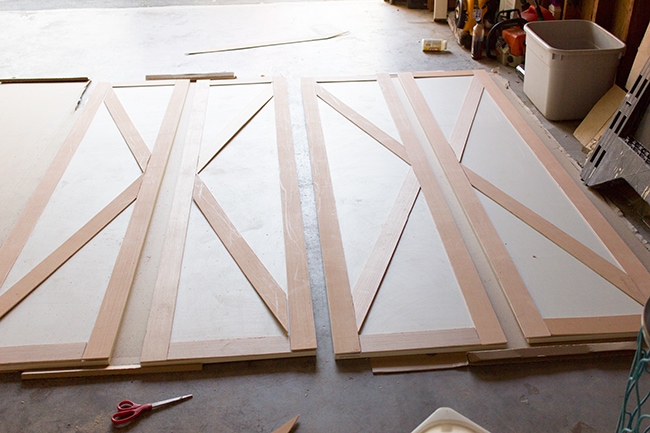
Then I realized my 1″ finish nails were too long, so I ran to Lowe’s and picked up some 5/8″ brads for my nail gun.

That worked.

I spent the rest of the evening spackling all the nail holes and caulking every point where the wood met the door…
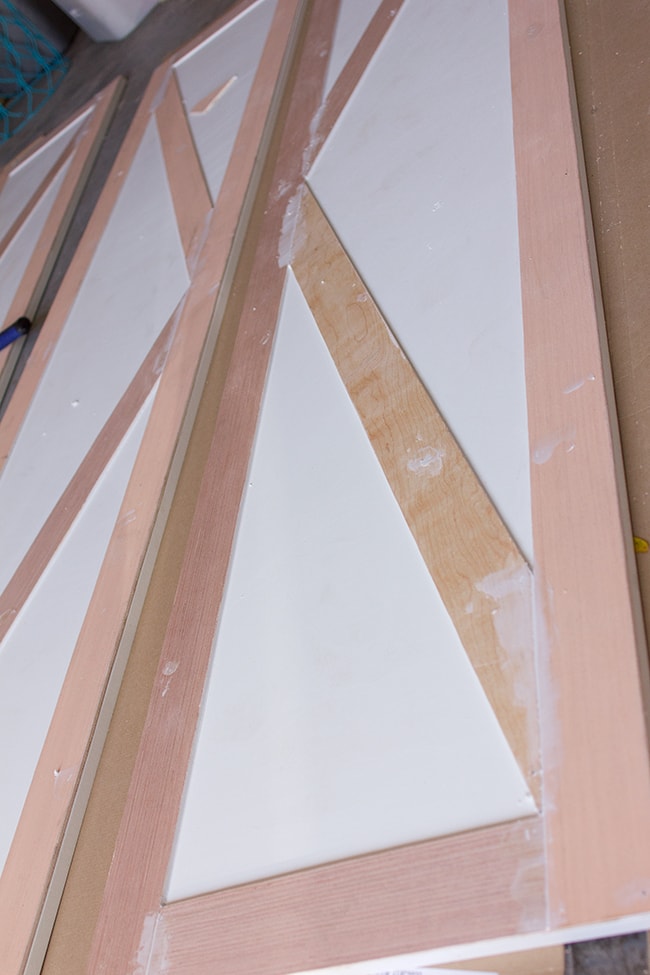
Finally, I sanded everything and thoroughly vacuumed & wiped them down with deglosser. They were ready to prime:
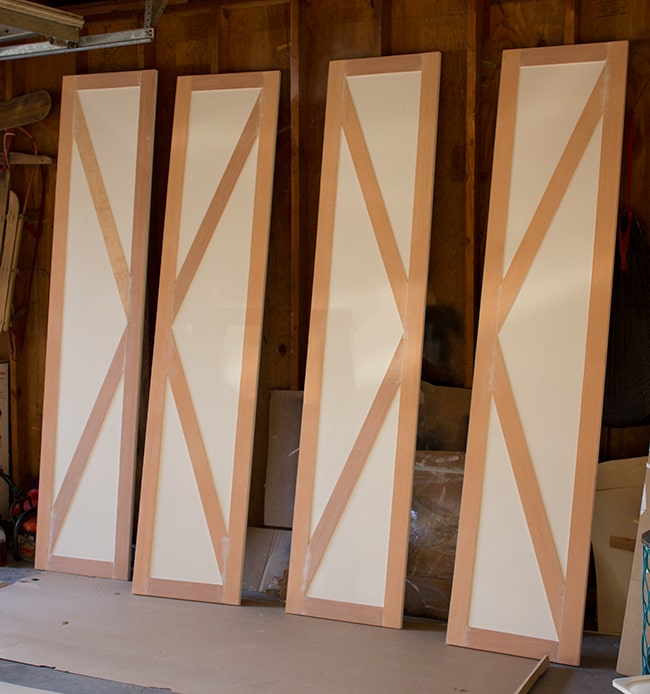
I used two coats of Zinsser’s shellac-based BIN primer (in the red can)—the shellac based is designed to work with the plastic-y surface of the Ikea doors:
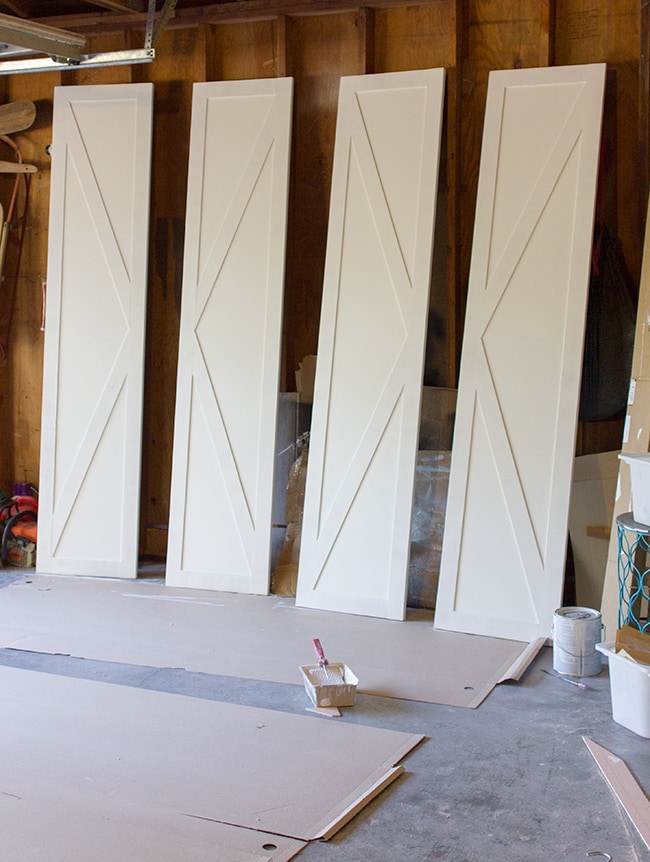
After making sure to sand (using 220 grit) and wipe down the doors between each coat, I applied two coa
ts of Valspar’s Signature paint in satin (color matched to Kelly Moore’s Swiss Coffee):
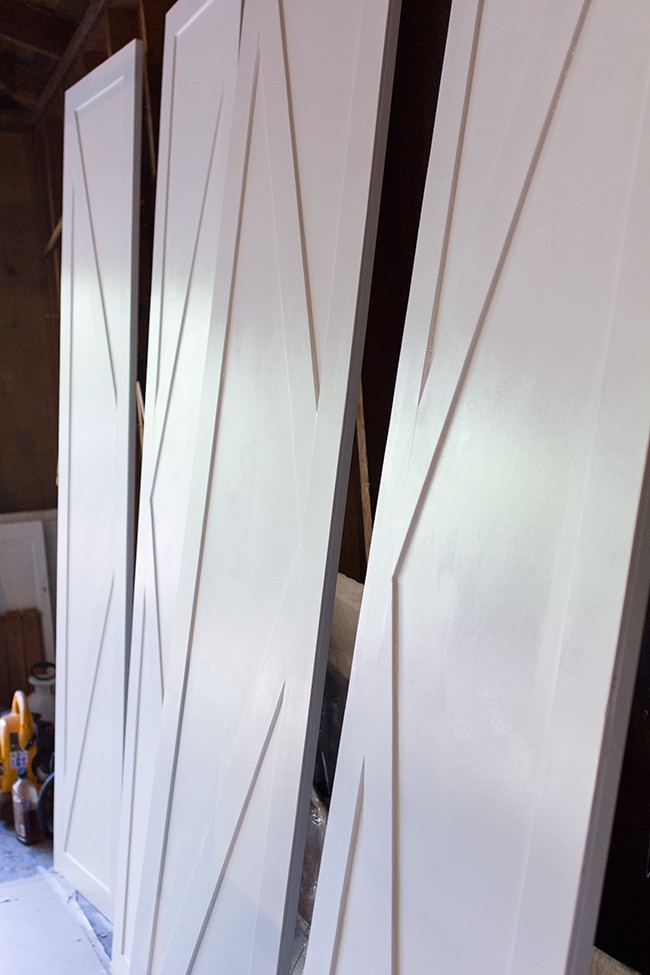
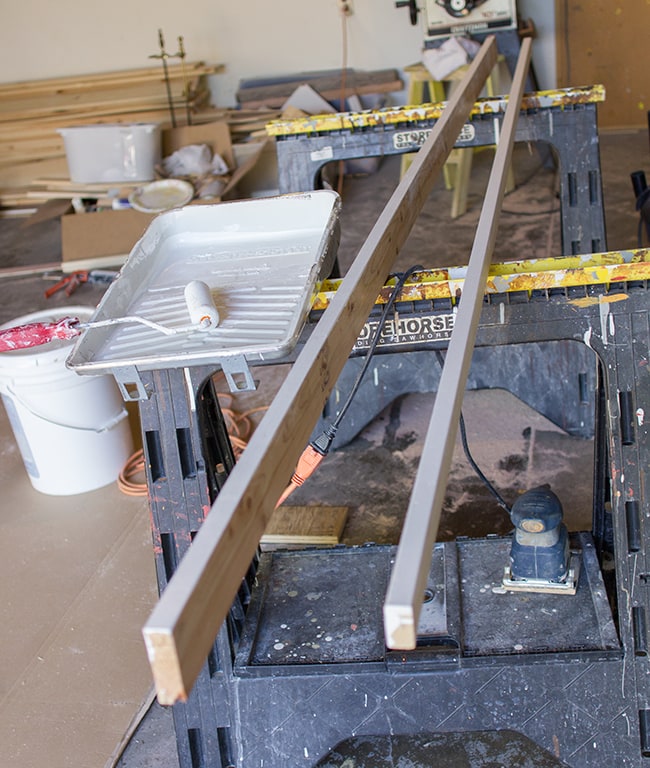
While the doors were drying, I painted the edges of some strips of wood I picked up to go between the wall and the side of the wardrobe. I decided these were necessary so the doors could open up all the way (they were really close the wall).
After everything was dry, it was time for installation.

We attempted to secure our strip of wood to the drywall using inserts, which worked at first, but as soon as we secured the back of the wardrobe to the back wall, the inserts all ripped out. Oh, the joys of crooked walls.

In the end, we decided to just attach the painted wood piece to the wardrobe (instead of the wall) and secure everything in place through 1×3″ boards we added in the back corners (which are hidden of course). These things aren’t going anywhere.
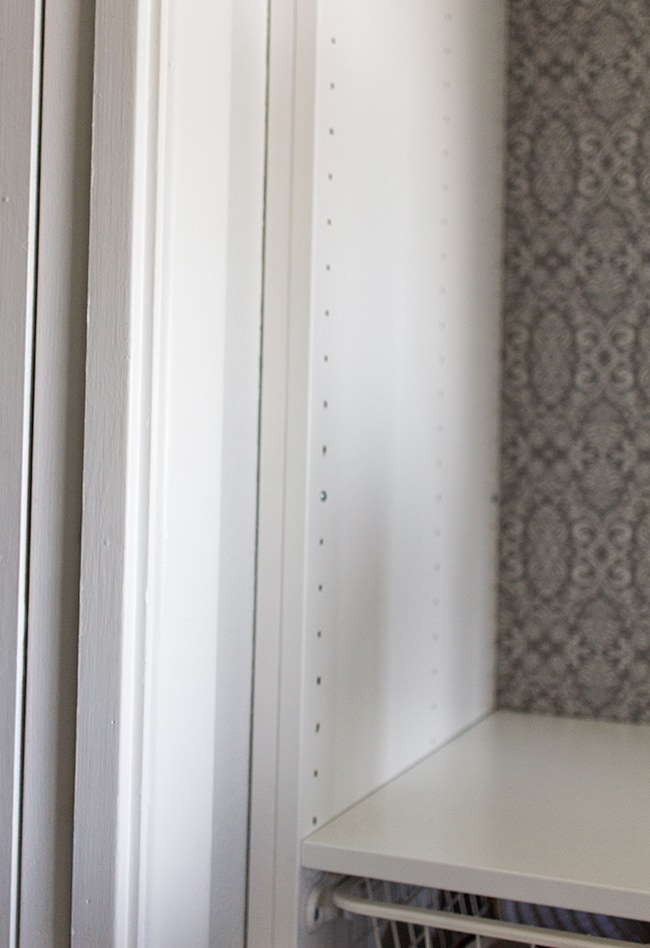
Then we put the doors on.
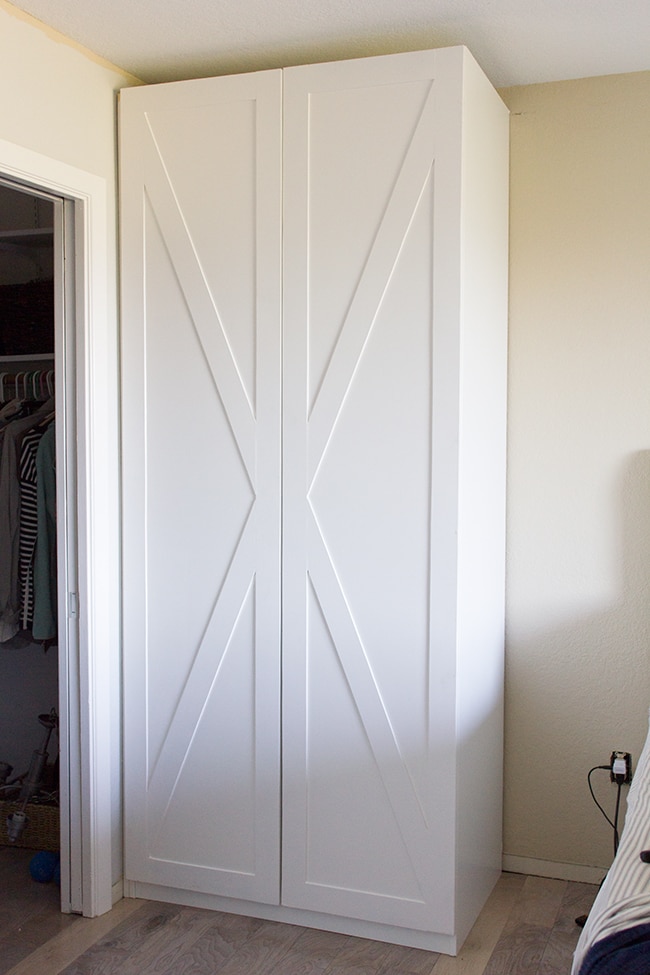
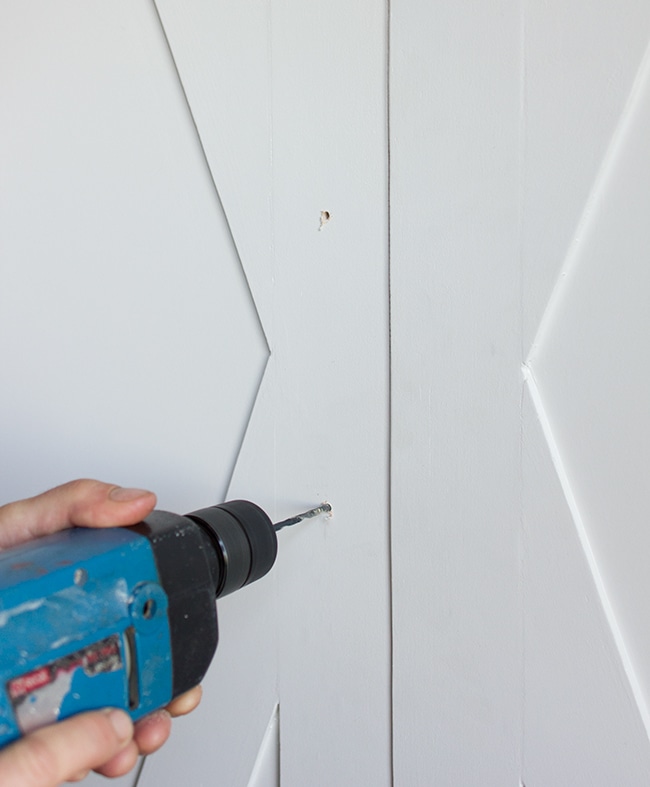
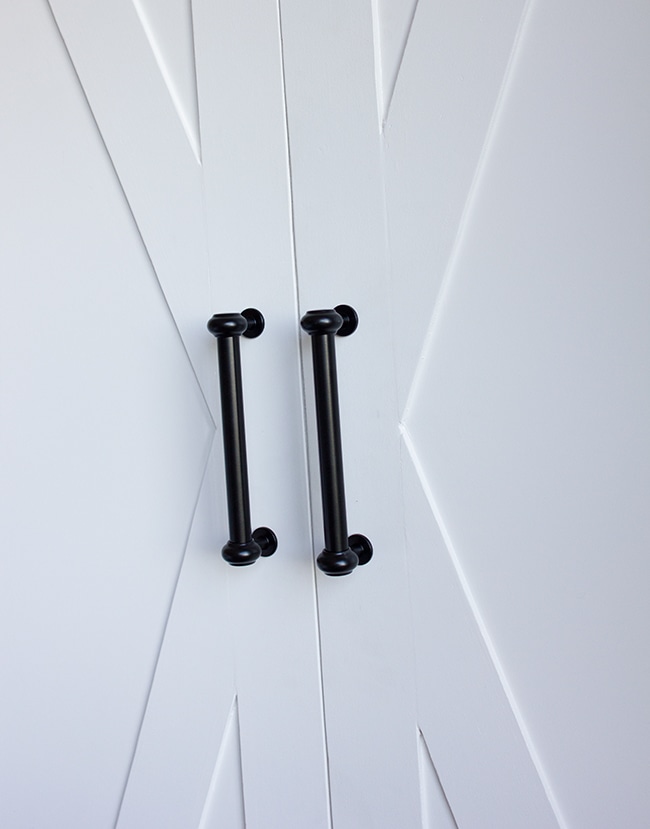
And added hardware.

I picked these Fintorp handles up from Ikea. Love them.
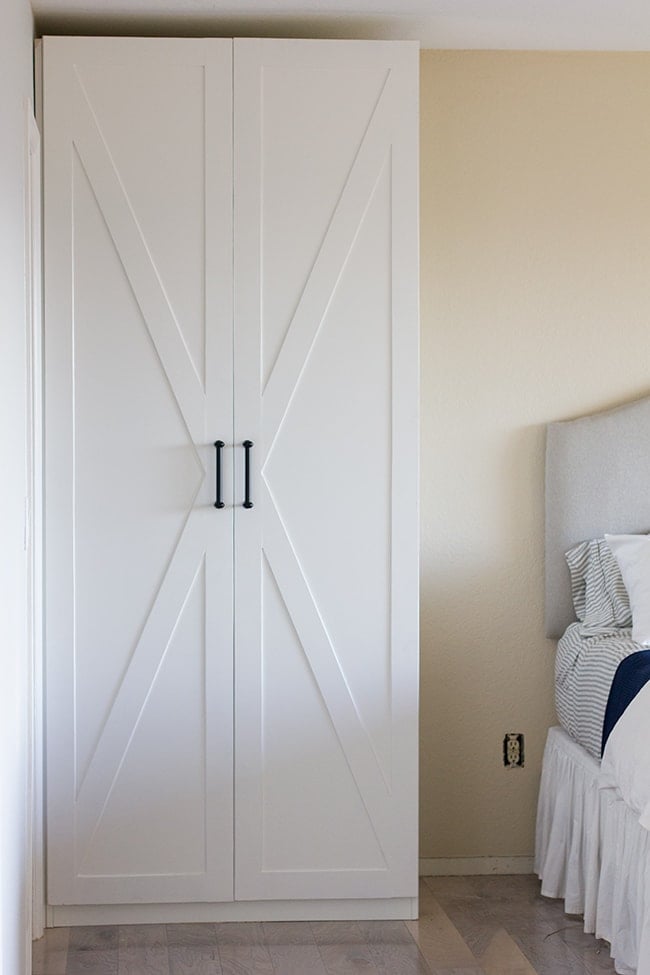
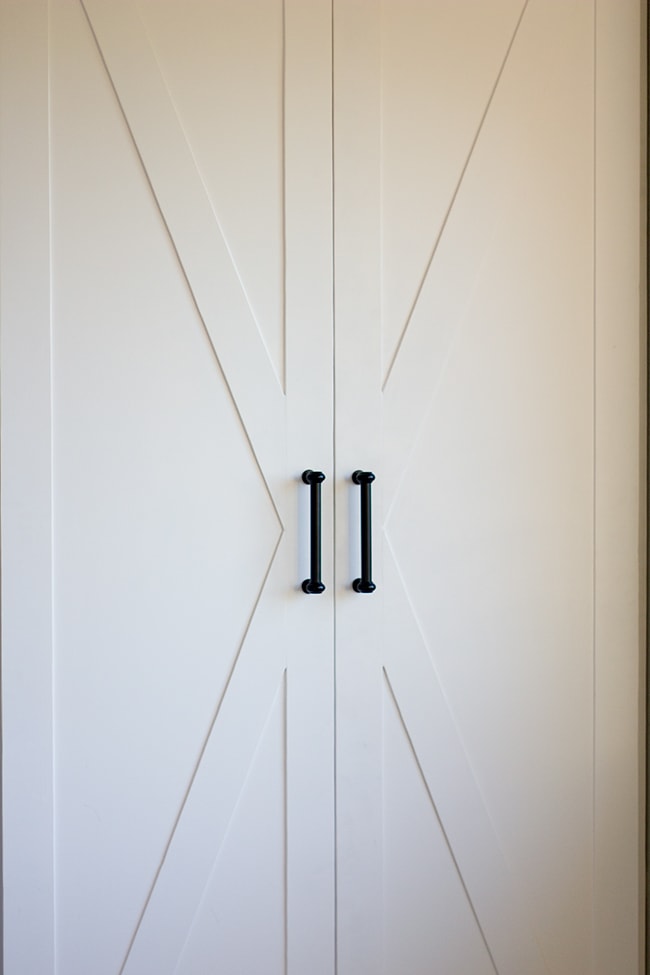
And then it was time to celebrate because these wardrobes are IN!

I like them.

I like them a lot.

It only cost $15 so even though it took 3 days out of my life, I can’t really complain.
And of course I’ve already started organizing in here. I have a project or two lined up for the inside so there will be more to come.
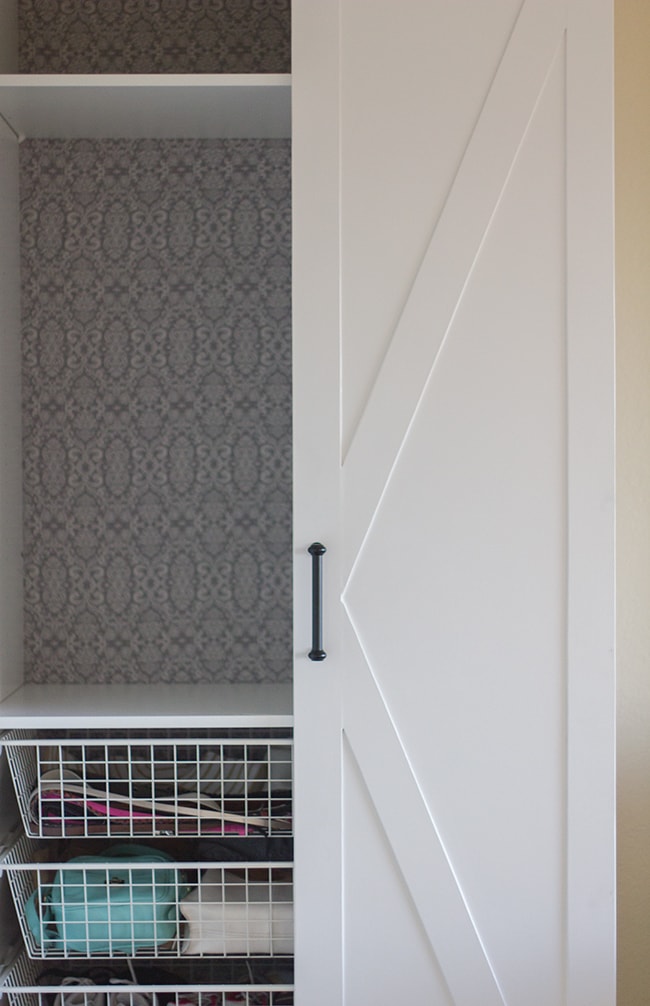
Brad’s side is still empty. I’ll work on him.
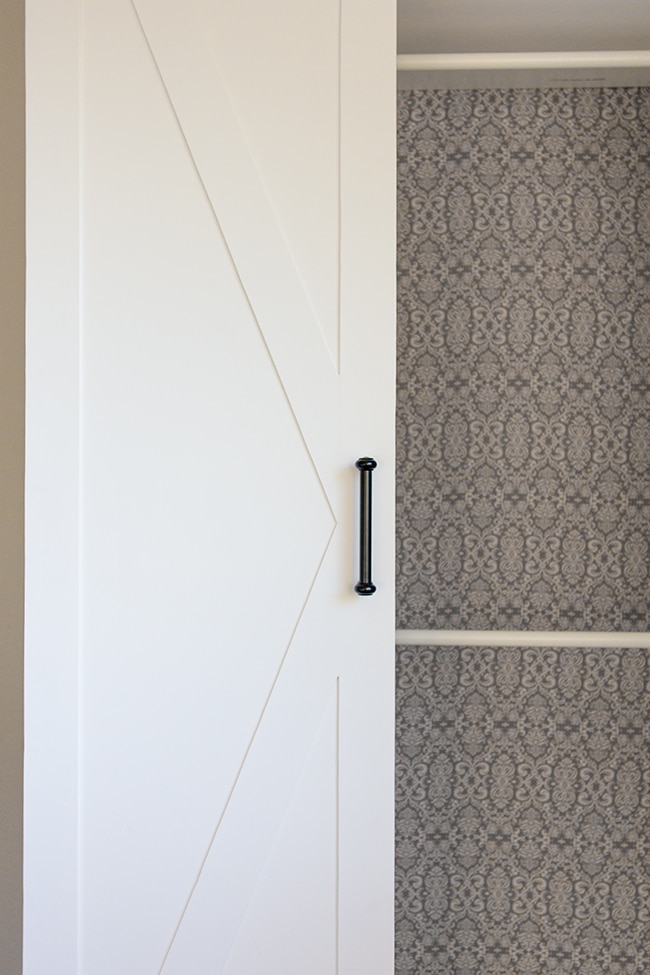
We still need to add crown molding and baseboard and trim along the back wall, but at least they’re fully functional. And fun to stare at cause they’re just so pretty, I think.

I’ve got a packed weekend ahead (birthday party, graduation party, Father’s Day) but I’m going to try to squeeze in a planked wall between the wardrobes. Hopefully it will be picture-ready by Monday for you guys (which means I need to start this afternoon!). I’ll make sure to post real time updates on instagram if you can’t wait until then 😉

Have a happy & productive weekend!


Share this!
Previous Post: « Master Makeover: Paint & Pax Wardrobes
Next Post: Master Makeover: Planked bed wall »

Reader Interactions

Comments

  1. Brianna Jenkins says

    June 12, 2014 at 3:24 pm

    They looked really good!! You've inspired me to build something one day! Did it take you long to learn how to use each tool or just took a lot of practice?

  2. Jenna Sue says

    June 12, 2014 at 3:27 pm

    Thanks Brianna! It's all about practice 🙂

  3. Deb says

    June 12, 2014 at 4:55 pm

    They really look great!

  4. Lisa @ Fern Creek Cottage says

    June 12, 2014 at 6:08 pm

    Looooove the doors!!! They look amazing!

  5. Jaimie says

    June 12, 2014 at 6:18 pm

    These look amazing!! Makes me wish my closets were smaller so I'd have an excuse to buy wardrobes 🙂

  6. Lauren says

    June 12, 2014 at 11:09 pm

    Wow this is awesome! The doors seriously look amazing!

    Lauren | https://www.livelovelauren.com

  7. Pine Tree Home says

    June 13, 2014 at 12:14 am

    Ok, now I want to ditch some dressers and do this. Lots of storage! and they look so good.

  8. Sherri says

    June 13, 2014 at 1:17 am

    What a beautiful result. Absolutely gorgeous. You are relentless in your work ethic and one crazy girl!! (just kidding) You are going to have your house done in no time, then we will follow you on to your next house. Hope not, because this one would be hard to beat. Have a relaxing weekend with all your activities. You deserve some R&R.

  9. TheKimSix Fix says

    June 15, 2014 at 4:56 am

    These came out BEAUTIFULLY. We had Pax in our last house and I adored them. I wish they were as pretty as yours!

  10. Entry Doors Installation says

    July 8, 2014 at 6:32 am

    Hey
    Jenna Sue
    Wonderful work. I appreciate this post. Such a adorable doors.I like them.

  11. Leslie Belcher says

    March 31, 2015 at 12:40 am

    Hi Jenna Sue, I love your bedroom. It is perfect. Will you share the Valspar formula on the paint can for the color match K.M. swiss coffee? I love the softness of the color.

  12. Leslie Belcher says

    March 31, 2015 at 12:51 am

    Hi Jenna Sue, I love your bedroom. Would you share the Valspar formula on the paint can for the Kelly Moore swiss coffee paint match?

  13. Jenna Sue says

    April 8, 2015 at 11:15 pm

    Hi Leslie, I shared it over on the new blog: https://www.jennasuedesign.com/blognew-laundry-room-adding-trim/ Hope this helps!

  14. Tana says

    November 8, 2015 at 3:29 pm

    Hi, These look great! What did you use for the interior (the grey damask design)? I love it! Thanks!

  15. Kassi says

    April 7, 2016 at 11:40 pm

    That is a wonderful hack! It’s beautiful! That you for sharing:-)

  16. Jessica B says

    April 8, 2016 at 6:57 am

    Where are the door handles from? Love!

  • BROWSE BY CATEGORY
    • Heights House
    • Riverside Retreat
    • Cottage Flip
    • Modern Farmhouse
    • Room Reveals
    • DIY Projects
    • Favorite Finds
    • Personal
    • Seasonal
    • Travel

INSTA FEED

@Jennasuedesign

Welcome!

Hi, I’m Jenna and I’ve been designing and DIY’ing my way through homes since 2008. Join me as I learn, share my experience, and hopefully encourage/inspire you along the way!

As Seen In

Primary Sidebar

Welcome!

Hi, I’m Jenna and I’ve been designing and DIY’ing my way through homes since 2008. Join me as I learn, share my experience, and hopefully encourage/inspire you along the way!

JOIN THE FUN

  • Facebook
  • Instagram
  • Pinterest
  • RSS
  • YouTube

Shop MY HOMES

  • Heights House
  • Riverside Retreat
  • Cottage House Flip
  • Modern Farmhouse

INSTA FEED

LATEST VIDEO

Shop MY AMAZON

As an Amazon Associate I earn
from qualifying purchases

  • BROWSE BY CATEGORY
    • Heights House
    • Riverside Retreat
    • Cottage Flip
    • Modern Farmhouse
    • Room Reveals
    • DIY Projects
    • Favorite Finds
    • Personal
    • Seasonal
    • Travel

Subscribe via email

Footer

Shop My Homes

  • Heights House
  • Riverside Retreat
  • Cottage House Flip
  • Modern Farmhouse

Connect

  • Instagram
  • Facebook
  • Pinterest
  • Youtube

Information

  • Contact
  • About Jenna Sue
  • About the Blog
  • Privacy Policy

Copyright © 2021 · Jenna Sue Design Co. · All Rights Reserved · Website by Wordpress Barista

SUBSCRIBE VIA EMAIL: