I have to be honest—we were pretty underwhelmed when we first stepped out of our realtor’s car and laid eyes on this house (well, until we walked through the door and saw the view… but still.) Curb appeal has always been a challenge for me—it’s a little out of my element and landscaping scares me.

However, I can’t ignore it forever. We have several guests coming during the holidays and I wanted the front porch to be just as cheerful and festive as the inside. Let’s take a look at our entryway situation:
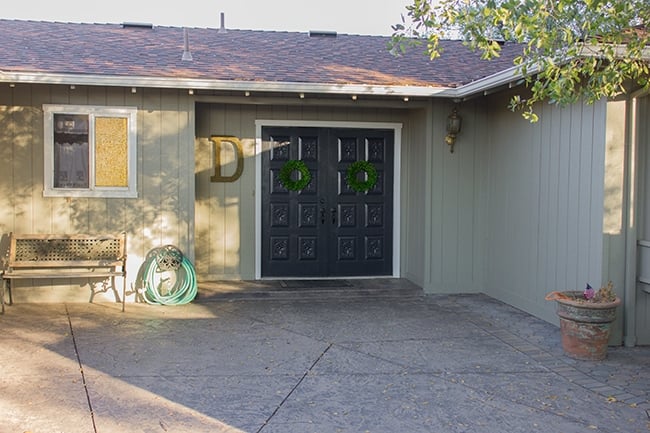
Yawn. Very blah, right? I pulled my DIY moss letter out of storage just to have something there and added a couple boxwood wreaths… and then I neglected it.
We don’t really have a front “yard”, persay—it’s a big wrap around driveway with some rocks, shrubs and trees in the center, and pavement everywhere else. We desperately needed some greenery near the front door, and when I found these planters from Ana White I knew they were perfect:
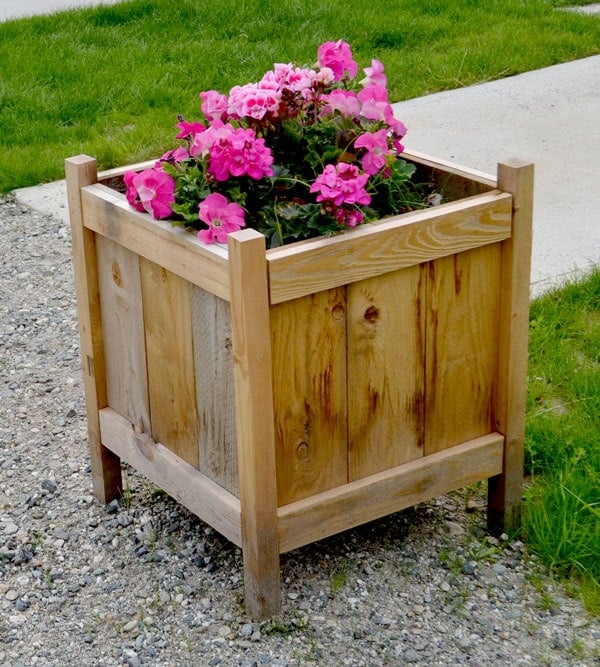
I loved the style, the plans were easy and they’re under $20 each—one on each side of the porch was perfect.
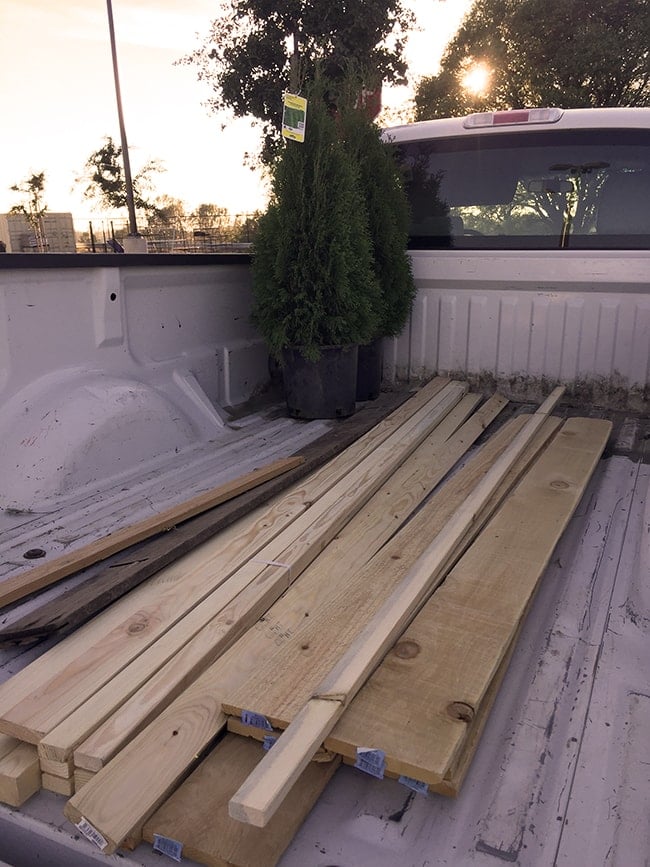
Last week I made a Lowes run to grab my supplies, including two evergreens to fill the planters:
I got straight to making the cuts:
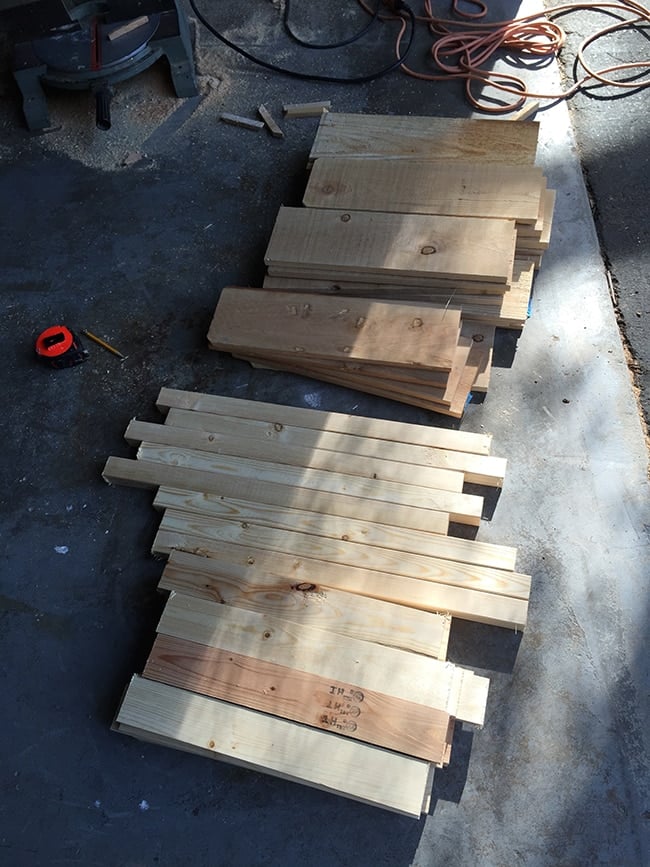
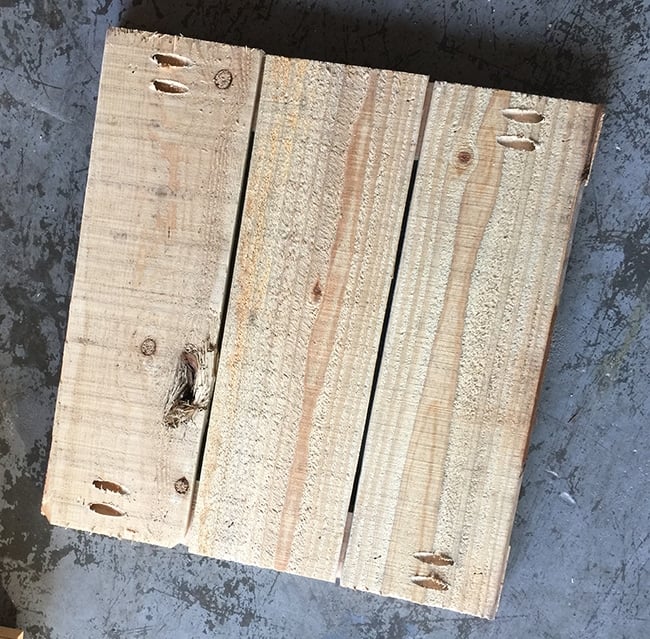
The plans call for cedar fencing for the sides which I had never worked with before. They’re super inexpensive and light weight, but vary so much in thickness, color, texture and quality. Look at the differences…
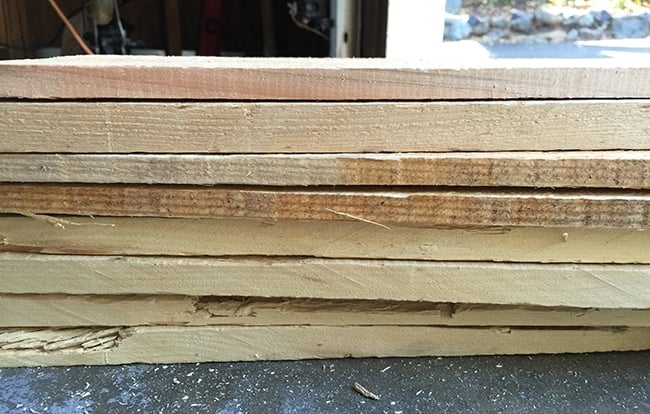
So they certainly have limited uses when building furniture, but they’re great for this project.
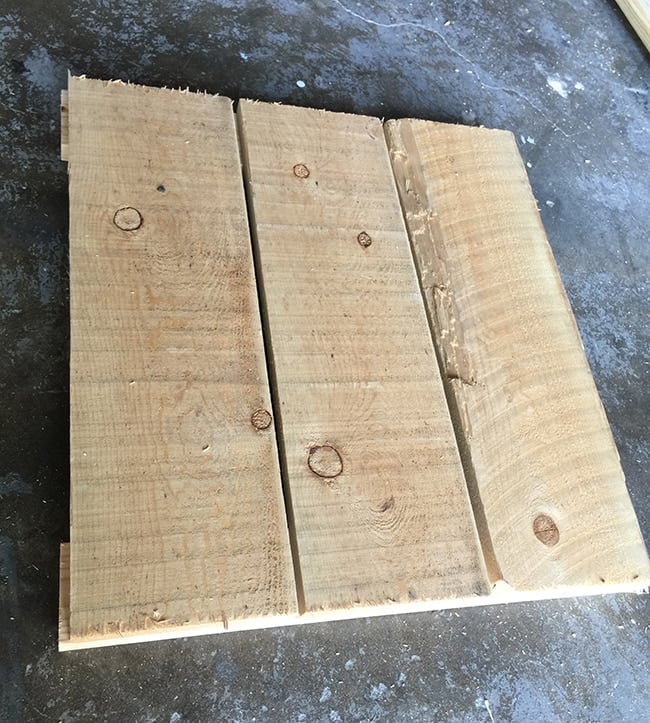
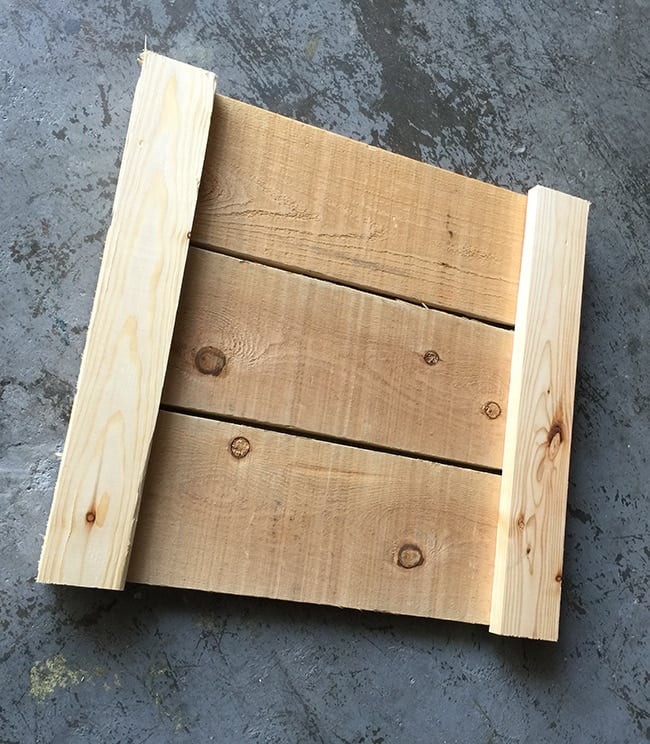
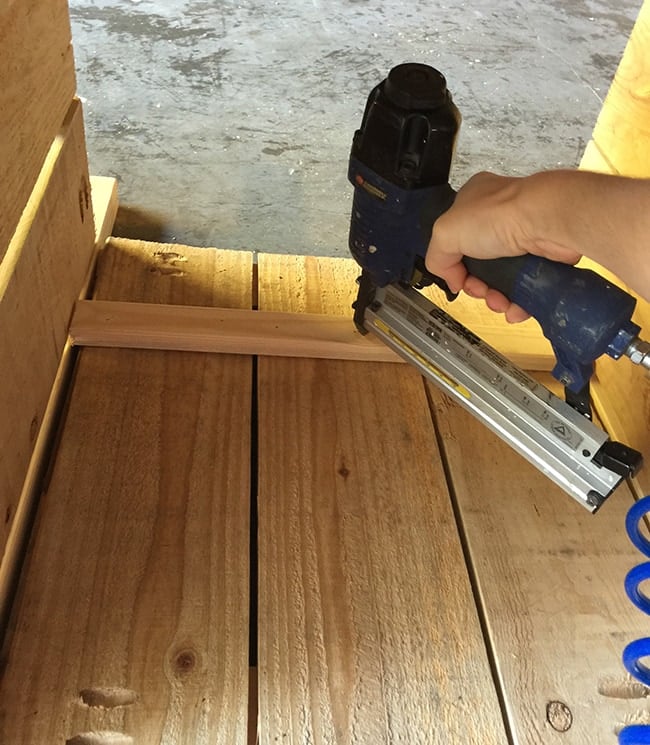
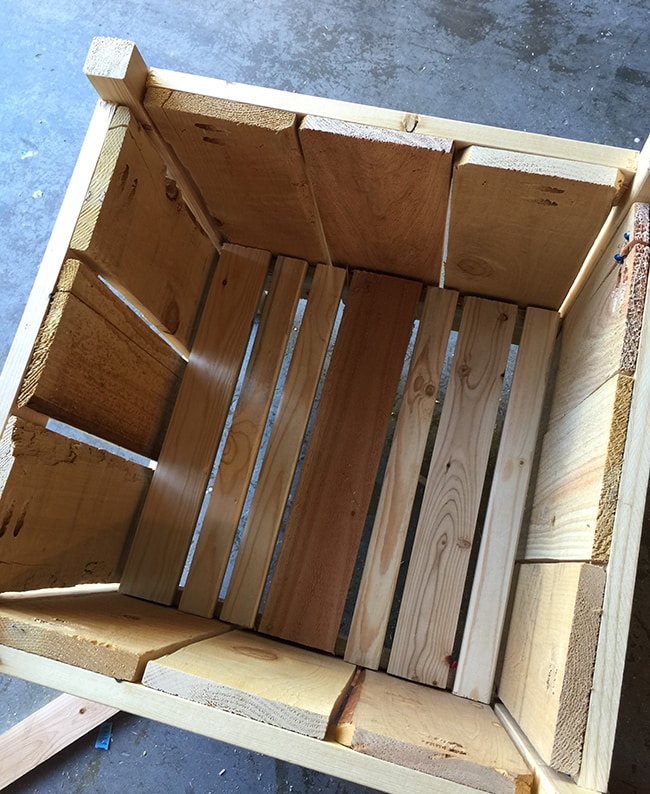
I won’t rehash all the details of the plans (you can find those on Ana’s site) but here’s a quick rundown. The first step was to make the sides. I set three boards down on top of two 1×3″s, spaced them out by eye and used wood glue and finish nails to attach them (I don’t have a square so I lined them up along the corner of a sheet of hardboard, not shown):
Here’s how the front looks:
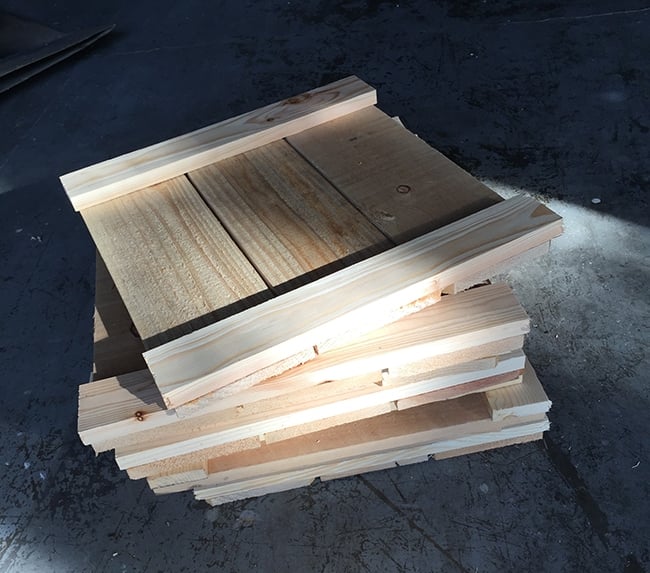
It didn’t take long to finish all eight sides.
Then it was my least favorite part, pocket hole time. Sometimes it feels like I’m the only blogger who isn’t infatuated with the Kreg Jig. I appreciate it for what it is, absolutely, but more often than not I run into problems (anyone else?)
Drilling the actual holes went smoothly (although somewhat time consuming)…
And everything came together, but I had a handful of screws that went straight through the wood which happens to me a lot. Not sure if they’re going in at the wrong angle or just too much torque on the drill. Some of those screws were stuck so I had to cut them down with my dremel (dremels are the best!)
Anyway, rant over. I still ended up with these babies:
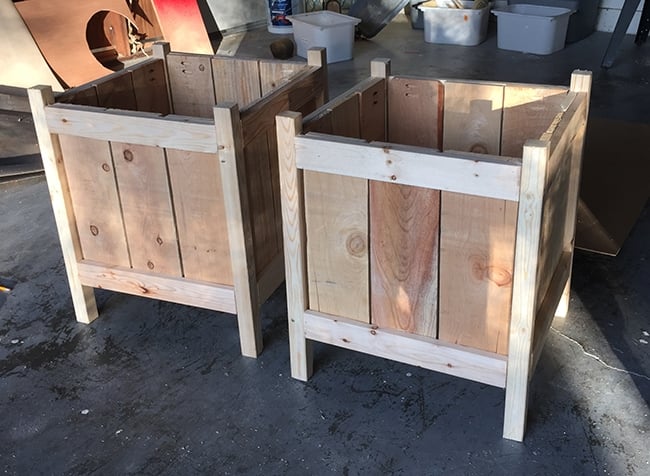
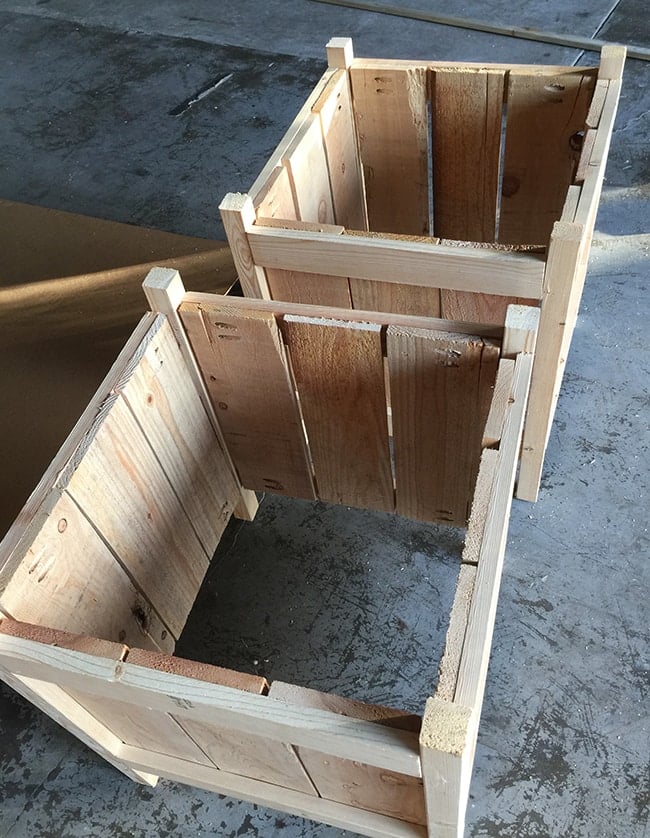
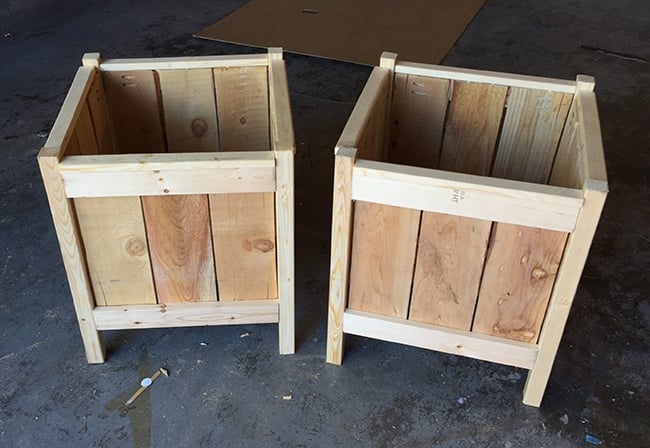
I gave them a quick sanding to smooth out any sharp edges and splintering. For the finish, at first I considered painting them black to match the front door, but then realized the space was entirely lacking warm/wood tones so stain was the answer.
I found this Cabot stain and sealer in one at Lowes and decided to give it a try:
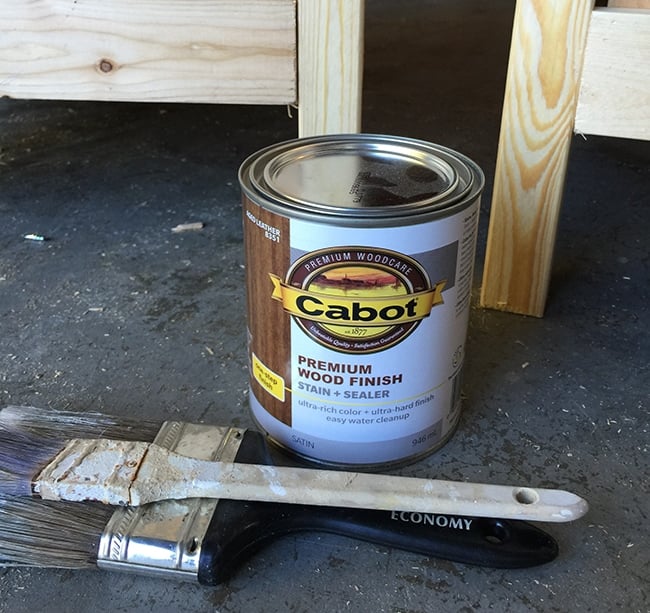
Because of the roughness of the cedar, I opted to brush it on rather than my normal method of wiping to apply. It worked great.
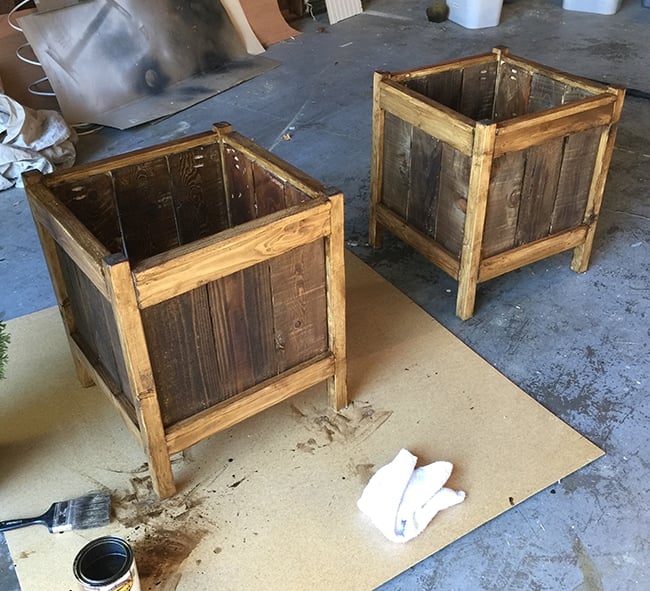
The cedar took the stain much heavier than the smooth pine, so I applied a second coat just to the pine boards after letting it sit overnight.
And that’s it! Total time was probably around 6-7 hours (with no help, including breaks—it would go a bit faster with a second person but it’s totally manageable on your own).
The plant guy at Lowes helped me choose these beautiful evergreens ($20/ea) which should be relatively low maintenance.
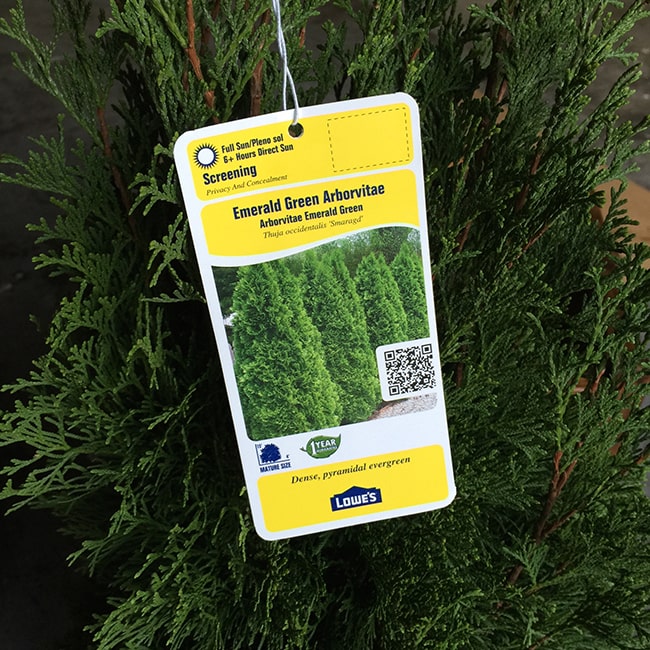
He said I could simply leave them in the plastic bin and they’ll do fine—no re-potting necessary! That’s my kind of gardening. And if I manage to kill them, I can take them back for a full refund within the next year, no questions asked (although I swear I’ll try my hardest not to…)
And here they are… the first step to improved curb appeal.
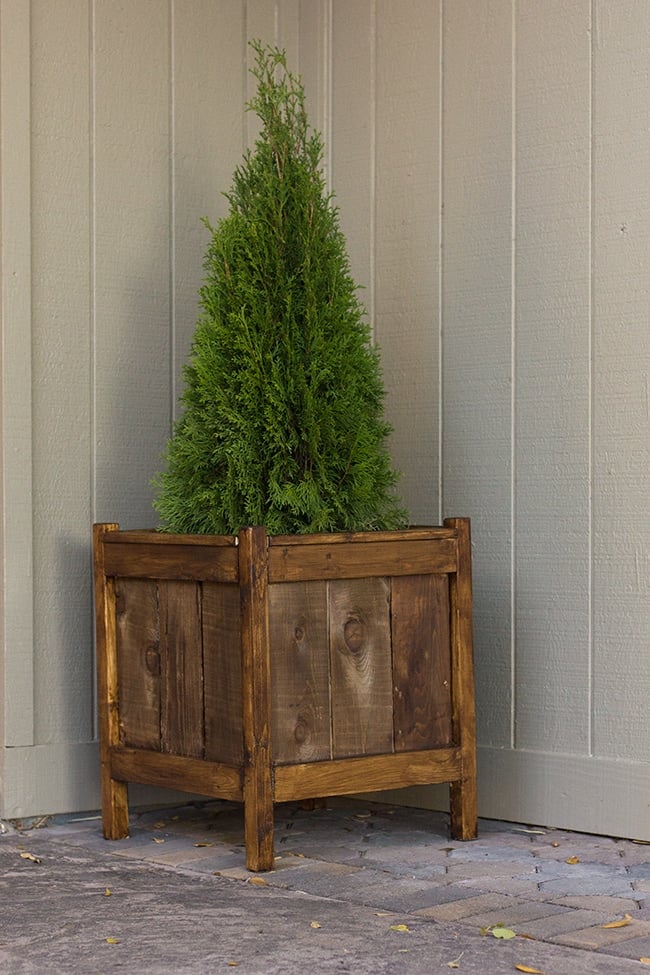
I really think they do a lot to anchor the space. We still have a ways to go but it’s a good start.
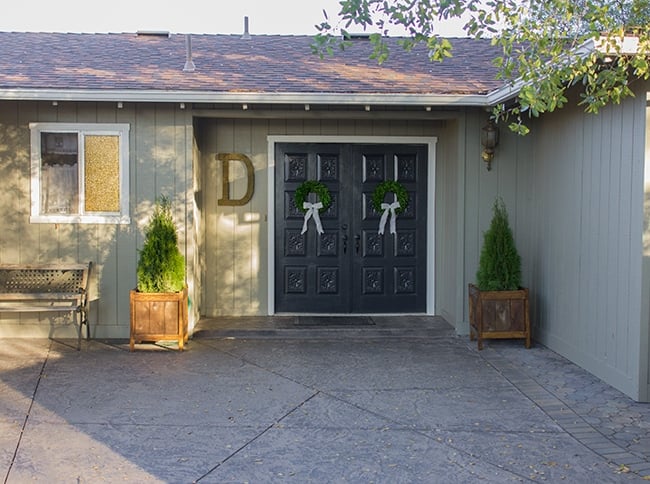 |
| I also added bows to my wreaths for fun. |
I had another successful flea market trip this past weekend and I can’t wait to set up some of these items for a front porch seasonal display. If you follow me on instagram you saw this already…
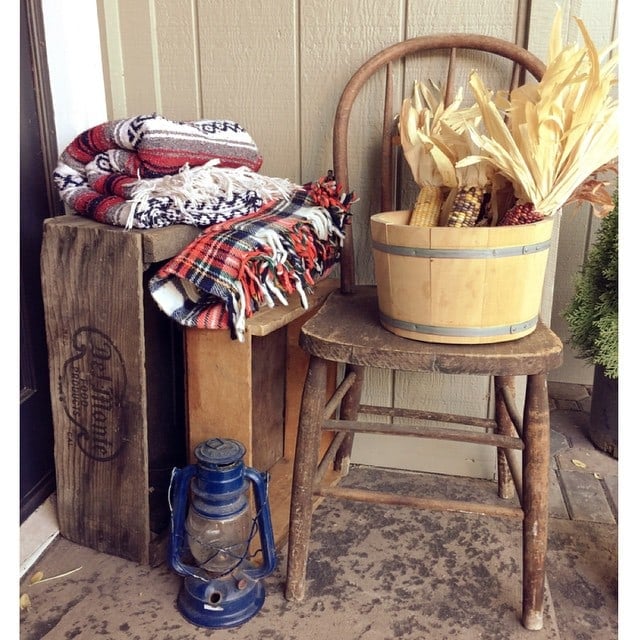
I’ll be working on that over the next few days, along with freshening up our foyer for Thanksgiving guests and I’m even throwing in another free printable! I know I’m way behind the industry standard blogging schedule for fall decorating but better late than never, right?
Be back in a few days!


Jenna Sue says
Hi Sarah! I believe it's the K5. The side supports are super helpful and mine came with a screw kit which I definitely needed.
Sarah Cutler says
Hi Jenna! Do you mind me asking which model of Kreg Jig you use? I'm looking into buying one and not sure if the higher end model is worth the splurge since I'll only be using it occasionally. Thanks!
Jenna Sue says
Lol, it's not a board—it's gold 70's glass. We'll get to it, of course 😉
LoriU says
The planters are really nice!
May I suggest possibly doing something with the window to the left? It looks like it has a board on it?
damickey says
I love your new boxed planters. They look beautiful. If it was me, I'd move the one on the left closer in to the door (make it the same distance from the door as the one on the right) and it will cozy up your space and frame your door. Please don't take this negatively….you have done a beautiful job. This is coming from my heart.
Looky Lou says
Great DIY job that looks expensive. BTW, Restoration Hardware has Azobe Salvaged Wood Planters with a twisted “X” rope in the center of the planter that would kick your boxes up a notch. They sell your size for $535!!! LOL
Cheryl @ The Creative Me and My McG says
Great planters!! I love your style and can't wait to see what you do with those great flea market finds!
Jenni Ahokas says
Nice job Jenna! They look great! And those flea market finds, wow! Can´t wait to see what you come up with 🙂 What came to my mind is that you could stain/paint those pine boards black, if you want them to match your door! Then the difference between cedar and pine would not be so noticeable.
Sarah says
Those look great! They anchor the space and hide the hose! I have not even started with anything on my exterior and boy does it need it! In time, in time… 🙂