• Skip to primary navigation
  • Skip to main content
  • Skip to primary sidebar
  • Skip to footer

    Nav Social Menu

    • Facebook
    • Instagram
    • Pinterest
    • RSS
    • YouTube
  • Houses + Sources
  • DIY Projects
  • My Shop
  • About Jenna Sue
  • About the Blog
  • Contact
Jenna Sue Design Blog

Jenna Sue Design Blog

Home Design, DIY and Travel Inspiration

  • Houses + Sources
    • Heights House
    • Riverside Retreat
    • Cottage House Flip
    • Modern Farmhouse
    • SEE ALL
  • DIYs
  • My Shop
  • About
    • About Jenna Sue
    • About the Blog
  • Contact

DIY Simple Rustic Log Bench

January 2, 2019Riverside Retreat, DIY Projects

It’s the first DIY project of 2019, and this one came together much easier (and faster & cheaper) than I was expecting…

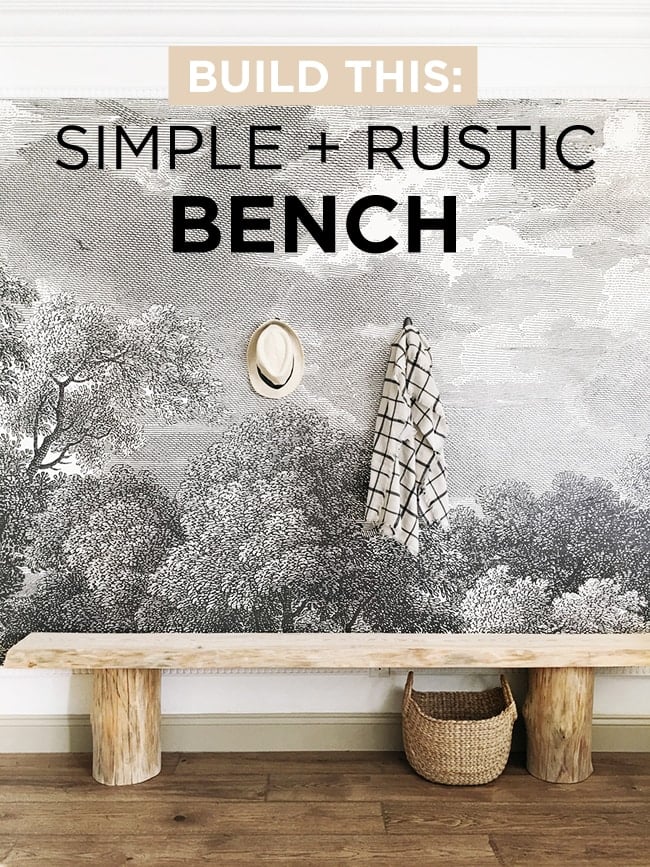
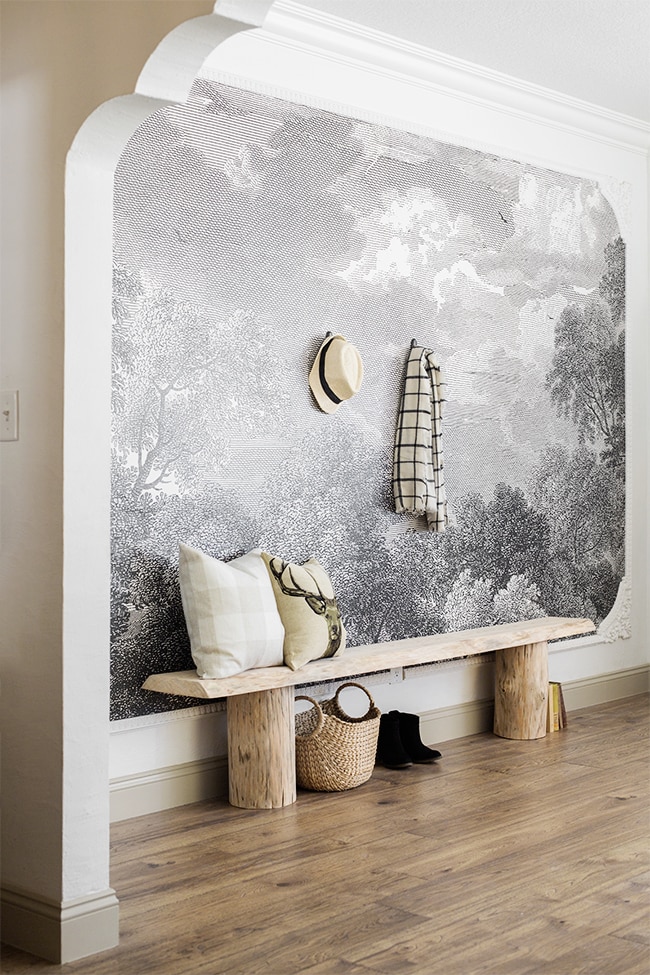
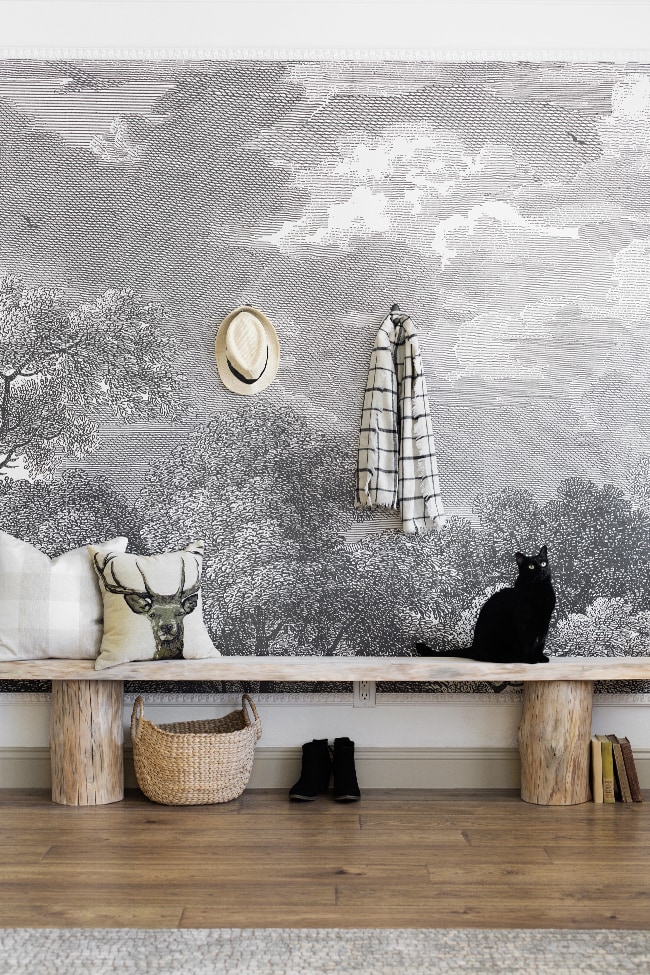
The mural wall is the first area you walk into here at the Riverside Retreat, so it needed to serve as a foyer space with storage and seating. The plan was always to have a long, rustic bench to go with the “tropical earthy oasis” theme and I spent months browsing for something to fit the bill with no luck.

I even reached out to local shops on Facebook to have something custom made, but didn’t want to spend hundreds and I never really fell in love with anything I saw. So one day we took a drive to the nearest sawmill to see what we could find…

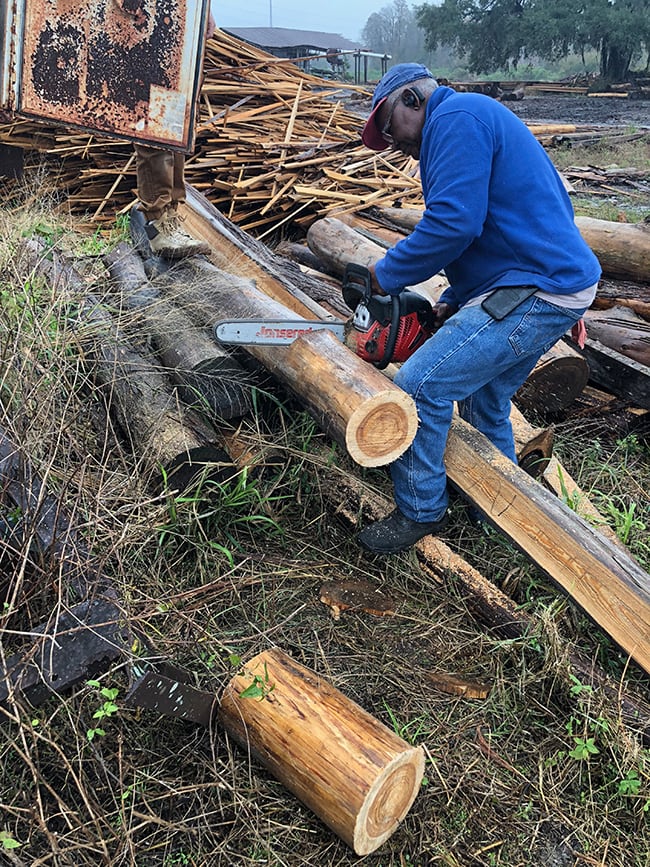
This particular sawmill carried cypress wood, which I’ve never used before, but it had nice coloring and we were able to choose the sizes. We walked away with two stumps for the legs and one 12″ x 7′ board for around $60 — what a deal!

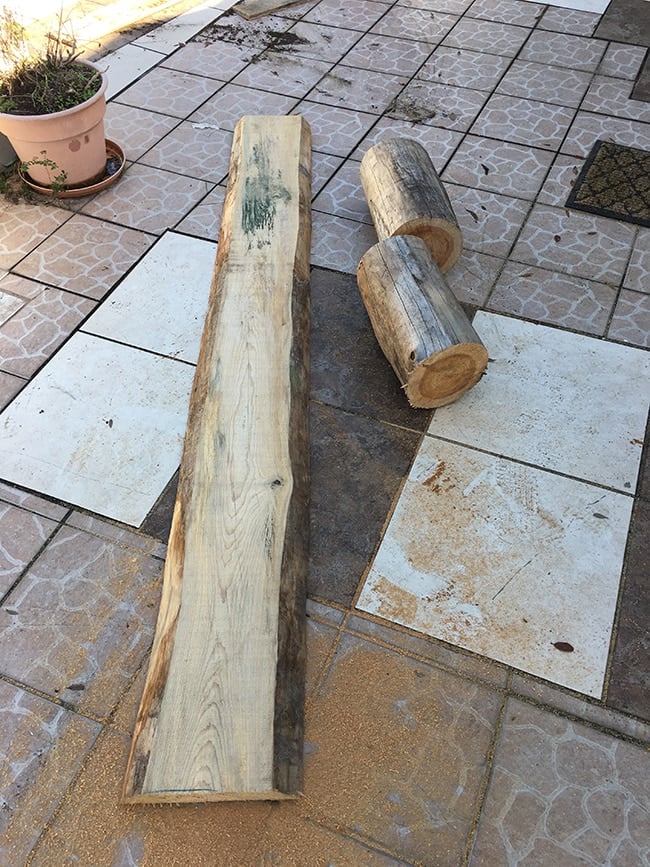
The first step was to plane down the legs so they were straight and sturdy. I’ve had this $60 Black+Decker planer for years—it’s easy to use and gets the job done quick!

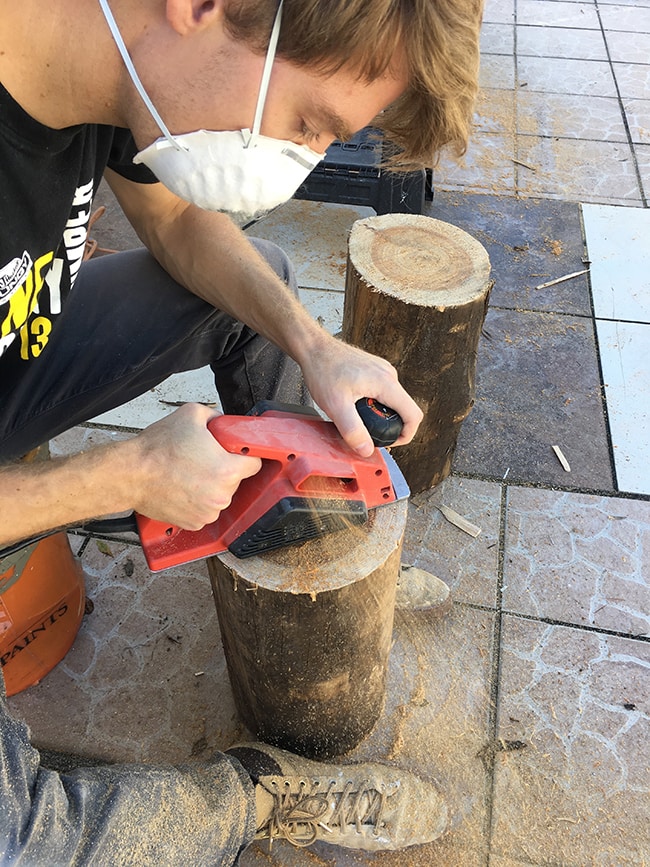
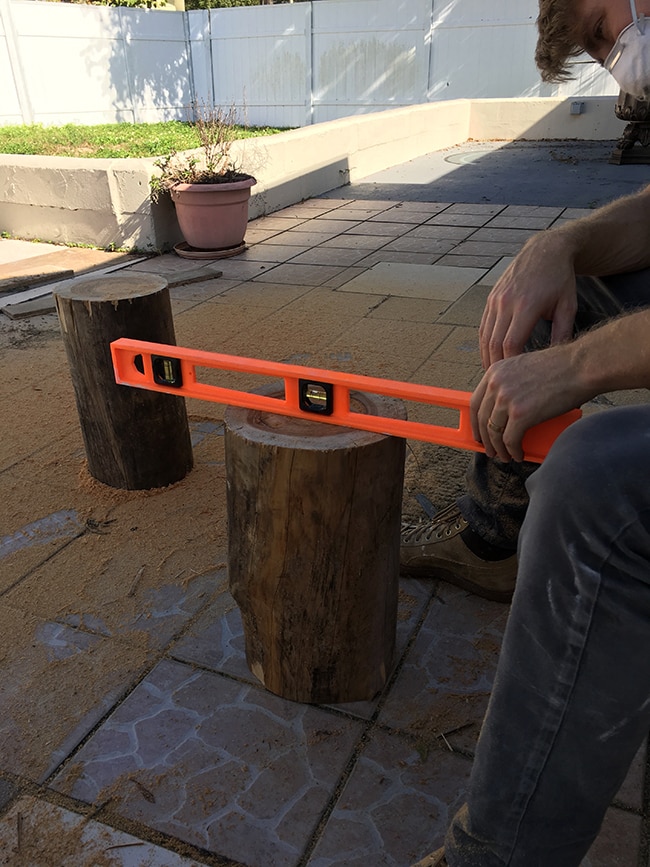
The legs were too tall so we took about an inch off the height and kept making passes until they were nice and level.

Next, it was time to sand everything down. The bark on this wood is super thin and easily sands right off, especially with an orbital sander. We got our Dewalt as a wedding gift and it’s a lifesaver—this has now replaced my Mouse as my most-used sander!

To attach the top to the legs, we debated on simply drilling a couple screws straight through the top. This would certainly be the easiest solution and I didn’t mind visible holes since this was supposed to be a rustic bench. But in the end, we opted to go for a cleaner look and use wood dowels—partly so we could try out a new technique to share with you guys 🙂

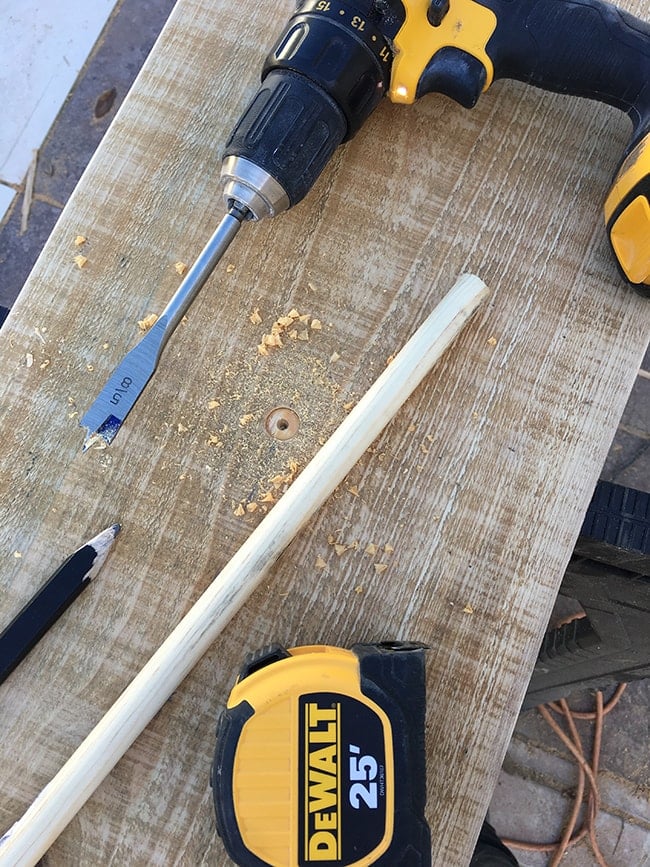
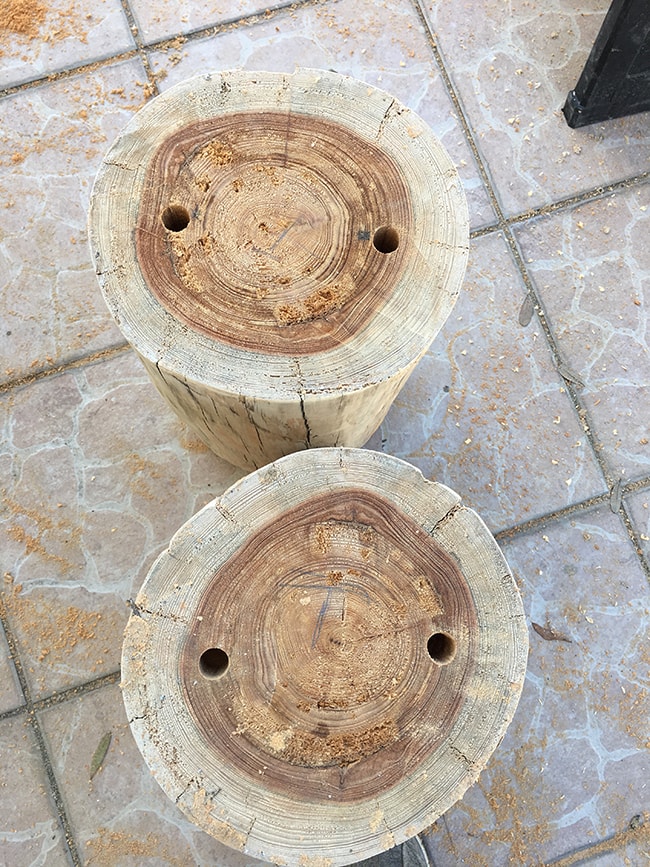
You can get dowels in every size at the hardware store, and we chose a 5/8″ size (we actually would have used 3/4″ but couldn’t find our drill bit in that size). 1″ seemed slightly overkill for this bench, but anything in that range would be fine. The most important part of this build is making sure your measurements are *exact* when marking your drill locations, since there is no wiggle room at all.

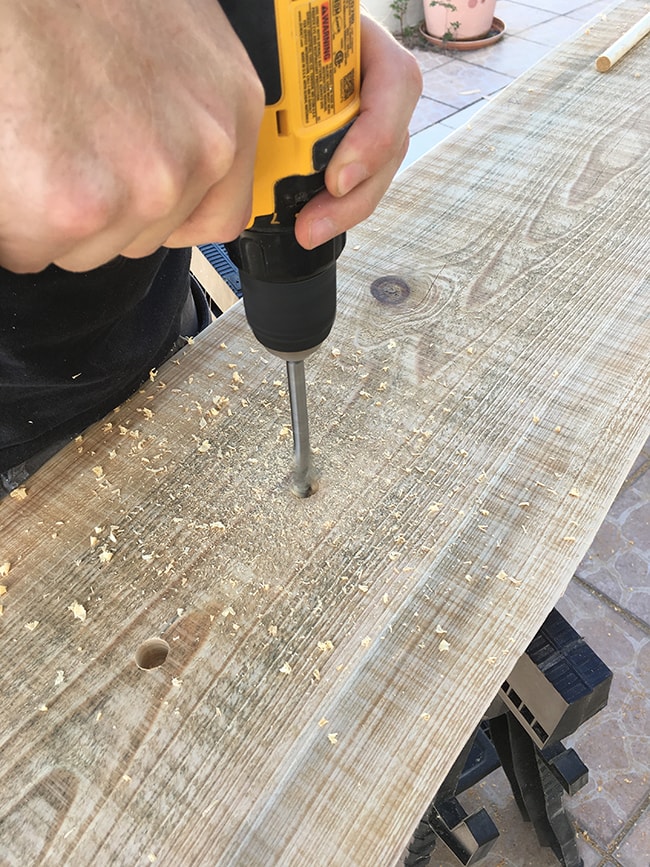
I placed the holes exactly 5″ apart (and triple checked those measurements), drilling about 1″ deep into the top and a few inches into the legs.

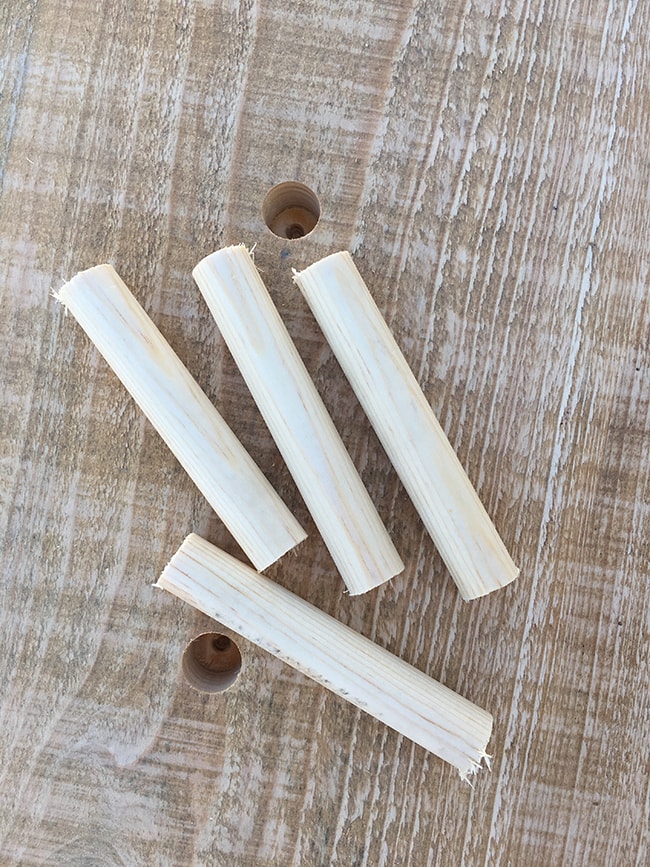
Then, we cut the dowels into pieces just a bit shorter than the depth of both holes.

The pieces were brought inside for assembly, and I liberally applied wood glue (the key ingredient) to both sides of the dowel and hammered them in.

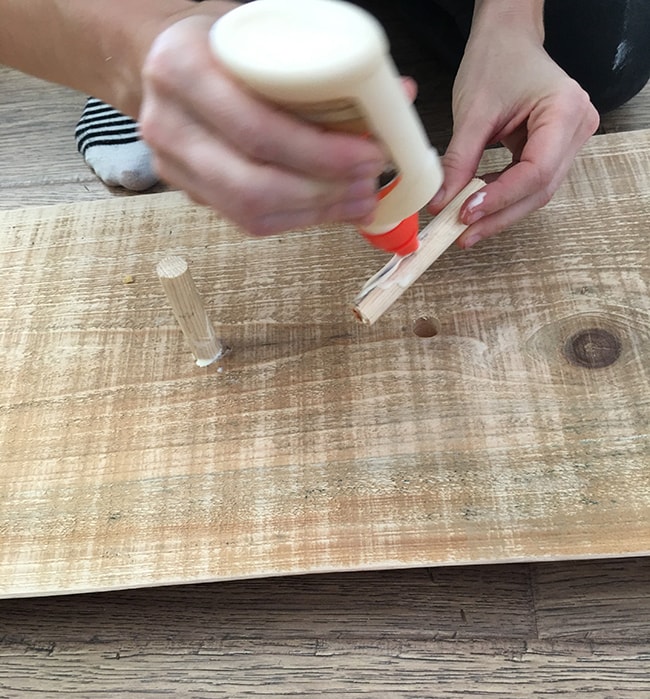
The glue will harden and bond the wood together, essentially replacing the need for screws.

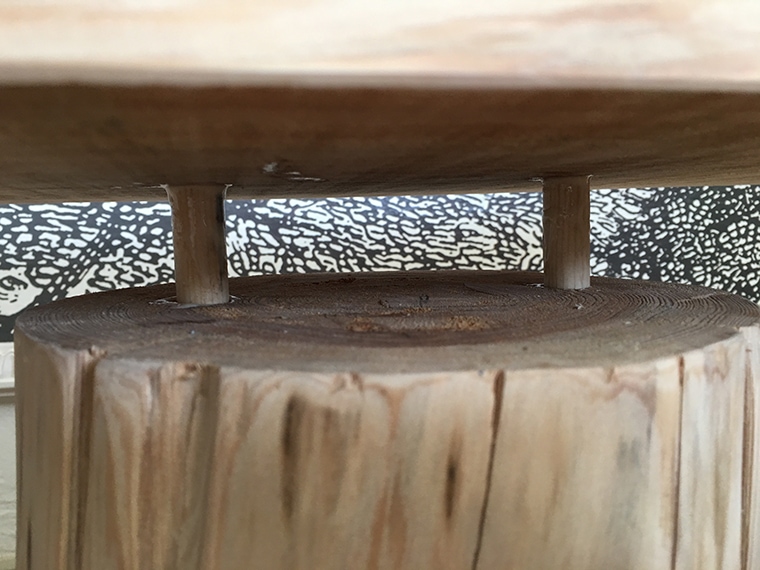
Finally, we flipped the top piece over and lined up the dowels with the holes, pushing them firmly into place. This wood is relatively lightweight and the bench won’t be lifted and moved around often (or ever), so there’s no need for further reinforcements.

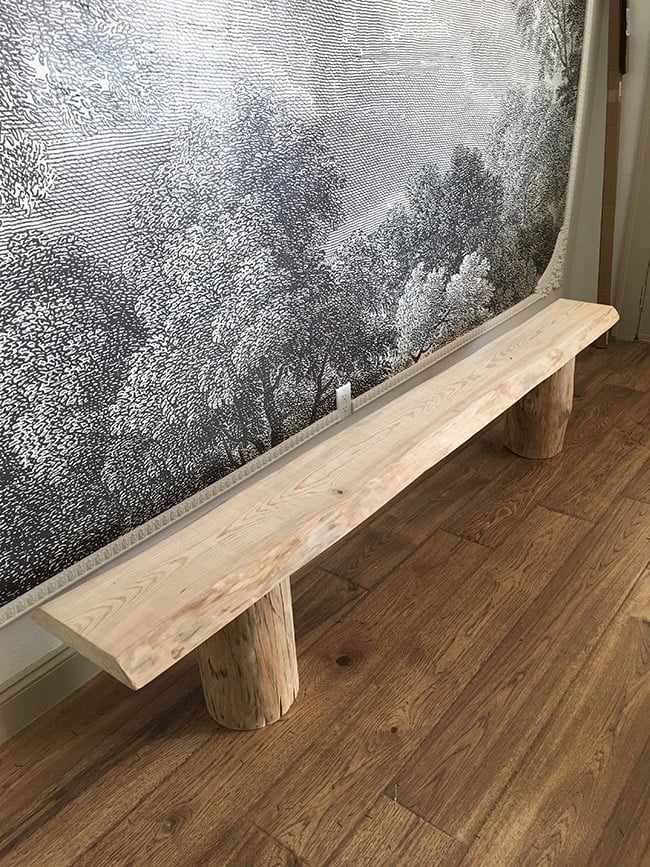
These legs are on there good and they’re not going anywhere!

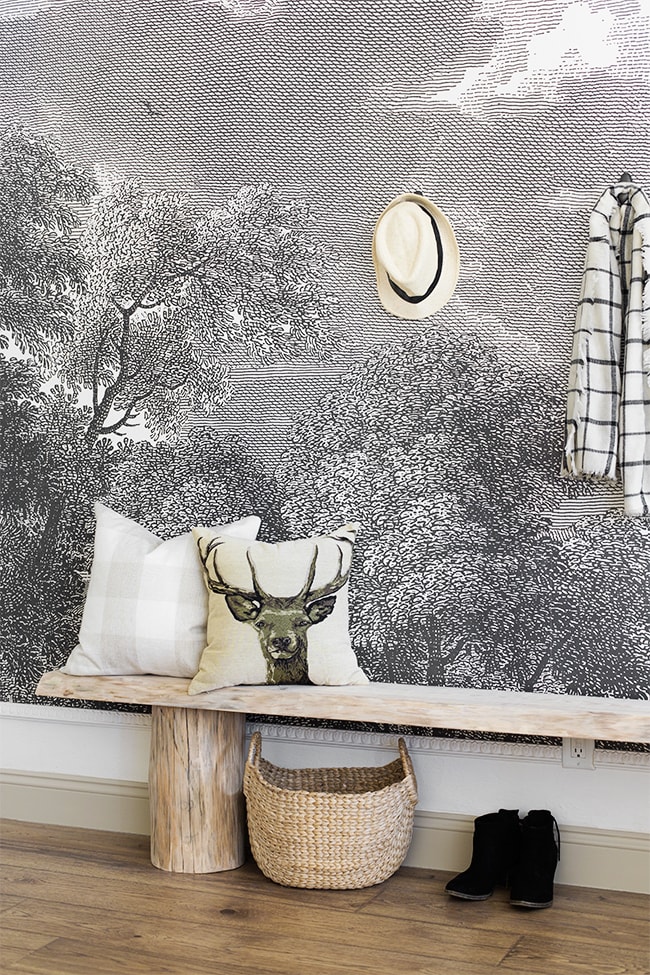
I love the natural color of the sanded wood so I’m leaving it as is. I may put a coat of my favorite matte varnish just to protect it, but it could go either way. The bench is simple, rustic and perfect in its natural state!

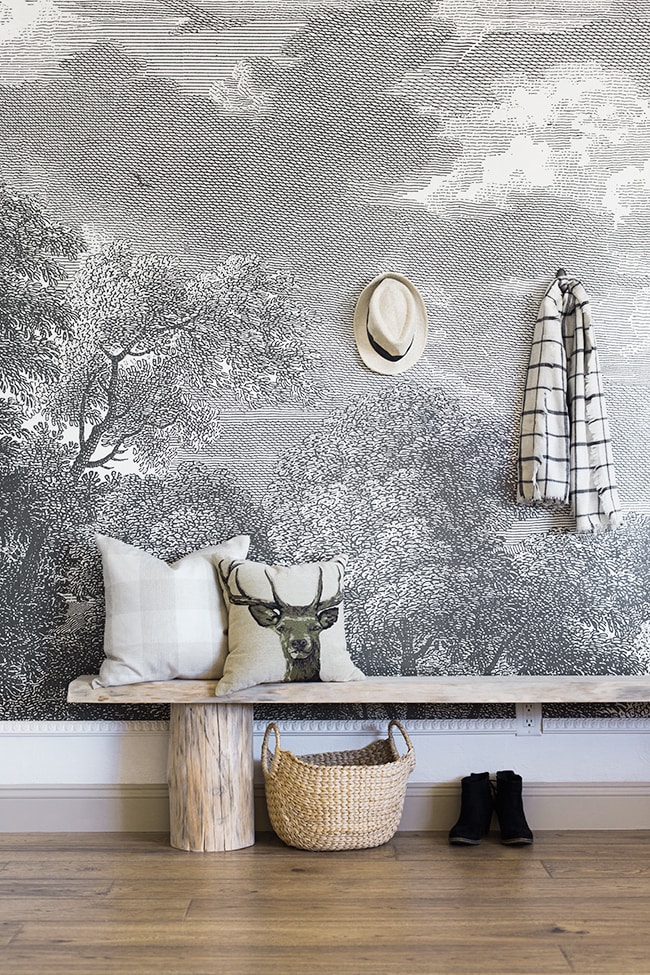
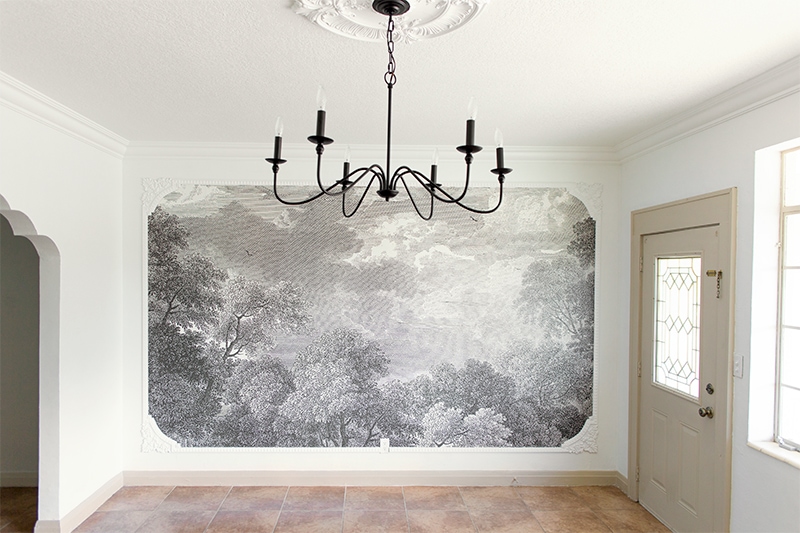
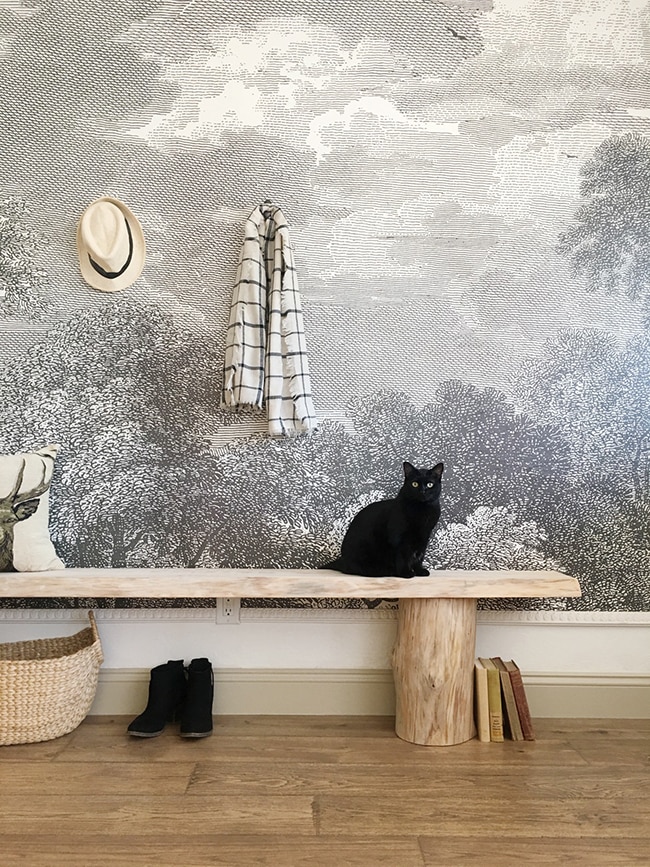
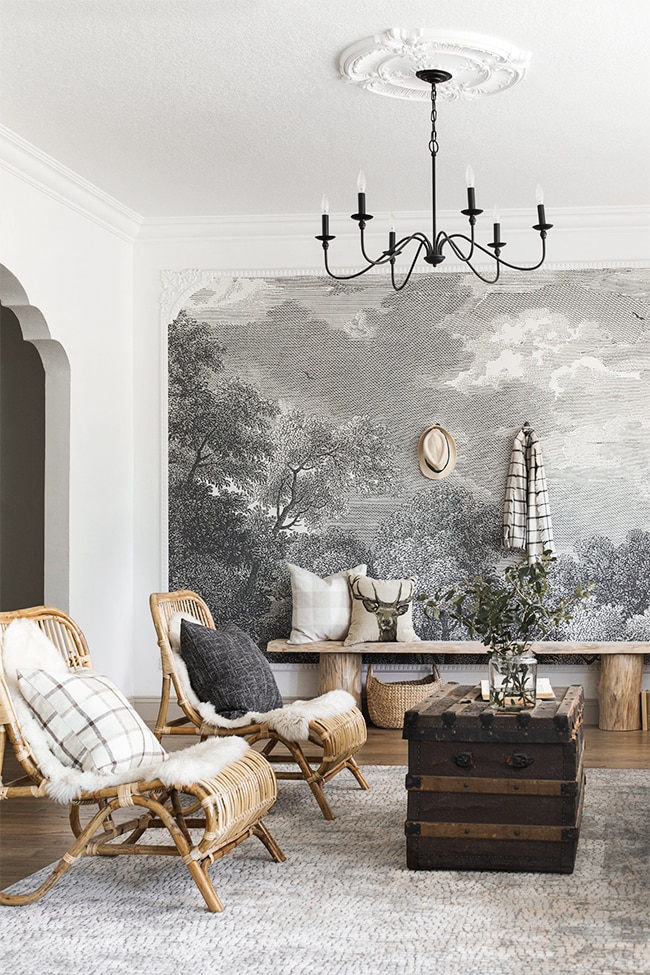
The Christmas decorations were put away last weekend, and it feels so nice and calm in here now.

PS—the scarf is my *favorite* $13 find from Amazon (same with the $13 checkered pillow / the deer pillow is discontinued).

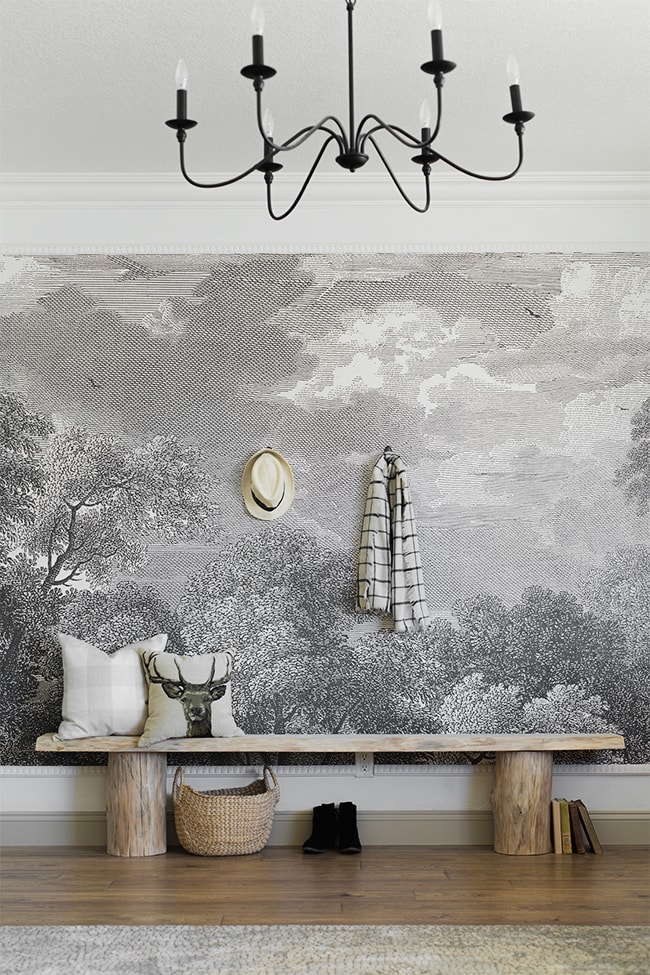
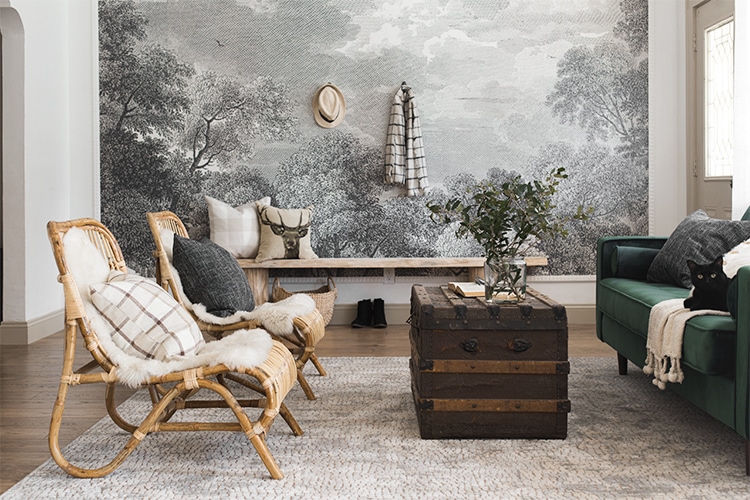
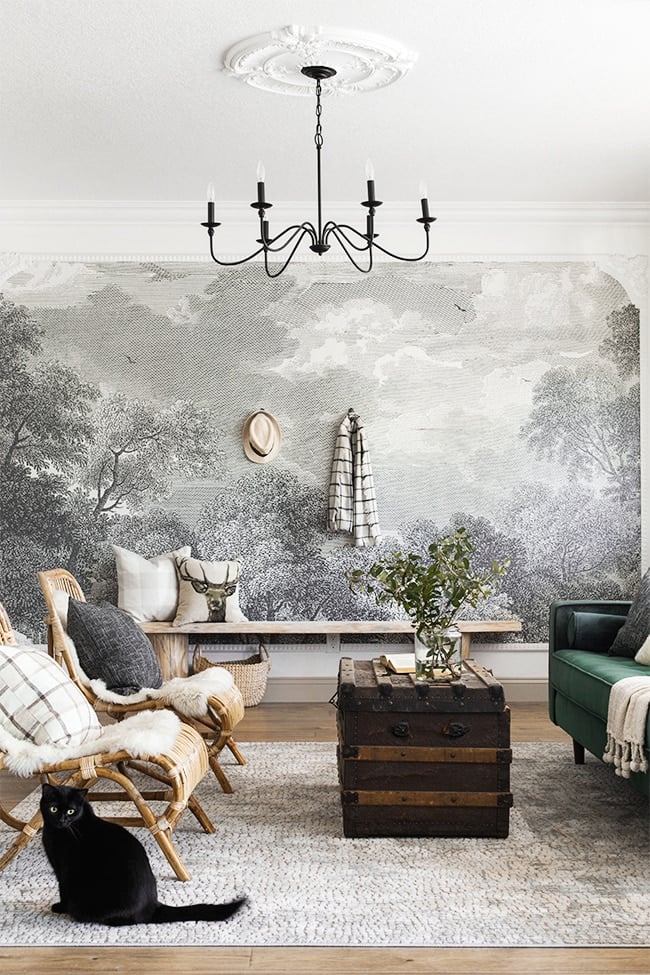
And the crowning jewel, that crazy affordable chandelier. The living room vision is almost there…

I added two of those removable command hooks to hang stockings, but I think they’re the perfect solution to avoid drilling holes into the mural, so I’ll probably grab a couple more. You can find more sources in my last living room update blog post.

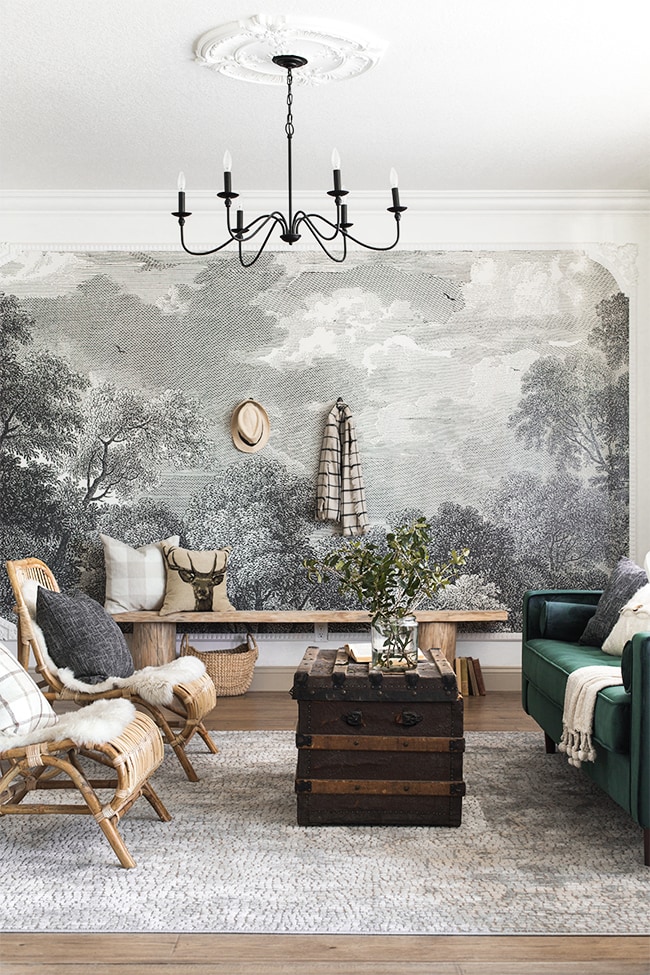
In the coming months I’ll continue to tweak things here and there, but I think this is a nice winter look.

Our next (and final) project in here will be custom sliding doors, which will be coming (with a tutorial) in the next post.

What do you think? Does this inspire you to take a trip to your local sawmill? Go for it—you never know what you’ll find!

Happy January from sunny + warm Florida,

Share this!
Previous Post: « 2018 Highlights + Recap
Next Post: DIY Sliding X Door Tutorial »

Reader Interactions

Comments

  1. Danna says

    January 2, 2019 at 10:05 am

    Love it!!! Love it all together!!

    • Jenna Sue says

      January 2, 2019 at 11:50 am

      So glad you like it, thanks Danna!

  2. Maggie says

    January 2, 2019 at 10:21 am

    Love, love, love the bench!!! I also love cypress! Great job!!!

    • Jenna Sue says

      January 2, 2019 at 11:50 am

      Glad you like it Maggie! Cypress is such a beautiful wood.

  3. Shauna says

    January 2, 2019 at 12:25 pm

    Beautiful in its simplicity. Let us know how it holds up over time. I’ll be using a similar technique on a big-leaf maple bench for a stair landing nook. Your sander looks nice! Thanks for sharing.

    • Jenna Sue says

      January 2, 2019 at 2:31 pm

      Thanks Shauna! A stair landing nook sounds like the perfect place for a bench like this. Good luck on yours, I’m sure it’ll turn out great!

  4. Michelle says

    January 2, 2019 at 2:10 pm

    I really love how this came out! What a beautiful piece of wood!

    • Jenna Sue says

      January 3, 2019 at 8:51 am

      Thanks Michelle, I definitely got lucky finding this cypress!

  5. Cindy R says

    January 2, 2019 at 5:28 pm

    Love this project! You and your husband are so hard-working and creative! Your living room looks fantastic!

    • Jenna Sue says

      January 3, 2019 at 8:52 am

      Thank you for the kind words, Cindy! So glad you like the look 🙂

  6. Jennifer L Duenes says

    January 2, 2019 at 5:59 pm

    I love the bench, but your cat really is the star accessory :).

    • Jenna Sue says

      January 3, 2019 at 8:52 am

      Oh for sure! She’s the cherry on top of every photo 😀

  7. Erin says

    January 2, 2019 at 6:52 pm

    I love how this room is coming together! But one little thing– the placement of the chairs is bugging me– could they be moved back a few inches so the back legs are off the rug? Or would this block a walkway?

    • Susan M. says

      January 2, 2019 at 8:14 pm

      LOL and my preference is as they are currently situated – back legs off the rug bug me! Thank goodness there is no right or wrong!

    • Jenna Sue says

      January 3, 2019 at 8:54 am

      That would make the walkway pretty tight! I’m sure they’ll be scooted around anyway as people sit in them so I’m not too concerned 🙂

  8. Marijean says

    January 2, 2019 at 9:41 pm

    It all looks beautiful!

    • Jenna Sue says

      January 3, 2019 at 8:54 am

      Thank you Marijean!

  9. Linda Grubbs says

    January 2, 2019 at 11:15 pm

    Beautiful! Love your dowell technique…rustic but sleek!
    Love seeing Susie in the photos! Happy New Year!!

    • Jenna Sue says

      January 3, 2019 at 8:55 am

      Thanks Linda, I’m glad we opted to use the hidden dowels too. Happy 2019!

  10. Sheila says

    January 3, 2019 at 2:41 pm

    Love it! Rustic chic!!!

  11. MKW says

    January 3, 2019 at 4:01 pm

    Did you need to dry the wood? Or request dry wood at the mill? Maybe that’s not an issue with Cyprus?

    • Jenna Sue says

      January 3, 2019 at 5:35 pm

      Nope, the wood was wet from being in the rain but it dried up just fine and didn’t seem to be an issue!

  12. Alyson Bird says

    January 4, 2019 at 9:29 am

    Always an inspiration. We’re turning a house into a potential Air bnb and these ideas are just what I need for a enclosed porch/mudroom transformation we are doing. Thanks

    • Jenna Sue says

      January 4, 2019 at 2:43 pm

      Glad to hear that, Alyson! Best of luck to you on your AirBnb 🙂

  13. Mudrick says

    January 8, 2019 at 8:22 am

    Can you share the name of the sawmill? I’m local and I would love to check them out!

    • Jenna Sue says

      January 8, 2019 at 10:11 am

      Crossroads Sawmill in Land O Lakes 🙂

  14. Kathryn says

    January 10, 2019 at 3:56 pm

    Love fhis rusticbench. Looking for amocal sawmill now. Question tho….does the bench tip or flip if one person sits on the very end and there’s nothing weighed on the other end? Made a bench like this once and found out the hard way when it flipped up as I sat on one end.

    • Jenna Sue says

      January 10, 2019 at 4:31 pm

      I just tried and it didn’t budge on the other end! I think the wood has to be pretty solid.

  15. Trudi says

    January 14, 2019 at 10:01 am

    I love ALL your projects! Each new post makes me internally sigh, it’s just all so nicely done, well thought out, and lovely to see. Plus your instructions are clear and easy to follow, so thank you!

    As a fellow Floridian, this would make a great post-hurricane project, no saw mill trip necessary! 😛 I have a just such a log stored outside from Irma for a project such as this!

    • Jenna Sue says

      January 14, 2019 at 12:46 pm

      Thank you for the kind words Trudi, I’m so glad you’re enjoying these projects and I appreciate you taking the time to comment! Building a log bench out of Irma debris would be such a unique story, I really hope you do it!

  16. Katie says

    January 30, 2019 at 10:06 am

    Does the bench hold a lot of weight? if two adults were sitting on it does it wiggle back and forth of feel like its straining? I love this by the way.

    • Jenna Sue says

      January 30, 2019 at 10:27 am

      It’s stable as in it won’t tip over or lift when you sit on one end, but you can rock it back and forth if it’s not against a wall. Part of that may be because the stumps are not 100% flat on the bottom (and because it’s so long!) Adding a third stump could help.

Trackbacks

  1. Weekend Links #84 says:
    January 26, 2019 at 6:38 am

    […] DIY Simple Rustic Log Bench // Jenna Sue Designs […]

  2. Weekend Links #84 - Novo Gallery says:
    January 26, 2019 at 11:32 am

    […] DIY Simple Rustic Log Bench // Jenna Sue Designs […]

  • BROWSE BY CATEGORY
    • Heights House
    • Riverside Retreat
    • Cottage Flip
    • Modern Farmhouse
    • Room Reveals
    • DIY Projects
    • Favorite Finds
    • Personal
    • Seasonal
    • Travel

INSTA FEED

@Jennasuedesign

Welcome!

Hi, I’m Jenna and I’ve been designing and DIY’ing my way through homes since 2008. Join me as I learn, share my experience, and hopefully encourage/inspire you along the way!

As Seen In

Primary Sidebar

Welcome!

Hi, I’m Jenna and I’ve been designing and DIY’ing my way through homes since 2008. Join me as I learn, share my experience, and hopefully encourage/inspire you along the way!

JOIN THE FUN

  • Facebook
  • Instagram
  • Pinterest
  • RSS
  • YouTube

Shop MY HOMES

  • Heights House
  • Riverside Retreat
  • Cottage House Flip
  • Modern Farmhouse

INSTA FEED

LATEST VIDEO

Shop MY AMAZON

As an Amazon Associate I earn
from qualifying purchases

  • BROWSE BY CATEGORY
    • Heights House
    • Riverside Retreat
    • Cottage Flip
    • Modern Farmhouse
    • Room Reveals
    • DIY Projects
    • Favorite Finds
    • Personal
    • Seasonal
    • Travel

Subscribe via email

Footer

Shop My Homes

  • Heights House
  • Riverside Retreat
  • Cottage House Flip
  • Modern Farmhouse

Connect

  • Instagram
  • Facebook
  • Pinterest
  • Youtube

Information

  • Contact
  • About Jenna Sue
  • About the Blog
  • Privacy Policy

Copyright © 2021 · Jenna Sue Design Co. · All Rights Reserved · Website by Wordpress Barista

SUBSCRIBE VIA EMAIL: